

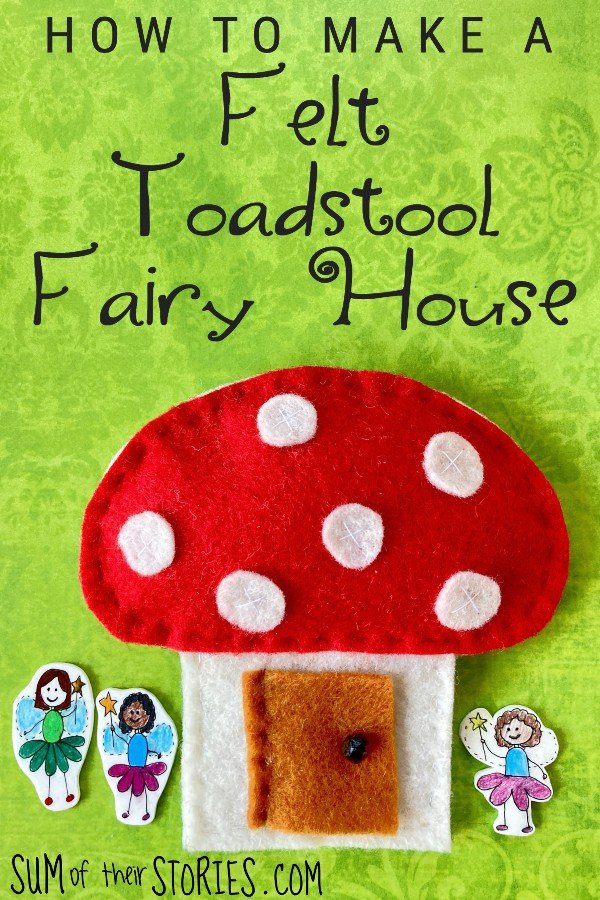
How to make a Felt Toadstool Fairy House
/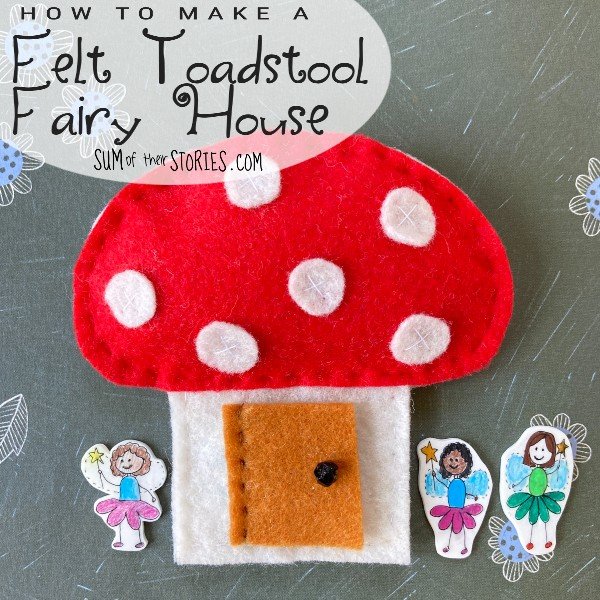
Make a sweet little toadstool house for your tiny fairies to live in, a simple sewing project suitable for complete beginners.
July is Sew a Softie month and this is my contribution this year. For the first time there is a theme for Sew a Softie month - Magic - so you can find loads of magically sewing projects all perfect for children, and adults, learning to sew.
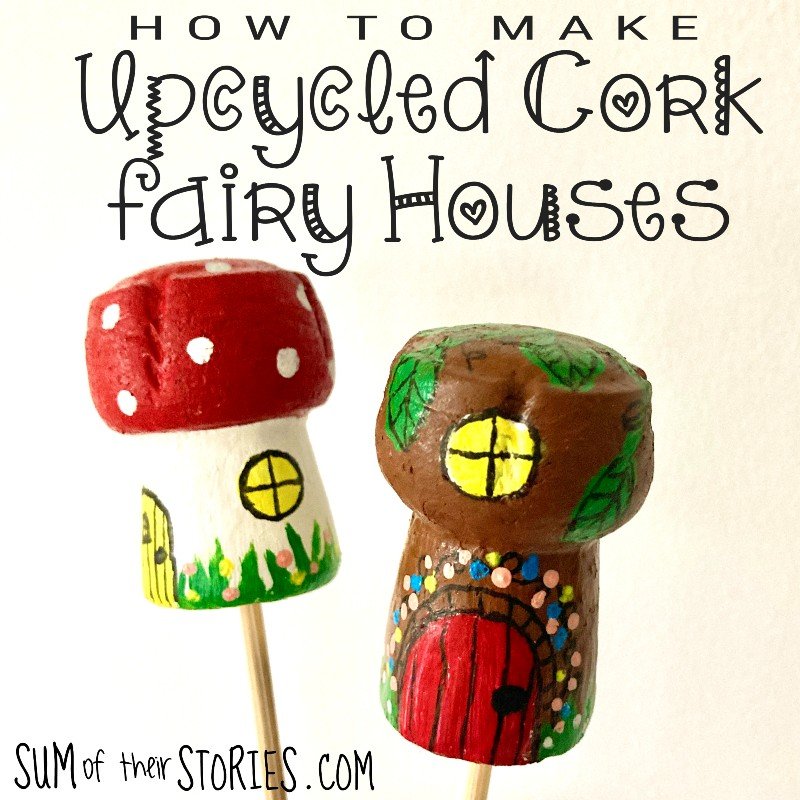
I love a toadstool fairy house, I’ve shared a couple of projects including them over the years:

Bear with me for a second whilst I give a little backstory….. When our daughter was little she had the sweetest little Polly Pocket fairy garden with a couple of teeny tiny Polly Pocket fairies who had a little flower house to live in, a pool to sit by and some sort of swing too if I remember rightly. It is possible that I loved it as much if not more than she did!! Our middle son had a tiny little plastic gnome toy, I think from a Kinder egg, that sat on an equally tiny little plastic frog. He called them Froggy and Jojo. Froggy and Jojo needed somewhere to live and we made them a tiny house from a little box, covered in orange paper that had a little front door that opened so they could get in.
When I was getting ready for Sew a Softie month I thought back to those tiny little fairy toys and Froggy and Jojo’s house and they were my inspiration for this felt toadstool fairy house. I thought it would be fun to make a toadstool house that a fairy could actually get inside. I wanted to keep it simple though, so it’s still a project that a child can make themselves on their learning to sew journey.
Let’s get started:
Felt toadstool fairy house tutorial
To make your own felt toadstool fairy house you will need:
White or cream felt
Red felt
Brown felt
Fibre fill
Sewing thread, ideally in white, red and brown
A small bead - optional
Download and print the pattern and cut out the pattern pieces.
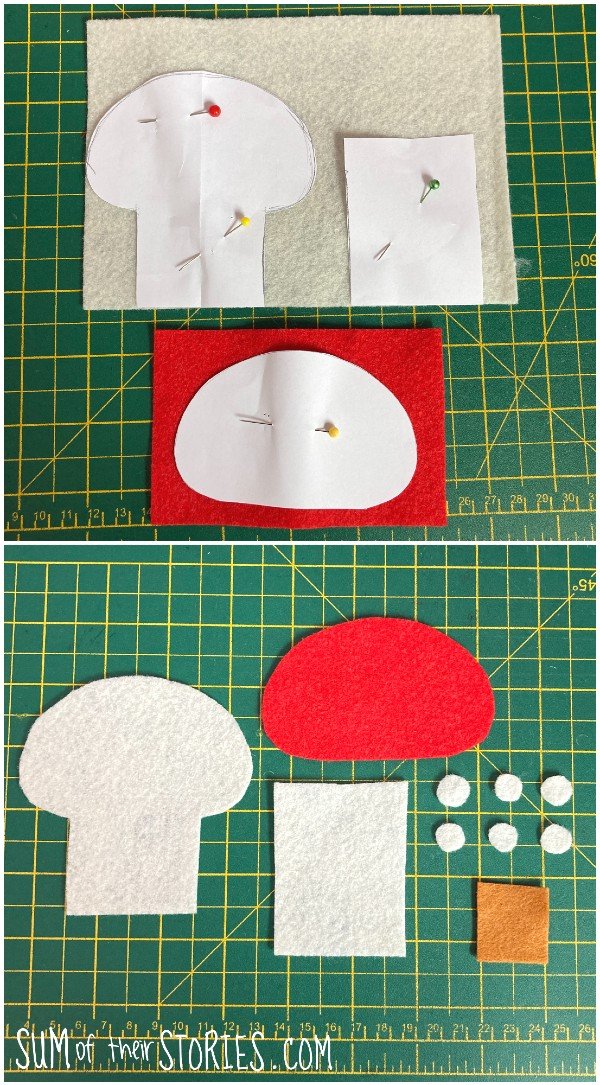
Cut the back and front from the white or cream felt
Cut the roof from red felt and the door from brown felt.

Cut some tiny circles from the spare bits of white felt, the easiest way to do this is to cut tiny squares and then round off the corners, they don’t have to be perfect!
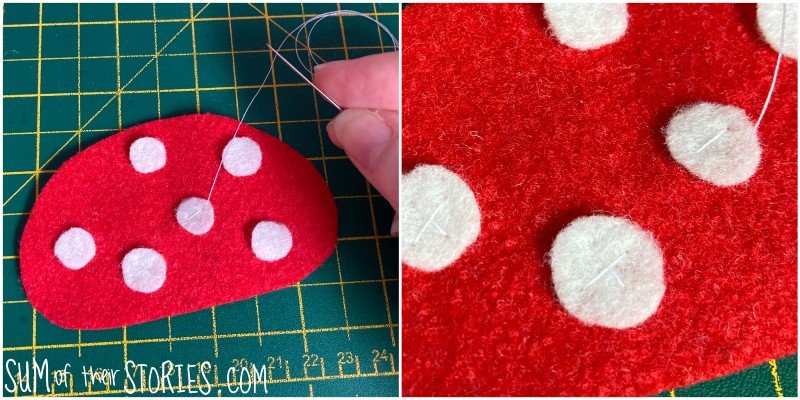
Arrange the circles onto the red roof and either glue or stitch them in place. I stitch mine with a cross on each one.
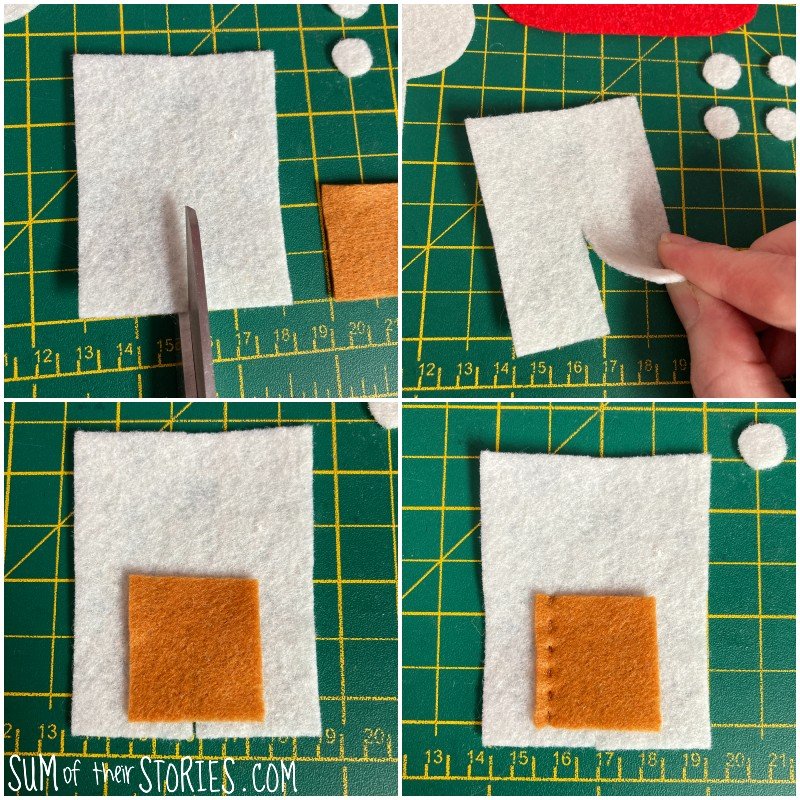
Next cut a slit in the middle of the front piece from the bottom edge as marked on the pattern piece. Place the door so it covers the slit and stitch up one side. You can see I stitched up the left side but you could do the right side if you’d like your door to open the other way, either is fine.
If you’d like to add any other embellishments to your house then now is the time. You could sew or glue on some flower sequins, or even embroider some grass or leaves on your house if you’d like to. You could draw or embroider something on the back of the house if that takes your fancy, maybe the name of the fairy who will live there, or a garden with a tree and some flowers. It will be easier to add anything like that now whilst your pieces are flat rather than after you have sewn it together.
Once you are happy you can move on the sewing the house together.
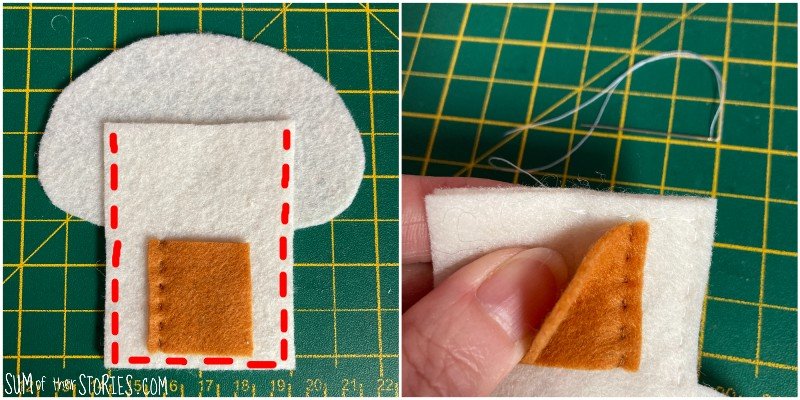
Place the front onto the back piece, lining up the sides and bottom edge. Sew around the front piece on 3 sides, so down one side, across the bottom and back up the other side. Use a regular sewing thread and needle. Start with a knot and finish by casting off. I used a running stitch all the way round but you could try a blanket stitch or you could oversew if you prefer.
If you are not sure how to cast off I’ll show you quickly now. This is with red thread on white felt just so you can see it easily.
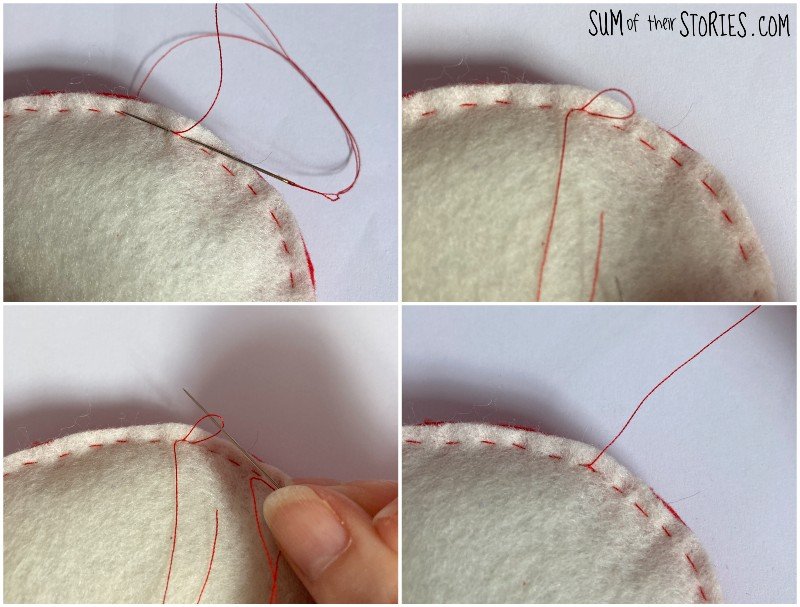
When you get to the end of your sewing, or you are running out of thread you need to cast off securely. If you don’t cast off then your sewing can come undone later which you don’t want. To cast off stitch over the last stitch you did, in exactly the same place but instead of pulling the thread all the way through you leave a bit of a loop. Thread your needle through that loop and then pull the thread all the way through. Repeat this again in exactly the same way in exactly the same spot. This makes 2 knots in the same spot which should stop your sewing from coming undone.

Now to finish you want to ‘lose’ your thread. To lose the thread you simply push the needle inside the sewing to a spot a little way away from your casting off and pull the needle and thread all the way out. Snip the thread off here. This way there is a short length of thread hidden inside your work. This is more secure than snipping the thread off very close to the casting off knots you made. If you snip off close to the knots you risk them working loose and coming undone.

Next place the red roof onto the back and front you’ve just sewn together and stitch all the way round. You can see that I changed my thread to red so it doesn’t show so much. You could do that or use a different colour so it shows up as a contrast, your sewing - you decide!

Just before you get back to where you started stop and poke a little bit of fibre fill into the roof space to make it padded. Then finish sewing up the roof, closing the gap. Cast off as before.
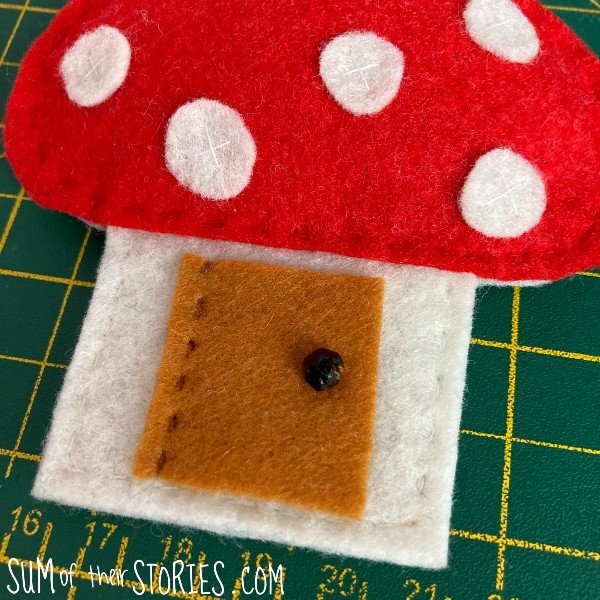
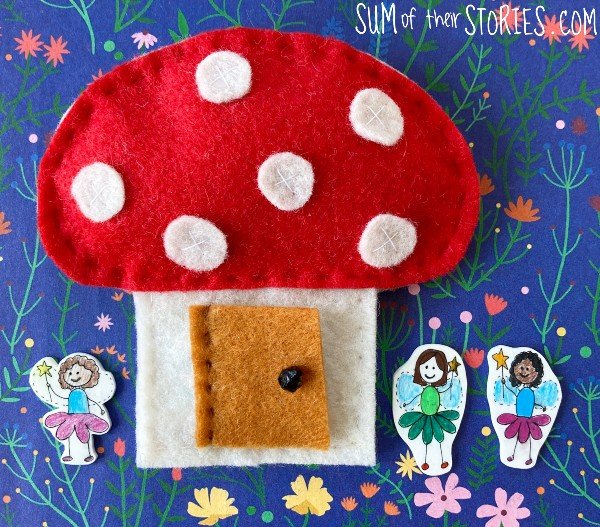
I finished off my fairy house by sewing a tiny bead onto the door as a handle, to make it easier for the fairies to get in!

I said at the beginning, I was imagining this as a home for a Polly Pocket sized fairy. I don’t have any of those any more, our daughter’s set is long gone sadly, so I made a few little fairies from shrink plastic to make my toadstool house look inhabited and give you the idea.

They are not perfect, I coloured them with pencil crayons and smudged them a little bit as they shrunk unfortunately but you get the gist. With the shrink plastic I had the pack said it gets x7 smaller and thicker. I drew 3 little fairies 5cm (2”) high and they shrank down to about 2.5cm or 1” tall each which was a great size for this house.

Open the door and the fairies can pop into their little toadstool house, all safe and sound!

I can fit all three of these little shrink plastic fairies into the house, if they were Polly Pocket toys it may be more of a squeeze for them!

If you didn’t want fairies to live in your toadstool house you could use it for little notes and messages, or as a place to hide your last starburst or jelly bean!
To find out more about the Sew a Softie project, that’s all about teaching kids to sew, check out the Sew a Softie Website. There is also a Facebook Group you can join and follow #sewasoftie on Instagram too.
You’ll find lots of fun tutorials all idea for children (and adults!) learning to sew. If you share your softies on Instagram using the hashtag there are prizes to be won too. Check out Sew a Softie’s IG for all the details.
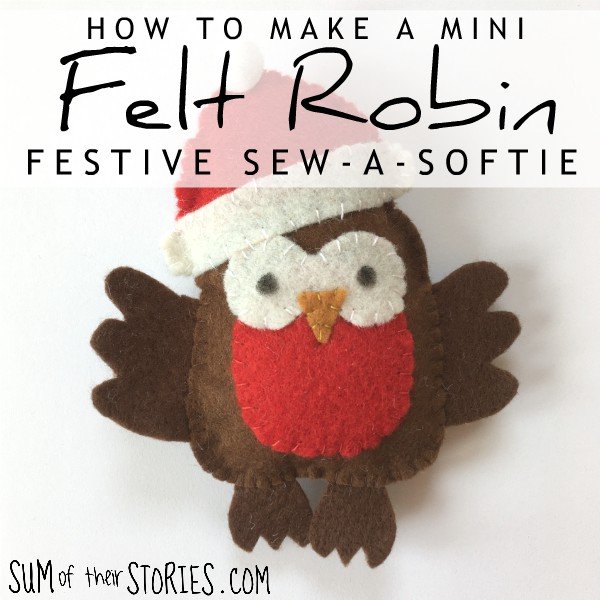
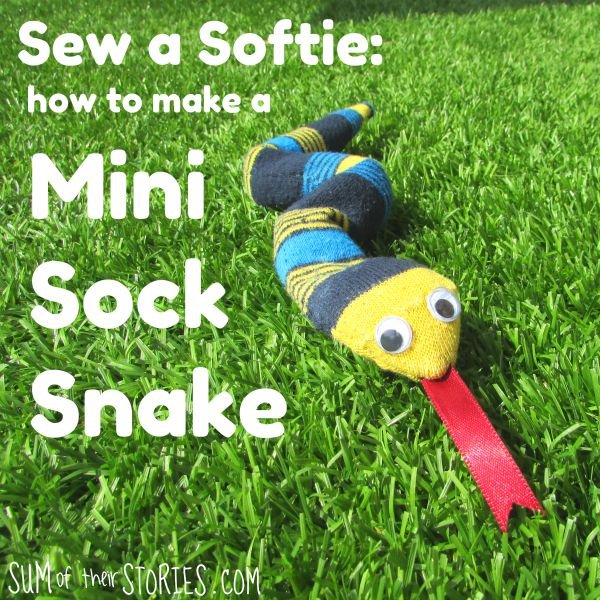
These are my Sew a Softie projects from previous years if you are looking for more ideas that are easy for kids to sew:


There is also a Sew a Softie Book which came out last year, a great gift idea if you know a young person who is interested in learning to sew. The little Tooth Tiger is my contribution to the book.

Trixi, the organiser and founder of the Sew a Softie movement also has a book out called The Zenki Way which helps children design and make their own soft toys using basic shapes.
Both books are packed with hints and tips for helping kids learn to sew as well as project ideas.
Julie


