How to make a Simple Lace Summery Cuff Bracelet
/

I love a bit of lace, especially in the summer. A delicate, light and airy look, perfect for warmer weather.
I’ve been inspired by some lovely crocheted summer cuffs that I’ve seen around, I can crochet and may well try making a crocheted lace cuff bracelet one day but I had some lovely crochet effect lace in my stash that a friend gave me recently. I think she had rescued it from some bedlinen and not used it so passed it on to me in a clear out. Ideal to make a pretty lacy cuff bracelet. I thought about trying to stiffen the lace somehow, or just binding the raw ends to make a bracelet but in the end I opted for backing it with some tape (also in my stash!)
Exactly how you make this bracelet will depend on what lace you have and what tape or ribbon you use. These instructions are a guide and you can mix up the idea; make a narrower bracelet if you lace is narrow, maybe use a contrast colour ribbon behind the lace? I’ll explain what I did and you can let your creativity go wild, adapting the basic idea.
How to make a simple lace cuff bracelet
What you need to make a lace cuff bracelet:
A length of lace
Twill Tape or thick ribbon
2 Kam snaps, snap fasteners would work too
Fray stop/Fray Check - if your tape or lace is very fray-ie

My top tip when it comes to this kind of snap fastening is to always go for proper Kam snaps rather than a cheaper version. It’s totally a false economy, the kam ones really are much better, more secure and longer lasting.
Calculate the length for your cuff bracelet
First measure your wrist and add an 2.5 inches (6.5cm) . This is the length to cut your lace and tape. My wrist is 6” so my lace and tape is 8.5” (15cm > 21.5cm)
My tape is only an inch wide so I zig zaged 2 lengths together on the sewing machine to make it wide enough. I then sealed the ends with Fray Stop. My tape was fraying A LOT, you might be able to miss out this step. At a push a little dab of PVA glue will work in place of Fray Stop.

Sew your lace cuff
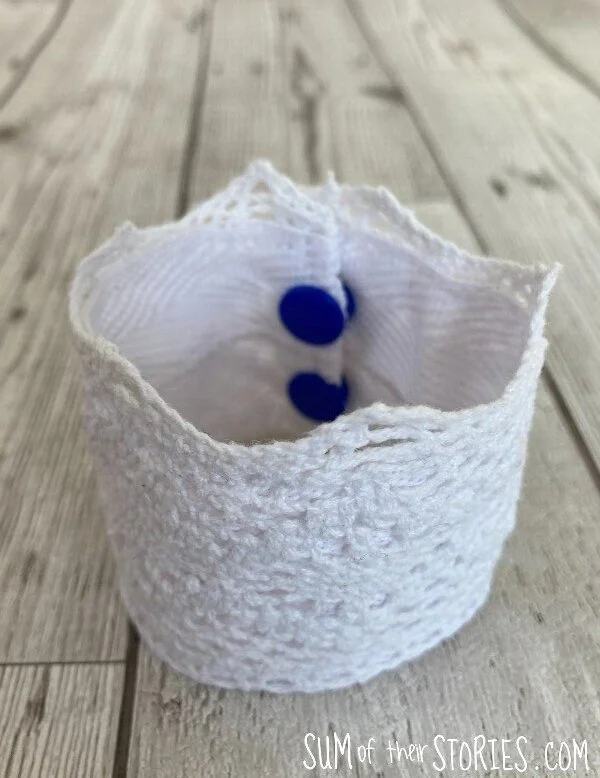
Lay the lace on top of the tape, right sides together (you may not have a right side, but if you do, make sure they are together. Stitch across the short ends. You’ve made a loop!

Turn it through to the right side and flatten the loop. Stitch all around the rectangle to secure the lace to the tape.

Apply 2 Kam snaps to the ends. Just be careful that you get them the right way round, once they are on securely they are hard to get off! Check and then check again just to be on the safe side!
Make sure you are applying the snaps through just 2 layers, not where the seam allowance is. A snap will never attach securely if it’s going through 4 layers of lace and tape!

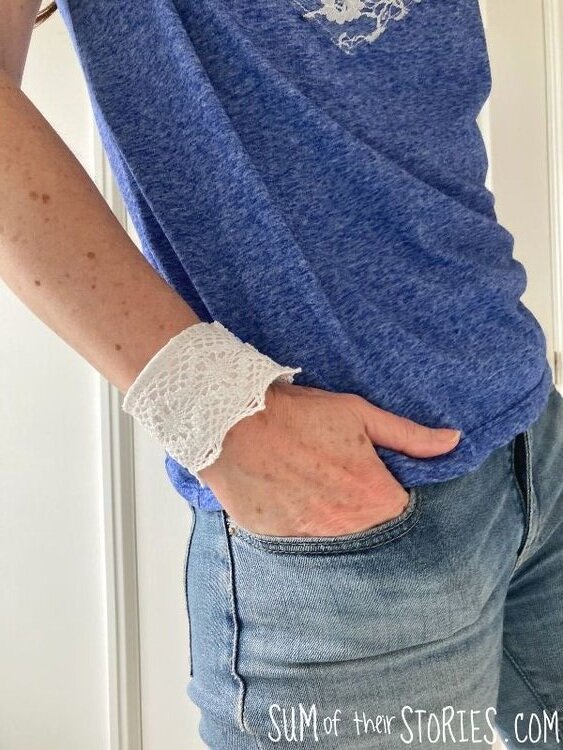
That’s it! Your lace cuff bracelet is finished.
You can see the fit of the cuff on my wrist, it’s just got a little room to move but it’s fairly snug. If you like a loser fit just cut your lace and tape a little longer, if you want it to fit more snugly then make it a fraction shorter.


Originally I thought I might embellish the lace with beads or embroidery. I played around with an idea like this with blue beads which is why I used blue kam snaps for my bracelet.
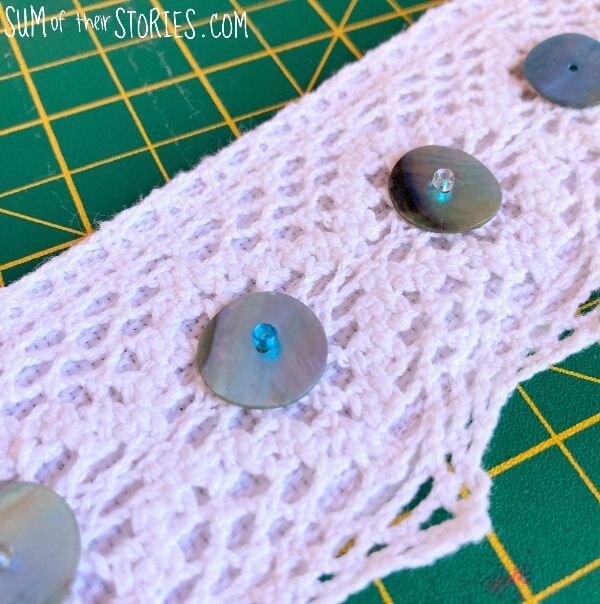
Once it was finished I actually love the simplicity of it just being the lace. I might make more later with extra embellishments, something with beads or delicate crochet flowers maybe or lots of pearls? Or little flowers made from lace would be nice. So many options!

Julie
I’ll be sharing this post at some of these link ups
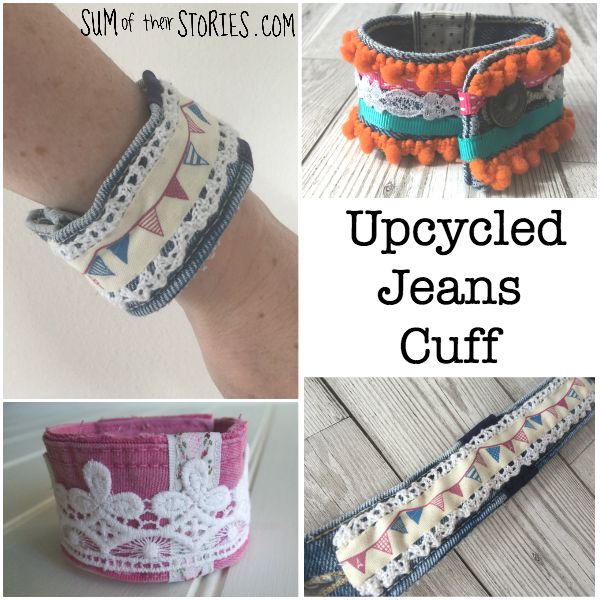
If you like a cuff style bracelet then you might be interested to see these fabric cuff bracelets that you can make from old jeans:
You might like to check out some of my other jewellery making ideas too: