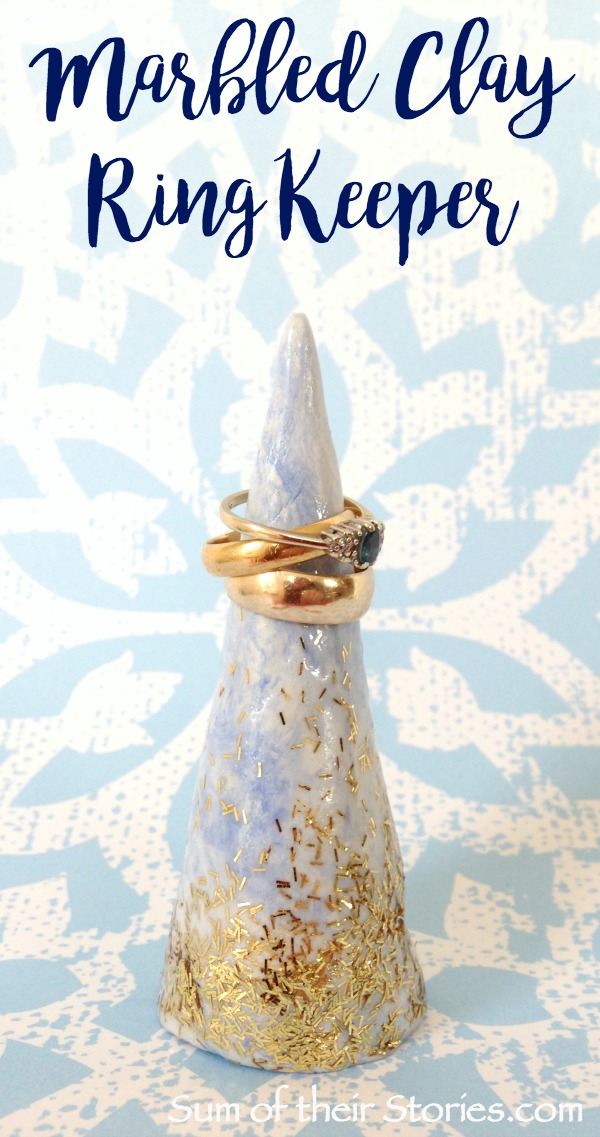
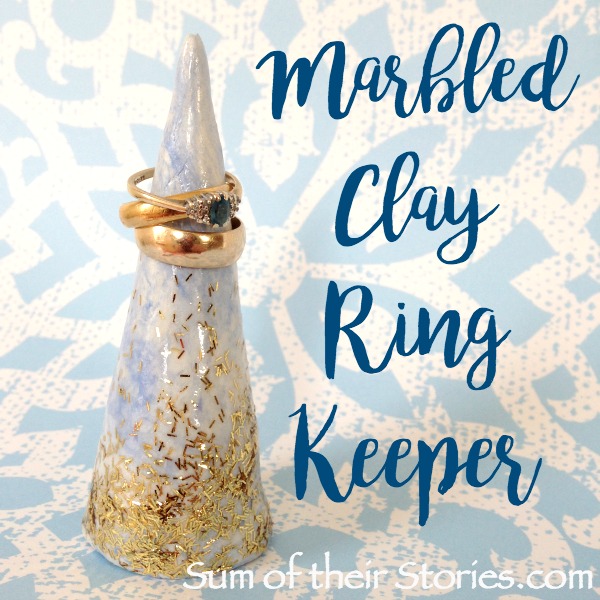
Marbled Clay Ring Keeper
/Make a simple cone shaped ring keeper from marbled air hardening clay, with a touch of sparkle.

The air dry clay used for this project was provided for me by Cass Art
This air dry clay tutorial was first published in Jan 2017 and has been updated and republished.
If you like are like me and like to take your rings off when washing up, washing your delicates by hand or just at night when you go to bed, then you need a safe place to keep them. I've been using a little ring dish for the last few years but when I received some air hardening clay from Cass Art for their #BeInspired campaign, I thought I'd try making something new.
I'd seen some ring cones in the shops a while ago and though this simple shape might be easy enough to make from clay for a beginner like me. It was!
You can find details of the materials I was given by Cass Art here in my post about the Marbled Jewellery I made first.
How to make a ring keeper from air dry clay
To make a clay cone shaped ring keeper you will need:
Clay - mine is DAS air hardening clay
Marbling Mix - again mine is from DAS
A piece of scrap card to form a cone mould
A sharp knife
Varnish - mine is Vernidas from DAS, this Sculpey one is similar, this inexpensive one from Mereido also has some good reviews
Glitter, I can’t find one online exactly the same as the one I used but this one would make a great substitute.
Create the cone shape from the clay
You can just freestyle rolling a cone shape from your air dry clay. If you are able to get a good shape that way then that would be the simplest method. I tried a couple of times and my cone was always a little lopsided so I made a cardboard mould which I found worked better.
To make a cardboard mould, roll the scrap card into a cone and secure with tape. Ideally use card that is glossy and roll so the glossy side is inside.
Marble a lump of clay using the marbling mix.
Push the clay into the cone, really squishing it in there to get as many air pockets out as possible.

Cut the tape and unwind the card from the clay.
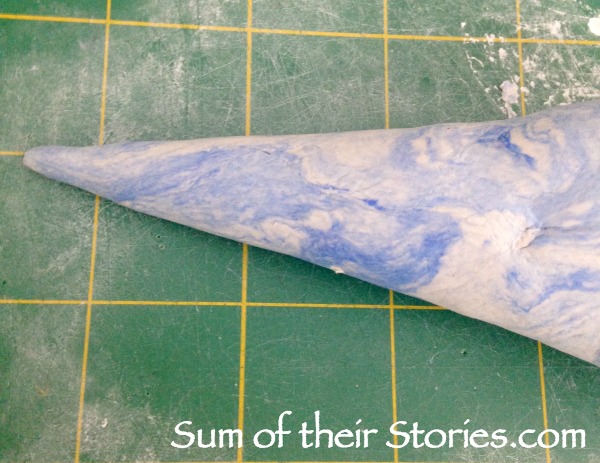
Wet your fingers with a little water and smooth the cone, you can roll it gently as well to remove any creases and improve the shape.
Cut off the excess with a sharp knife making the bottom level.
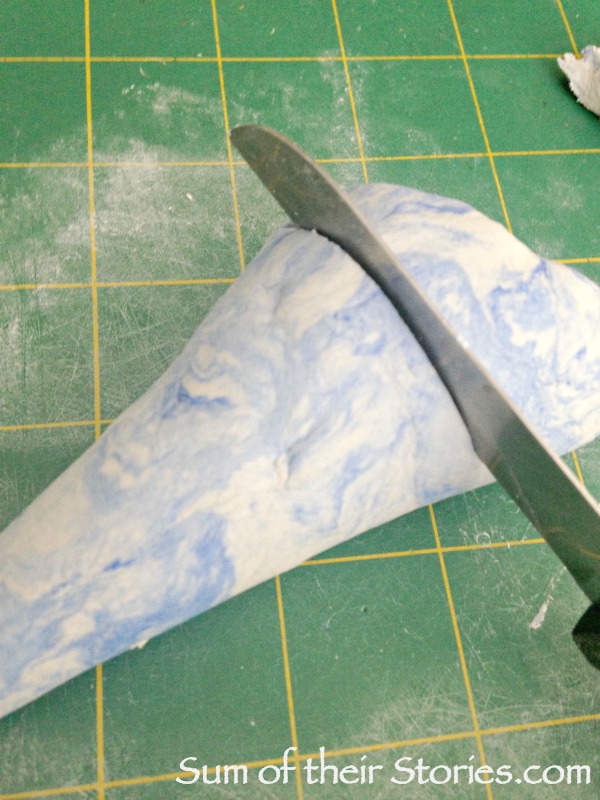
Roll and smooth it again just to make sure you are happy with the shape.
Leave to dry and harden - this took about 2 days.
Varnish and decorate the ring keeper
Varnish and leave to dry.
Apply another coat of varnish this time concentrating round the bottom of the cone, just dabbing a little varnish here and there as you go towards the point. You are basically using the varnish as a glue.
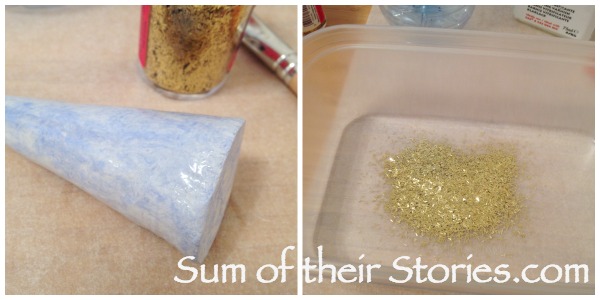
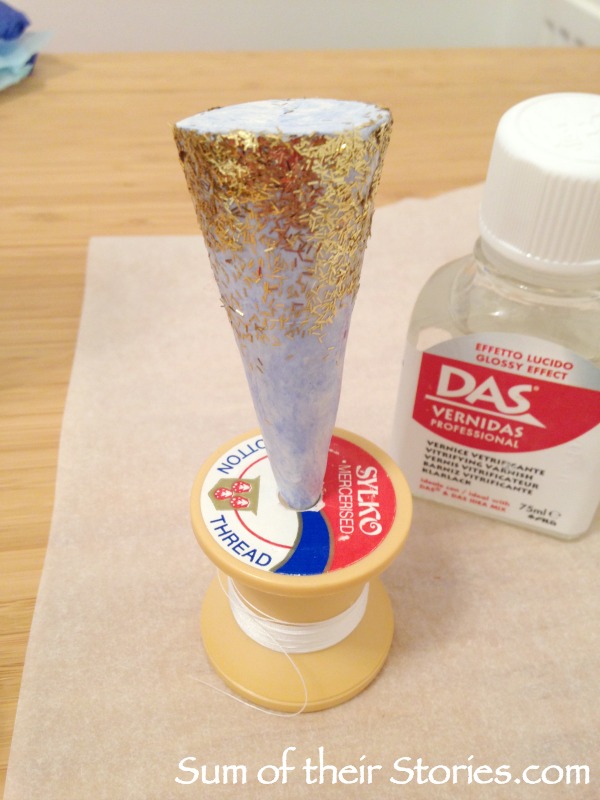
Holding the cone over a plastic container sprinkle with glitter.
Leave to dry again, I found it easiest to pop it in a cotton reel.
Once dry, brush off any loose glitter and then cover the whole cone with one last coat of varnish to seal and stop the glitter leaving a trail wherever it goes.
Ideas to decorate your ring keeper
I used the graduated glitter idea to decorate my ring keeper but that is entirely optional. I just fancied a little sparkle.
You could mask off part of the cone with washi tape and spray paint a section in a co-ordinating or high contrast colour.
How about applying real gold leaf, just dabbed here and there would look fabulous.
You could just leave the marbled effect of the clay, which is really pretty by itself.
You could make your ring keeper with plain regular air dry clay and then just paint it afterwards if you can’t find or don’t want the marbled effect.
Apparently you can also colour or marble air dry clay with acrylic paint, mica powder or by scraping the sides of a soft pastel. I’ve not tried any of these methods but I’ve found You Tube videos of others having success with these methods.

I’ve found a cone shaped ring keeper like this is easier to use than a little ring dish. You can pick your rings up in a stack and just pop them on the right fingers so quickly - I think I must be saving at least 2-3 seconds every day. At this rate I'll have an extra 15 minutes or so every year, what on earth will I do with all that extra time!!
Update: As I say at the beginning of this tutorial I first made this cone shaped ring keeper in Jan 2017. At time of writing it’s now March 2026 and my ring keeper is still in daily use and looks as good as new. There is no scratching or damage to the varnish at all - 9 years on that’s pretty good! Obviously I don’t clean my ring keeper by immersing it in water at all, even with the 3 layers of varnish it is best to keep anything you make with air dry clay dry. I keep it clean by wiping with a dry cloth, so far so good!
You might like to check out these air dry clay projects too:


Julie
I’ll be sharing this idea at these link ups