

How to make Yarn Birds
/Learn how to make decorative birds with this step by step tutorial showing you how to make a little bird from yarn. Made in pastel colours they are a perfect craft for Spring decorating.
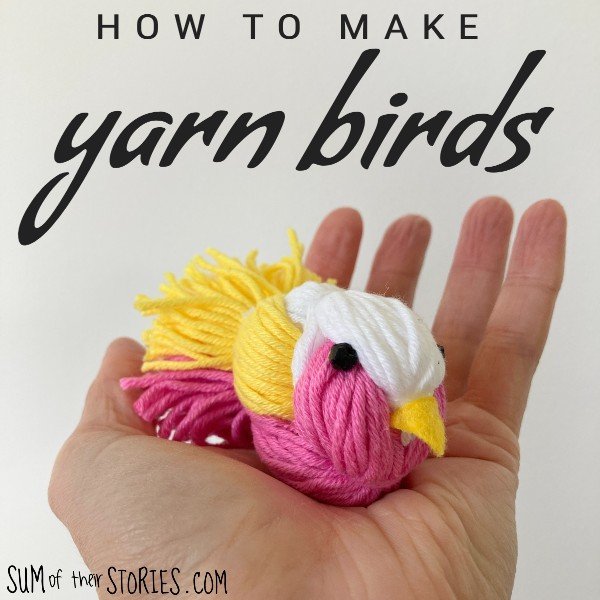
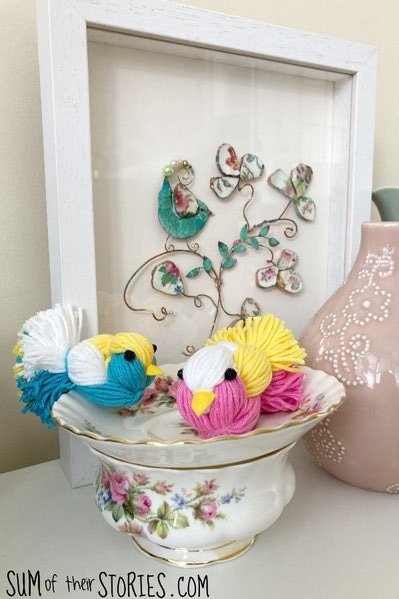
How to make sweet little yarn birds
Cotton blend yarn in pastel shades makes these little yarn birds perfect for spring decorating. Add them to a wreath, pop them on a faux nest or perch them on the edge of a plant pot.
There are lots of different ways to make yarn birds, all very cute and some more complicated than others. This is the way I learnt about 10 years ago at a mini workshop at a craft fair.
These yarn bird are my contribution to the Spring Crafts Challenge Hop, stay tuned at the end of the tutorial to see lots more Spring craft ideas.

It’s not especially complicated to make these little birds but there are a few steps to follow.


To make yarn birds you will need:
Yarn, mine is cotton blend Double Knitting from Hobbycraft
a tiny scrap of yellow felt
2 small black beads
sharp scissors
A piece of thick card 5” x 3.5” (13cm x 9cm)
PVA glue I used Hi Tack, something like Aleena’s Tacky glue would be ideal too.
You can use all different types of yarn to make these yarn birds but it does need to be something that doesn’t snap easily. Ideally choose something with some acrylic in it as you need to tie the knots really tight and if your yarn is constantly snapping that’s going to be frustrating. I used a cotton blend that is 50% cotton and 50% acrylic.
These birds are a great yarn stash buster, you can mix and match yarn for each section as much as you like. A mix of yarns can make a really cute bird.
As you can see I’ve not gone for hyper realism with my yarn birds! You don’t see anything quite like this in nature, but you can use realistic bird colours if you like of course. Each bird has 3 sections so you can use 3 different colours as I have here, or just 2, or even make all 3 sections the same. It’s totally up to you. Experiment and have fun with it.
Preparing the yarn
For these photos I’ve used white for bundle 1, this will form the top of the birds head.
Pink for bundle 2 - the birds front and underbelly.
Yellow for bundle 3 - the wings.

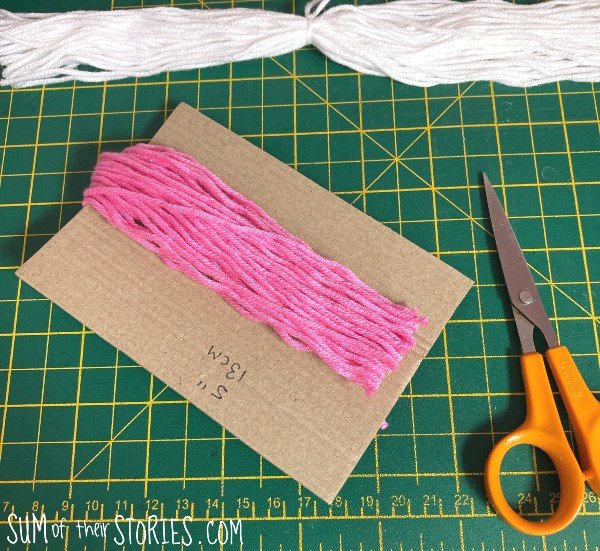
The first thing to do is cut your card to size. 5” x 3.5” (13cm x 9cm) This can be approximate, if it’s a fraction bigger or smaller it will still be fine.

Making a yarn bird
Start by wrapping your first yarn around the card 50 times. You are wrapping around with the card the longer way round. Don’t pull the yarn tightly as you wrap. Take a length of yarn, about 6” 15cm is ideal, and double knot at one end of the yarn bundle you’ve made really tightly.
Cut across the other end.
Now take a second yarn and wrap another bundle in exactly the same way. 50 times around the long way.
Cut one end and remove it from the card. You are not tying this one just yet.

Lay this 2nd bundle across the first to form a cross. Bring the ends of bundle 2 around the tied middle bit of bundle 1, making sure the ends are pretty level and then tie it tightly together close to the middle.
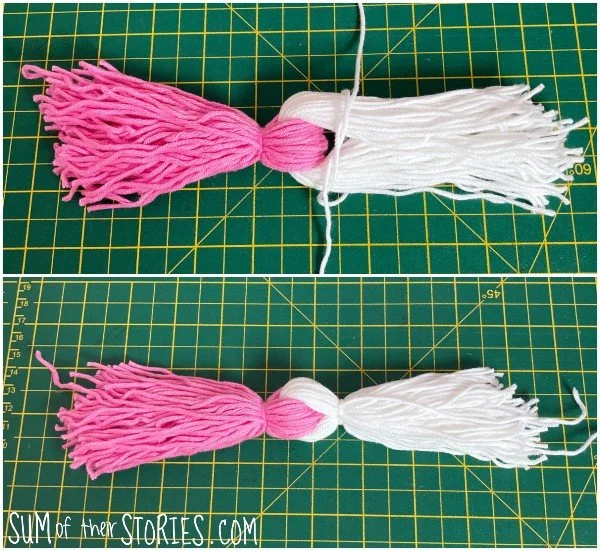
Bring the ends of bundle 1 round in the same way and tie them too.
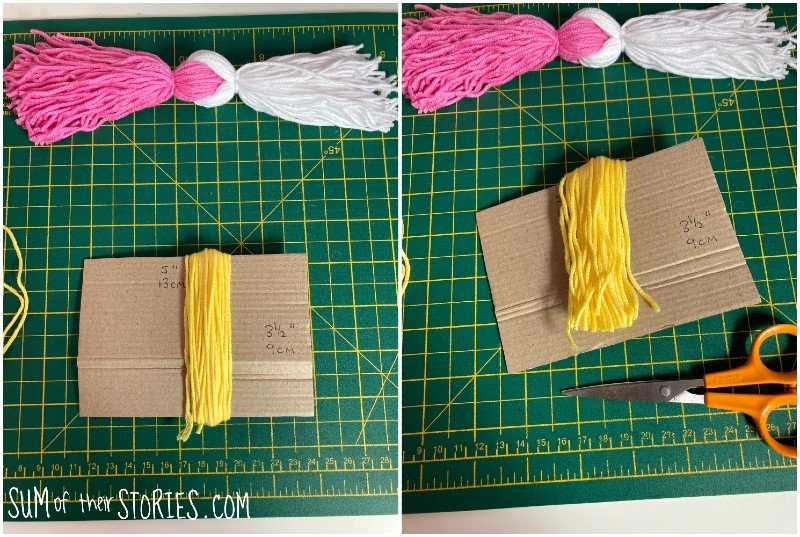
Now take your 3rd yarn and create another bundle by wrapping around your card 50 times again. But this time wrap around the card the shorter way. Cut one end of the yarn as before.

Place this 3rd bundle over the first two, right across the middle.
Fold the bundles up as shown, so the ends of bundle 1 and 2 meet and the ends of bundle 3 meet each other.

Flip your yarn so that bundle 1 is facing up and then pull strands of bundle 3 up the sides to meet in the middle. Tie securely close to the middle. I wrapped the yarn round several times and double knotted it. It looks a bit like a lady with her hands up but don’t worry, it’ll turn into a bird in a moment!

With bundle 1 face up once again, take the ends of bundle 3 and pull them to join at the middle. Tie again in the exact same spot as the last tying but including bundle 3 too.

It’s starting to look a bit like a bird! Now trim the loose ends to form a pom pom style tail. You can trim it quite close to your knots or leave it a little longer, it depends how you want your bird to look.
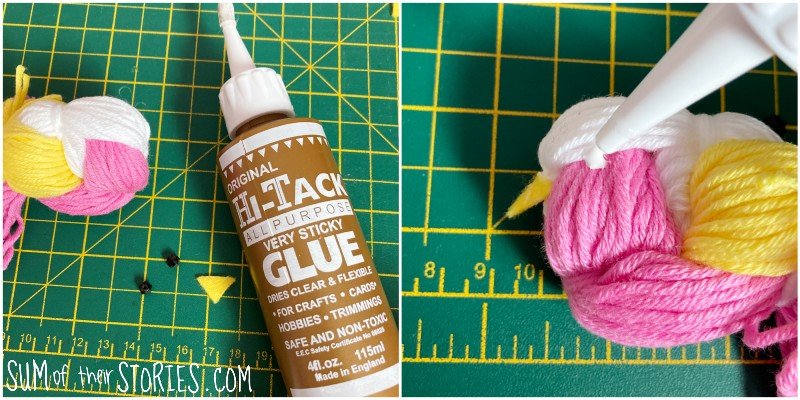
Adding the eyes
Finish your bird by glueing on a tiny triangle of felt for a beak and 2 black beads for eyes. Once the glue is dry your bird is complete.

These measure about 3” (7/8cm) long and are about 1.5” (4cm) high.
You could make larger birds by making your card bigger and wrapping the yarn round more times. I think they’d be a bit fiddly to make any smaller though, but try it out if you’d like, I’m happy to be wrong!
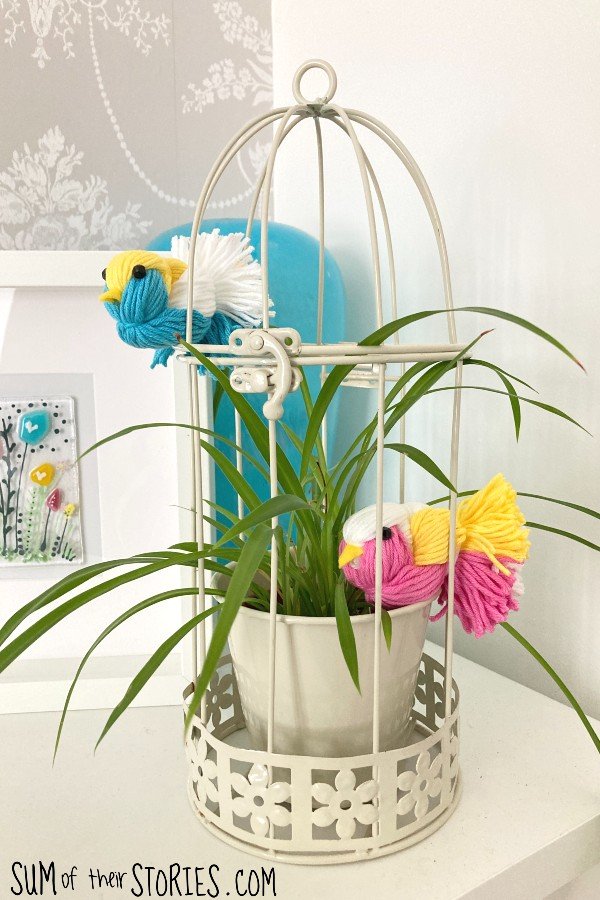
Ways to use your yarn birds
I’m not much of a one for having lovely vignettes of beautiful objects arranged around the house but I have been going around popping my little yarn birds in different spots to see how they look!

I think they could look really cute perched in a wreath too or even used to decorate an Easter bonnet.
Now let’s look at the other Spring craft ideas from the Spring Crafts Blog Hop.

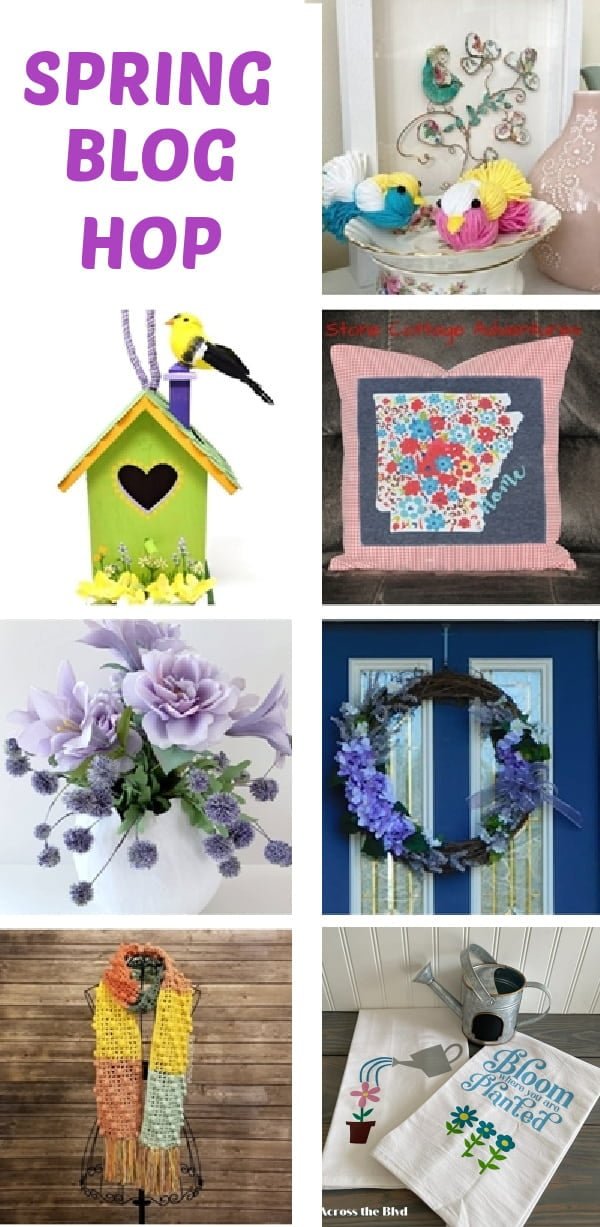
Lacy Mesh Spring Crochet Scarf
Painted Birdhouse Spring Craft
Spring Yarn Birds - that’s this tutorial!
Do you have any scraps of yarn that is just crying out to be made into sweet little yarn birds?
Julie

I’ll be sharing this craft tutorial at these link ups
More craft ideas and tutorials:


