How to sew simple 15 minute Valentine Coasters
/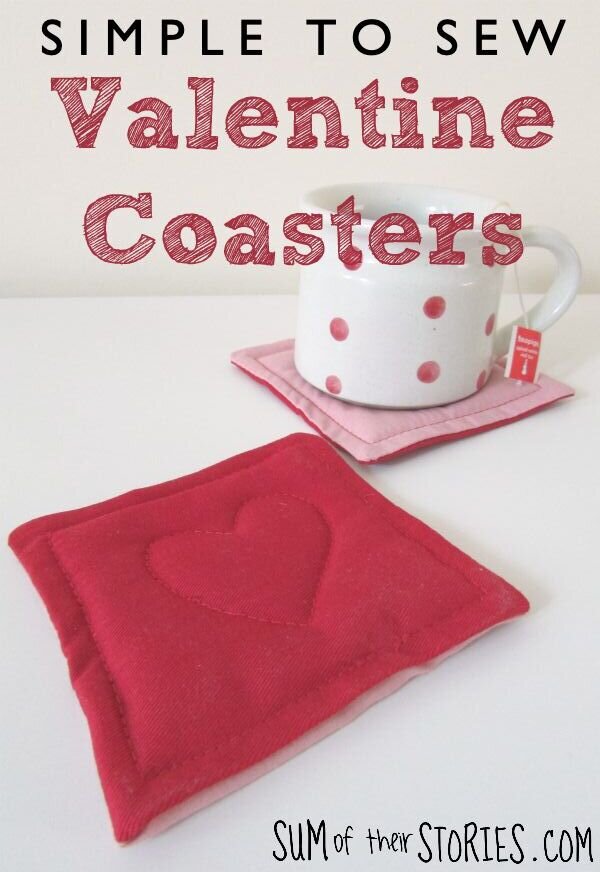

Valentine’s Day is just a few weeks away so I’ve got 2 really simple ideas to sew some sweet Valentine coasters. They’d be useful and cute to have around your house at any time, or they’d be a lovely gift with a cute mug and some special tea bags or coffee sachets maybe? They’d be a fun gift for a loved up couple moving in together too or even an engagement present? I always think a mug stuffed with chocolates with a homemade coaster makes a very acceptable gift anytime!
I love using fabric scraps and have been sorting out my fabric this past week and found some vibrant red thick upholstery or curtain weight fabric and some pink scraps that were from a pillowcase. Red and pink together is one of my favourite colour combos, especially for Valentines so I’ve combined them to make these coasters. Because I was using scraps I’ve only made 3 coasters in total. I guess if you are making a Valentine gift then just one coaster, with a chocolate filled mug is perfectly acceptable. For a house warming or engagement gift you’d probably want to make at least 4 or 6 as a set wouldn’t you? Running out of a particular fabric is the one drawback of stash busting!
Both of these ideas are super quick and easy to make. It took just under 15 minutes per coaster and that’s including the cutting out.
Let’s start with the more padded, quilted heart coasters.
Quilted Heart Coasters Tutorial
You will need:
1 piece of red fabric 5 x 5.5” (12.5cm x 14cm)
1 x piece of pink fabric 5 x 5.5” 12.5cm x 14cm)
1 x piece of a think wadding or batting 4 x 4” (10cm x 10cm) You could use a piece of felted jumper or old wool blanket instead if upcycling is your thing
Matching thread
An air or water erasable fabric pen (not photographed)
You’ll also need scrap paper, scissors and a sewing machine

Place the two pieces of fabric together and sew 3 sides, leaving one of the shorter sides open. I used a 3/8 seam allowance (that’s 1cm) . Clip the corners and then turn out and press.

Tuck the open edge in to form a large hem, so the coaster is square - it should be a fraction over 4” or 10cm. Press with the iron then place the square of wadding/batting or felted wool inside. Something flat like a ruler will help you get the corners into place neatly. Then turn the open end in again.
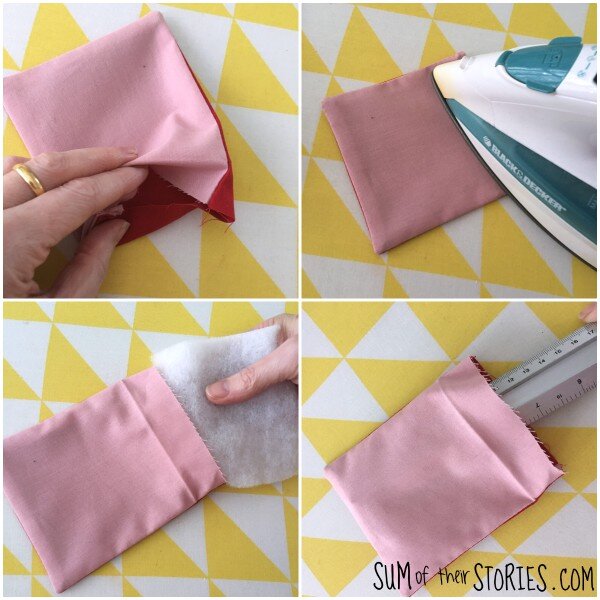
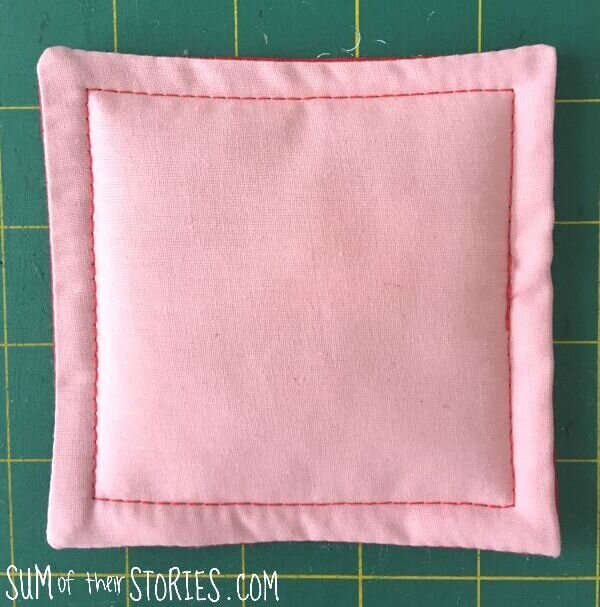
Top stitch all around the coaster which will hold the wadding in place and close the gap for you to.
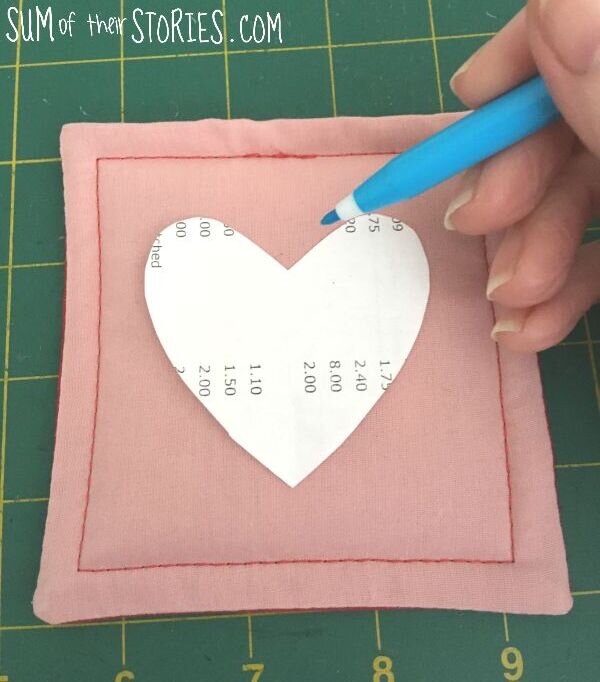
Cut a heart template from scrap paper, you can free hand it if you prefer but when I tried that it was all a bit lopsided so I’d recommend a template unless you feel confident. Draw round the template with the air or water erasable pen onto the coaster.
Now stitch round the heart motif. If you have an open toe or freehand embroidery foot for your sewing machine you could pop that on now. You can quite easily just leave the normal foot on though. Just stitch REALLY slowly, especially as you go round any tight bends. I turned the wheel by hand on those top bends for a few stitches and you can get a nice smooth rounded stitch line. You could always do this stitching by hand with a running stitch if you prefer.

Actually, as you can see in this photo I actually had the walking foot on my machine, that’s not necessary, I’m just a bit lazy when it comes to swapping it on and off!
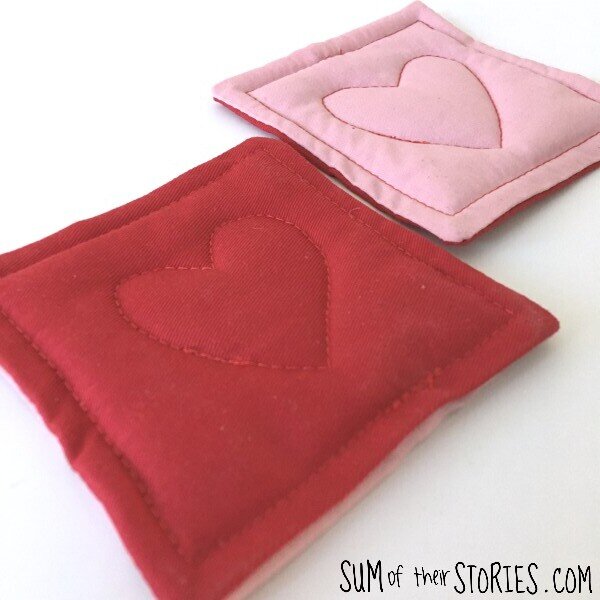
Anyway, that’s it - quick as that and your coaster is finished!
You can stitch in a matching or contrast thread. I tried one of each to see which I preferred. Both times I threaded the machine with the red thread at the top and pink in the bobbin. I just varied which way up the coaster was. I know you shouldn’t mix threads normally but I’ve always found that if I use the exact same type and make of thread top and bottom but just in a different colour it’s been fine.

I think I prefer the same colour thread myself.

Next is a reverse applique style coaster.
This one came about because when I was playing about with my red and pink fabric scraps to make the padded coasters above I started by cutting a few 4.5” (11.5cm) squares and then realised they were too small, the coasters would have ended up much too small. But as I said at the beginning, this is a scrap buster project and didn’t want to waste those squares that I’d cut.
Reverse Applique Heart Coaster Tutorial
You will need:
2 pieces of red fabric 4.5” x 4.5” (11.5cm x 11.5cm)
2 pieces of pink fabric 4.5” x 4.5” (11.5cm x 11.5cm)
matching thread
An air or water erasable fabric pen (not photographed)
You’ll also need scrap paper, sharp pointed scissors and a sewing machine
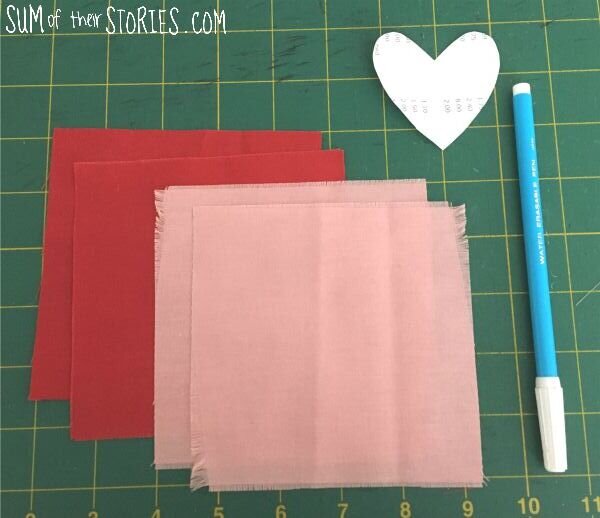
Fray the edges of all the squares of fabric.
Cut a heart template from the scrap paper and use the erasable pen to draw round it onto one of the squares.
Cut out the heart and then layer up all 4 squares with the cut out heart on top.
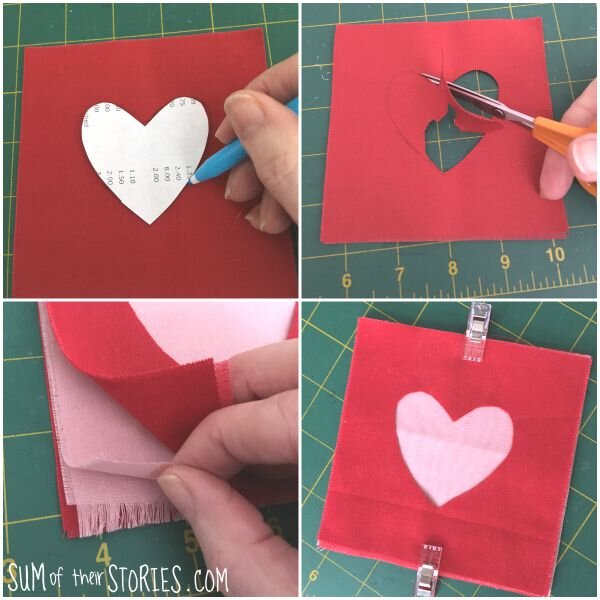
Top stitch around the coaster and then stitch around the heart, close to the edge.
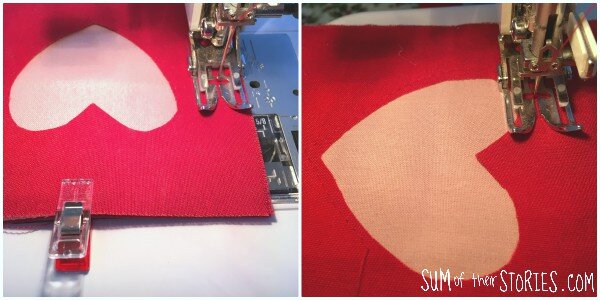
That’s it, this coaster idea is even quicker!


If you are a beginner sewer and just thinking about taking up sewing as a hobby then you might find the article I put together on “What you need to get started sewing” helpful. I list all the equipment that you’ll need, the essentials that you can’t really manage without.
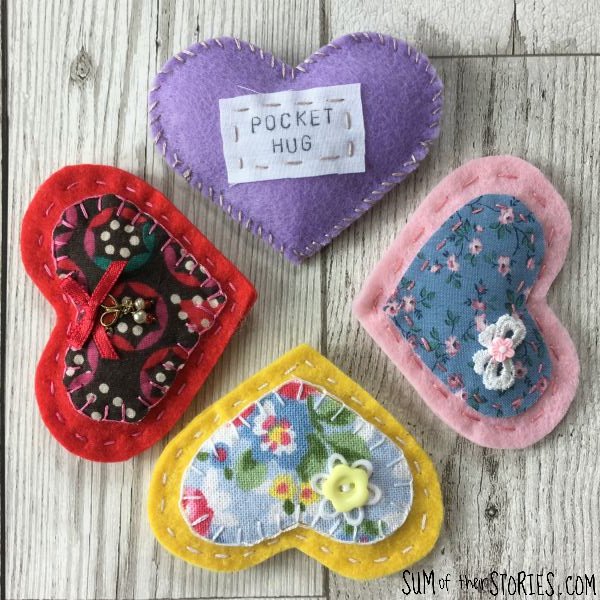
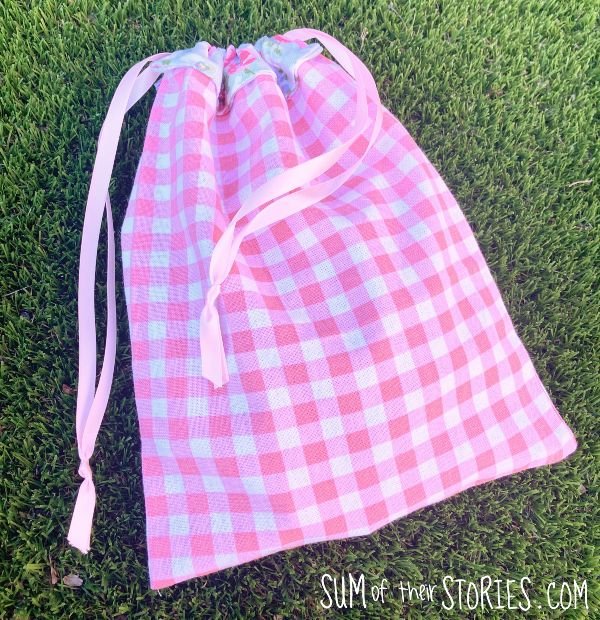
I’ve put together a collection of Valentine themed sewing projects too which you might find useful:

2 simple ways to sew coasters for Valentine’s Day (or an anniversary, engagement or housewarming gift) They take just a few minutes to make so you can make a whole set in next to no time.

I’ll be sharing this idea at these link ups
More simple sewing projects: