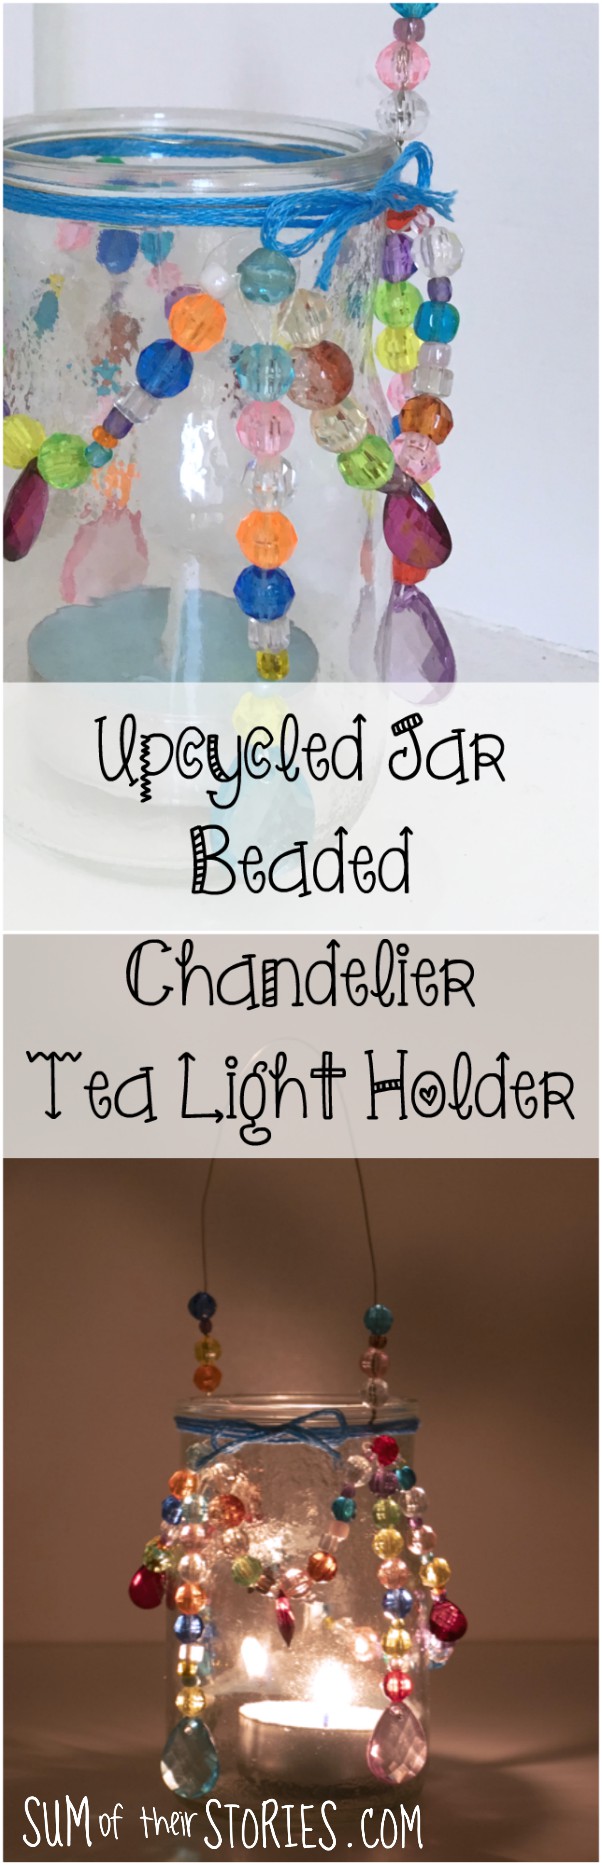
Upcycled Jar Beaded Chandelier Lantern
/
This is a paid post in partnership with Bostik. I was also provided with the glue dots that I used to make these glass jar tealight holders by Bostik.

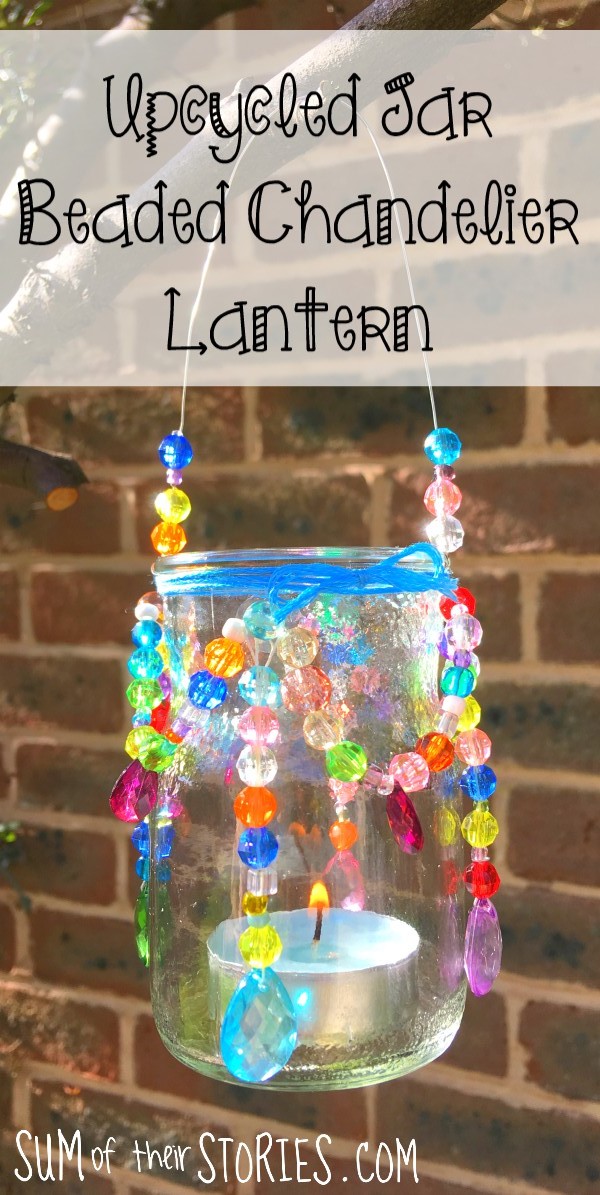
Upcycle an old glass jar to create a boho chic beaded chandelier style tea light lantern.
You can use any glass jar in any size that you like or have. Mine is a little jar that used to have a sauce in it. If your jar is bigger you can easily adapt this idea and make your bead thread longer, add more bead swags etc. You could add a bigger candle or pop several tea lights inside. A pretty jar with an unusual shape would work well. I’ve got my eye on an octagonal honey jar in our cupboard, once the honey is all eaten that jar is mine!
This beaded jar tutorial is quite long and detailed. I am afraid I might be making it seem much more complicated than it actually is but I wanted to share the entire process with you so you can make your own cute beaded tealight holder too. There are also lots of photos to help you understand what on earth I am on about!!
Upcycled Jar Beaded Chandelier Style Tealight Holder
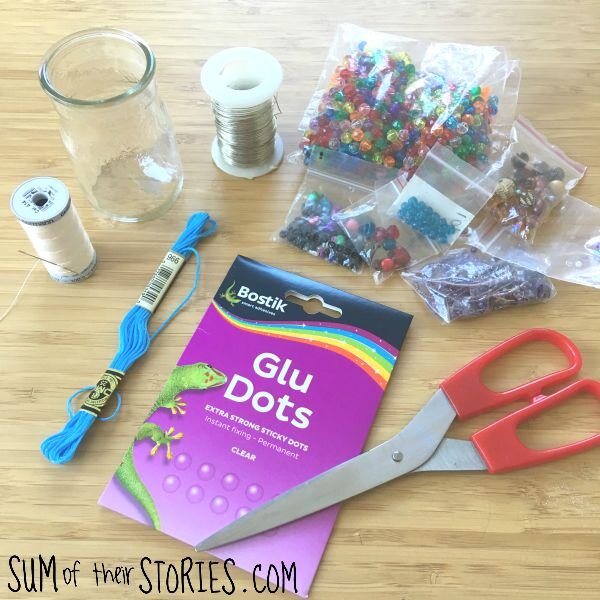
To make your own tea light boho chandelier style lantern you will need:
an old glass jar - mine is a little one that used to hold a sauce
Lightweight Beads - I picked a mix of glass and plastic beads from my stash
Strong thread (dental floss works well for this as well)
Needle
Scissors
Bostik extra strong glue dots , hot glue or other strong glue that sets almost instantly - something like a superglue would work too.
Embroidery thread, twine or ribbon
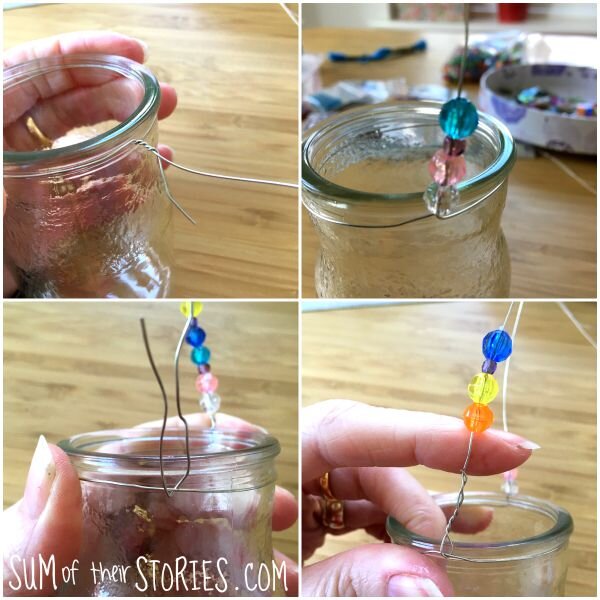
Create the handle
First prepare the handle. Take a length of jewellery wire long enough to go right round the top of your jar, form a handle plus a couple of inches. My jar is 18cm (7”) circumference, the handle is 18cm (7”) so I cut my wire 18+18+4=40cm (7+7+2=16”)
Wrap it round the top and twist to secure. Pop 8 beads onto the handle, bend the handle over to the opposite side of the jar, thread through the existing wire and twist again to secure.
Even the beads out on each side and it should look something like this:
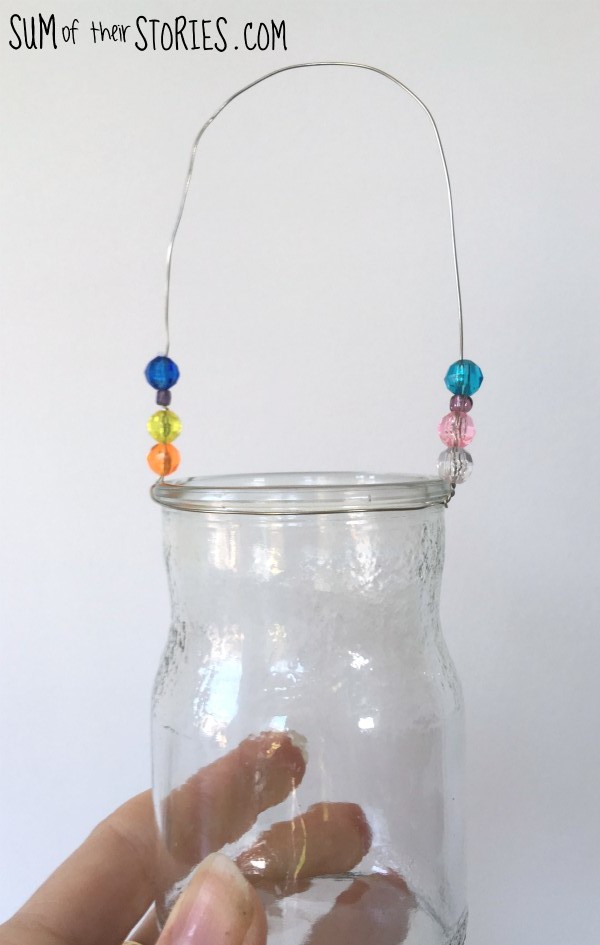
You can add more beads to the handle if your prefer, I just liked the look of a few on each side.
Create the bead swags
Next create the bead “swags”
Exactly what you create and the size of it will depend on what beads you have and how big your jar is. I’ll explain what I did for my little jar, then you can just adjust your measurements as you see fit.
Take a long length of extra strong thread or dental floss and thread on your beads. I found some sweet little tear shaped beads in my stash so I wanted to create fairly even “swags” so they would fall at the bottom. You could avoid all this next bit and keep it really simple if you prefer, and just thread a load of evenly sized beads to your strong thread.
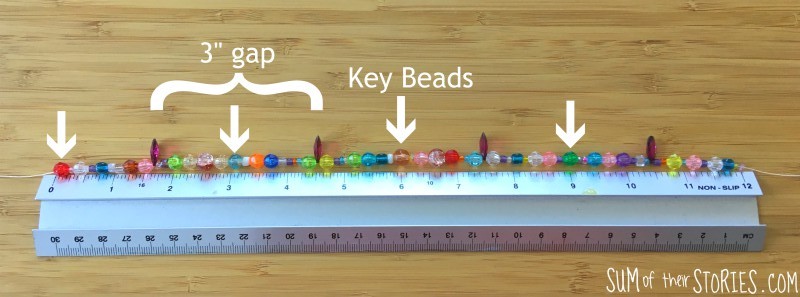
I wanted 4 x 3”(8cm) swags so I threaded my beads as shown below. I was using a big ol’ mix of bead sizes so I just made sure that at 3” intervals I had what I’m going to call a KEY bead - that is one I would fix to the jar. I added the tear shaped beads at even intervals between the KEY beads.
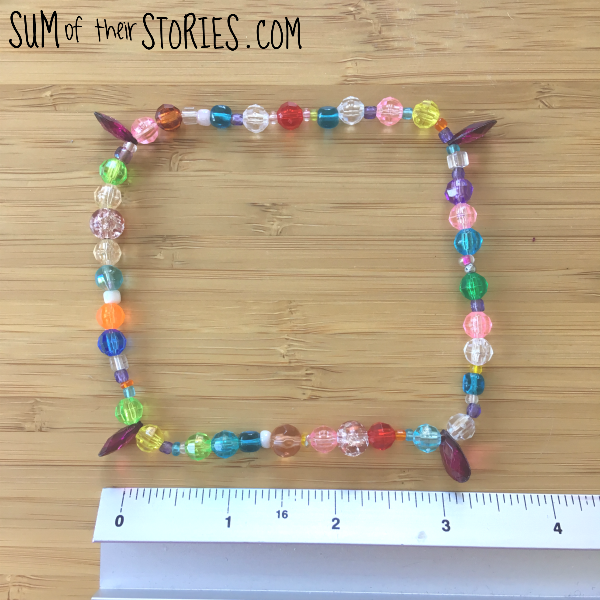
When that was finished I simply formed it into a loop by tying a double knot to secure then I threaded the thread back through a couple of beads to “lose” the ends.

I’d created what looks like a big non stretchy bracelet.
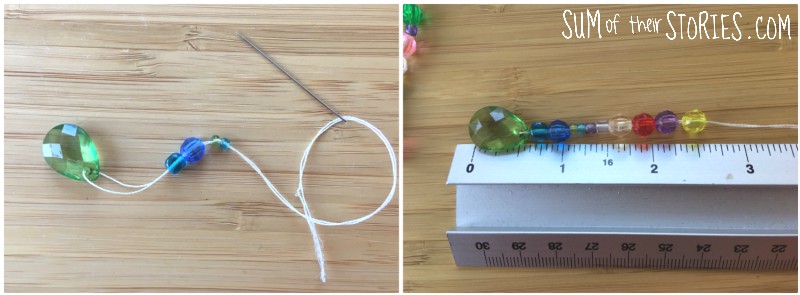
Next I made some “dangles”!
I threaded a tear shaped bead (these were left over from my Cluster Drop Necklace of a few years ago) on a length of extra strong thread, then re-threaded the needle with both ends of the thread. Then I added enough beads to make a 2.5” dangle.
I secured this to one of the KEY beads from earlier.
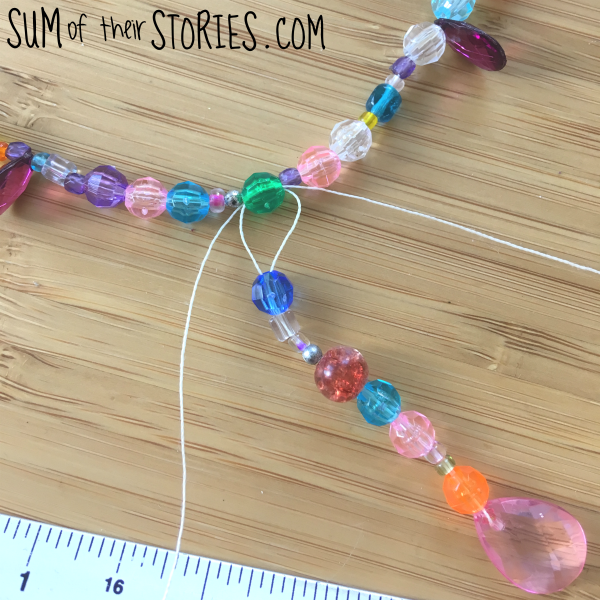
Once that was completed 4 times I had a beaded contraption that looked like this ready to attach to the jar.
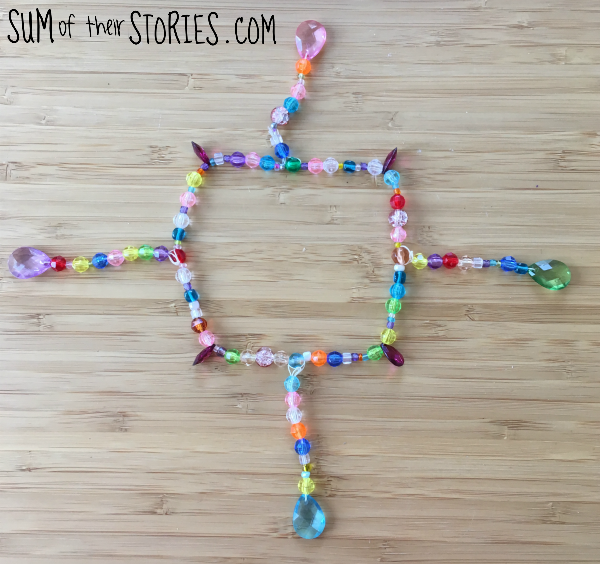
Securing the beads to the jar
The Bostik Extra Strong Glue Dots come on a sheet. just separate a dot then peel off the backing paper. Place the dot (still on the clear plastic) just below the wire at the top of the jar and then press firmly with your nail. Peel off the plastic square and the press one of your KEY beads onto the glue dot. Repeat 3 more times evenly round the jar. You can use a hot glue gun if you prefer or even a super glue. You just need a glue that dries almost instantly and holds firmly. It would be too difficult to manage if you used a slow drying glue, I can’t see how you’d be able to hold the beads in place whilst the glue sets. I found these glue dots ideal for this reason - no mess!
Update: As someone suggested in the comments, you could secure the ‘key’ beads with fishing wire or dental floss too, I think that would work really well.

I found it easiest to get the swags even if I glued a KEY bead under each handle first, then it was easy to find the mid points between them.
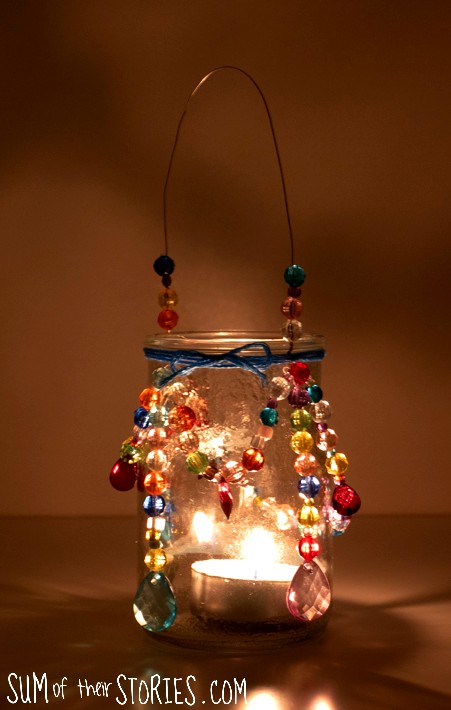
Finish the beaded chandelier lantern with a little embroidery thread tied around the top.
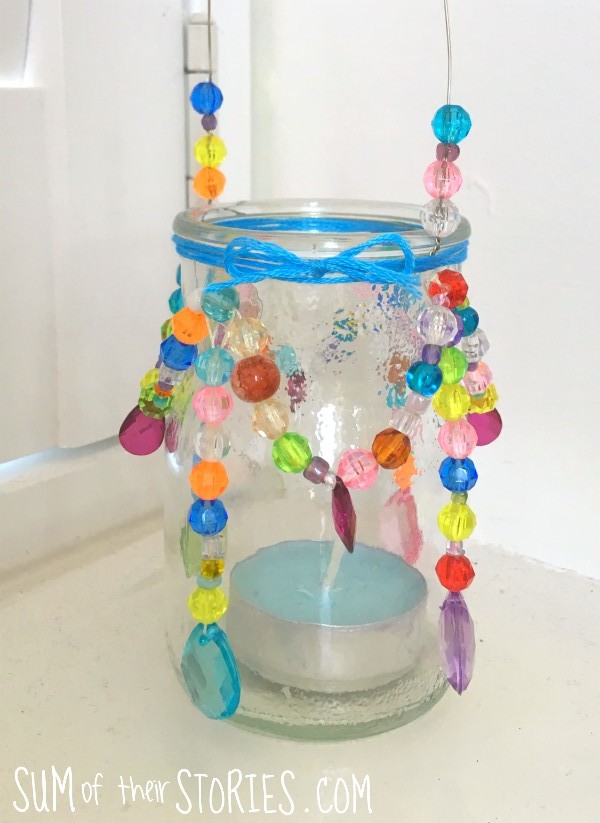
My little sauce jar is just the right size for a tea light.
You can add several tea lights or even a candle if your jar is bigger. A big Bell or Kilner jar would look great with a bundle of battery operated fairy light bundled inside. The way the light catches the beads is really pretty.
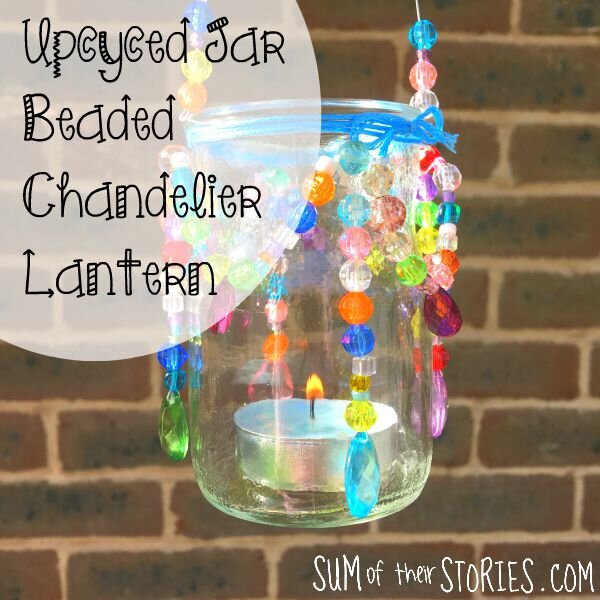
It happened to be a lovely sunny Autumn day so I took my lantern outside, hung it on a tree and photographed it as the sun glinted through the branches.
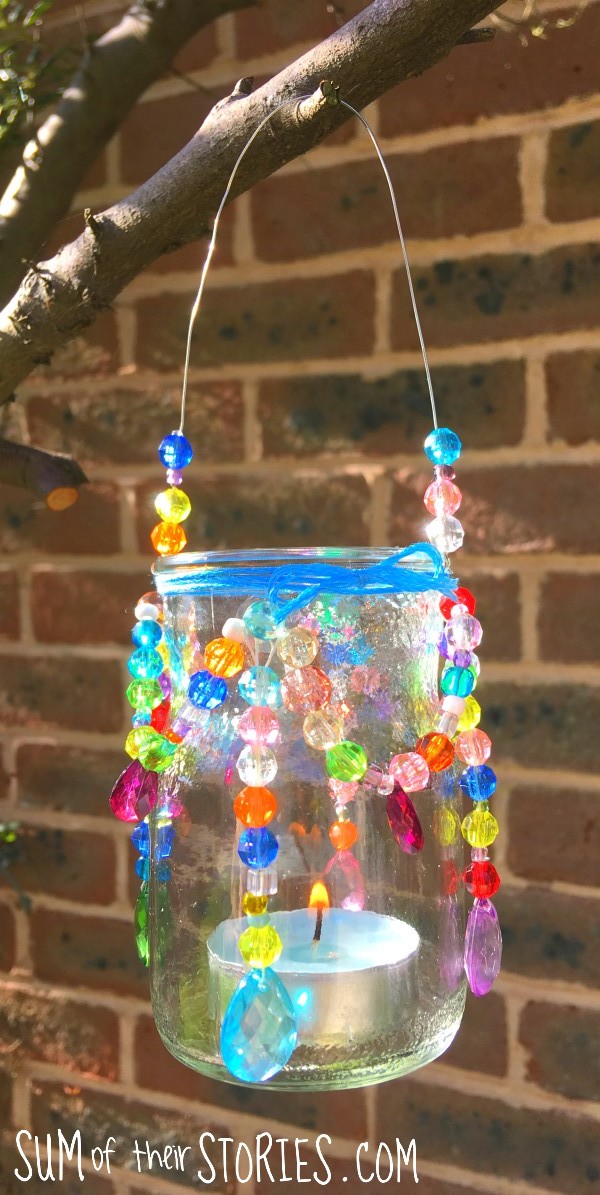
I’m loving the pretty boho mix of colours and beads but you could theme yours with a specific colour palette. Reds, greens and golds would look amazing for Christmas, with a battery operated tea light these would be so pretty on a Christmas tree or as part of a mantlepiece display.
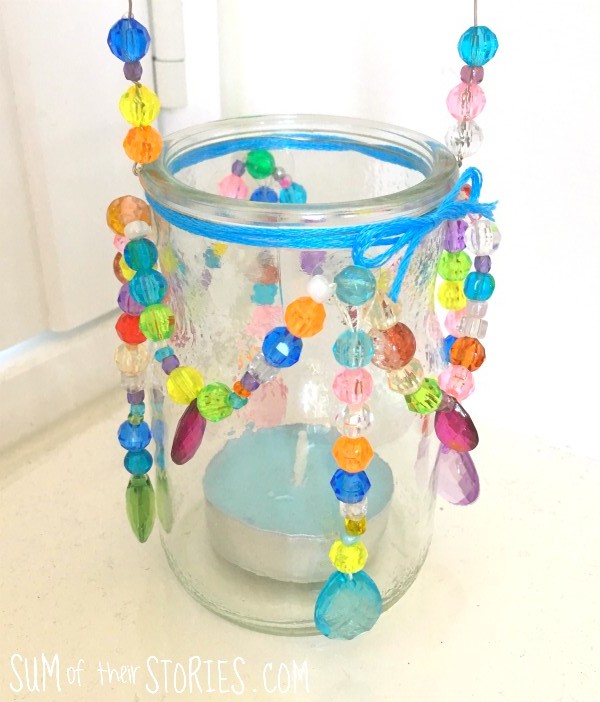
The Bostik Extra Strong Glue Dots hold the weight of these beads well and because they are clear they don’t really show at all. If you had very long swags on a much larger jar, or very heavy glass beads you might find it helpful to add more dots along the length of the beaded thread to help with the weight or use a strong glue like super glue in addition to the glue dots. (or secure with fishing wire, see the comments below)
I tested the lantern with the tea light lit for a good hour or so too, just to check if the warmth would affect the sticking power of the glue dots. It was fine, no slipping at all.
I also wondered if the handle wire would get hot with a real flame. The handle I made was long enough for this not to be a problem, maybe a short handle which is closer to the flame would get hot, I don’t know. If you are not sure you can always use a battery operated tea light instead.
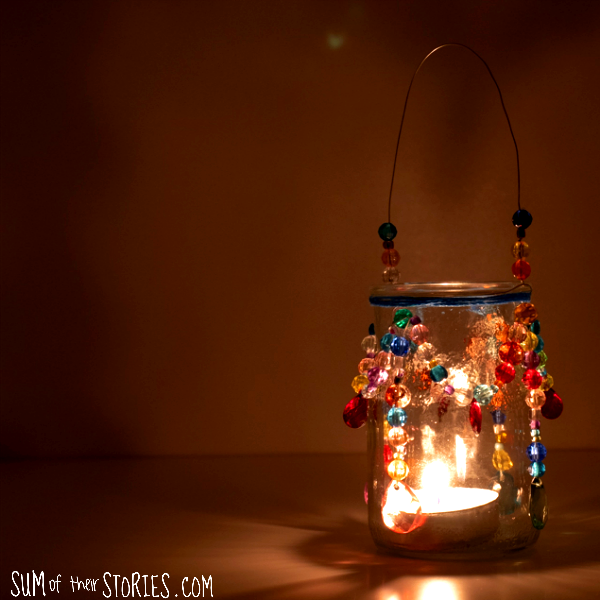
I love my little boho chic tea light lantern. It’s as pretty in real life as the idea was in my head before I started (and that doesn’t always happen, believe you me!)
Julie
I’ll be sharing this idea at these link ups
If you like recycling old jars and containers to make lanterns you might like these ideas too: