

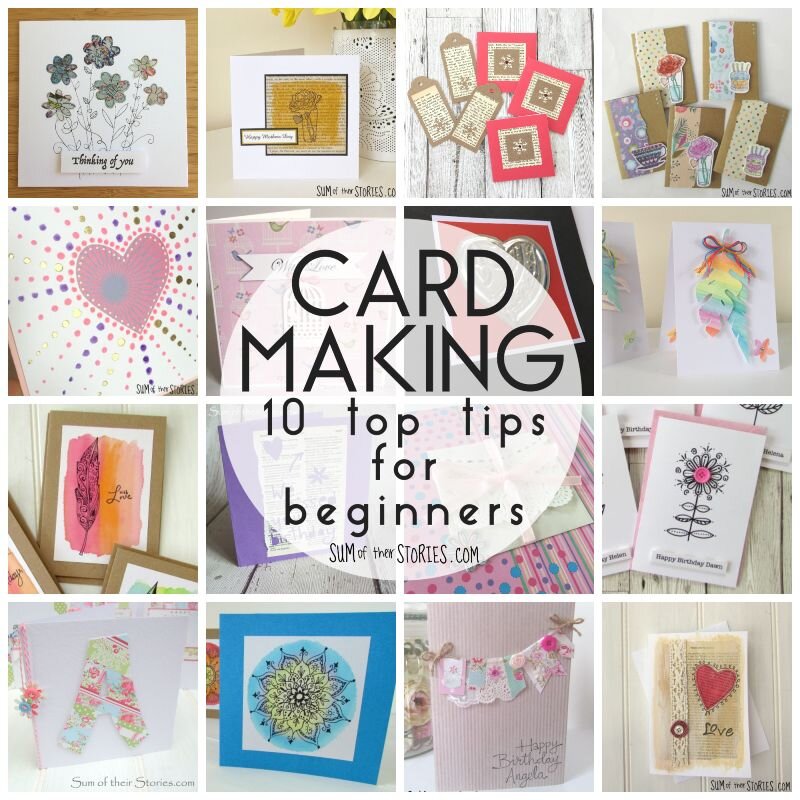
Cardmaking - 10 top tips for complete beginners
/

The 1st Saturday of October each year is World Card Making Day. This year it this falls on 2nd October.
Cardmaking is a great papercraft because it’s easy to get started, you don’t need masses of equipment AND the results are so useful. We all have family and friends who we want to send cards to, for all sorts of different occasions throughout the year. You get the pleasure that comes from crafting and they get a nice card - it’s win win!
So, in honour of World Card Making Day I’m sharing my top 10 card making tips for complete beginners.
1: Buy packs of ready made card blanks and envelopes
Yes, you can buy sheets of card and make your own card blanks, you can buy lovely papers and envelope makers to help make your own envelopes. However when you are starting out I would seriously recommend just buying a few packs of pre made card blanks in a few different sizes. It’s easier and you can just get on with the fun bit. We’ve all made random sized cards and then struggled to buy or make an envelope that it fits in! Save yourself all the trouble and just get some packs.
Get a few different shapes and sizes. You’ll soon get to know what you prefer but starting out you don’t know what your favourite is yet! My personal favourites (and I realise there is a mix of metric and imperial here, I’ve just gone by what is on the packaging!) are:
5” x 7” rectangles, you can use them portrait or landscape
6” x 6“ squares - nice and big without being too enormous
4” x 4” square - they are kind of tiny and cute
Tall cards, 105mm x 210mm - these envelopes are the same size as DL, the standard ones business letters are sent in.
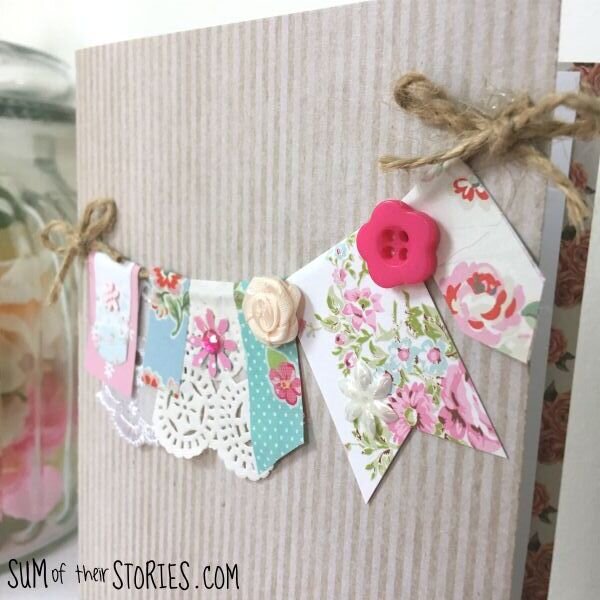
2: Buy a couple of paper stacks
You do not, I repeat you DO NOT have to spend a lot of money to make lovely cards. You CAN spend a lot of money but you don’t have to! Especially not when you are just starting out. Build up a stash gradually, get bits as and when you can afford them, put things you’d like in a list so your family and friends can get you supplies for your birthday and Christmas or even better just let them know where you like to shop and request vouchers!
All that said, a couple of nice paper stacks or packs with some coordinating patterned papers is going to be really useful. Something like this, this or this would be useful I think, but obviously choose something that suits your own taste.
Just a quick extra note, if you are using papers that are not from a coordinated pack, ie you are putting them together yourself, then do check the colours work in the daylight. A lot of us do our crafting in artificial light and colours can look really different. You don’t want to work hard on a card one evening and then find when you see it in the morning that the colours are all off.
3: Get a couple of cardmaking magazines
I wouldn’t necessarily suggest subscribing long term to a card making magazine, you’ll end up with a lot of repeating ideas but they are a fabulous source of ideas when you are starting out. Look for ones with a free gift attached. Inside will be ideas on how to use the free gift and you will have started building your craft stash already.
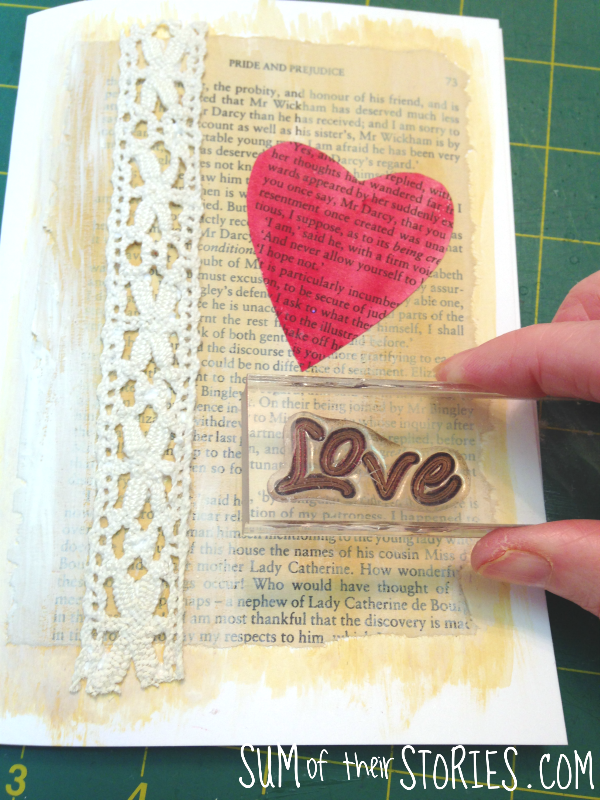
4: Repurpose things you already have
Look at items around your house with fresh eyes, there will be lots of things that you can repurpose for your card making.
Old cards that you have received will have embellishments that you can carefully peel off and reuse
Colourful envelopes are a top source of paper
Old magazine pages can be used creatively - like these pretty cards and these floral cards
A paper doily (a clean one that’s not been used!) can be really pretty on a card, like this doily mini envelope card
Ribbon from your garments, those little ones at the shoulder, can be snipped off and turned into bows
Broken jewellery can be repurposed and used on a card
There’s a lot of tutorials online to show you how to use pretty paper napkins for card making
The kids colouring pens and pencils are just as good as super fancy ones when you are starting out
You can use wrapping paper on your cards if it’s great quality, but the thin stuff probably won’t work. It tears and wrinkles very easily so could be frustrating.
5: Join Facebook Groups for ideas and support
If you are on Facebook then think about joining one of the many lovely card making groups. Some are more active than others, I’m in this one and it’s very lively and full of people with all levels of ability. You can just loiter in the group and glean ideas or share photos of what you make and get feedback.
6: Follow some card making blogs for more great ideas
The internet is awash with creative people sharing card making ideas. Blogs and You tubers will show you step by step how to create a specific card. You can follow these tutorials step by step of course but that means buying everything they used. You might prefer to use these kind of tutorials to gather ideas, layouts for cards that appeal to you etc and then look at the supplies you have and see how to make your own version of their cards.
These are some I’d recommend:
You can find all my card ideas here too.
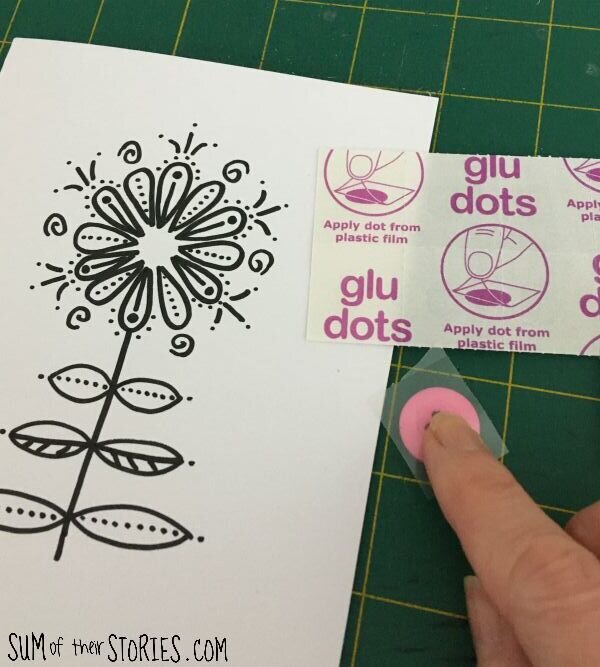
7: Use good quality glues tapes and adhesives
There are places to save money and places to buy decent quality stuff. Your glues, tapes and adhesives are not the place to scrimp and save. Useless glues that don’t hold properly are just a massive frustration. There are lots of different adhesives to choose from, I go into more details of the ones I use in my What you need to get started : Papercraft post.
8: Think about the thickness of your finished card
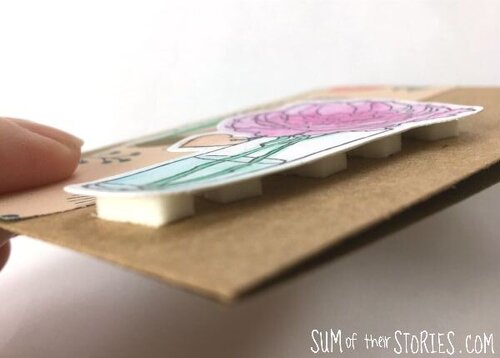
If you are posting your card when it’s finished think ahead about how thick it’s going to end up. Layering things up, lifting them with foam pads, adding fabric flowers, buttons, beads etc is a great way to get some texture and interest to your cards but if you layer things up too much you might find you need to pay additional postage costs. Research your countries postage sizes and prices and bear it in mind. I tend to save highly embellished cards as ones that I’ll be hand delivering.
9: Don’t give a handmade card to someone who is just not into that sort of thing
This one sounds harsh, but seriously, don’t waste it! Give your handmade cards to people who appreciate handmade things.
10: Remember that comparison is the thief of joy
DO NOT under any circumstances beat yourself up because you don’t think your card looks as good as someone else’s. Some of your cards will work better than others, that’s ok. You live and learn. Practice makes progress etc etc . As long as you are following tip 9 all will be well. Which leads us on nicely to my last bonus card making tip…..
Have fun!
Otherwise what is the point? Use your card making as a chance to express your creativity. There is no right or wrong. Some cards you make will be amazing and some not so much. Think of each card as a little canvas for you to create something that you want to. Enjoy the process. Some cards will take ages and some you will be able to knock out in 20 minutes. Either is perfectly fine. You’ll develop your own style as you go along. By selecting inspiration that appeals to you, you’ll automatically be influenced to create cards that fit with the aesthetic that you like.
If you want more information about the kind of equipment and resources that can be useful for card making then you might like to read my guide to What you need to get started - Papercraft.
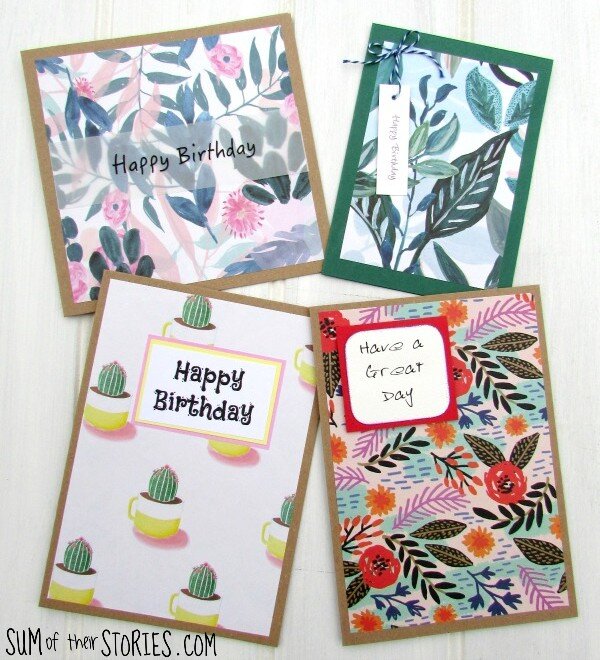
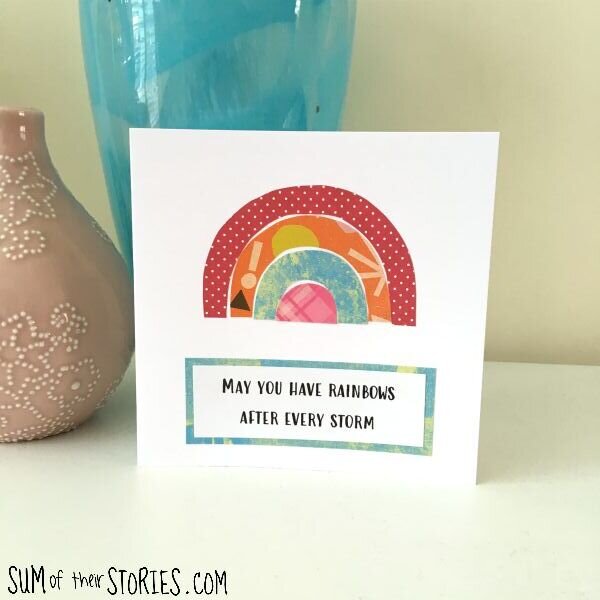
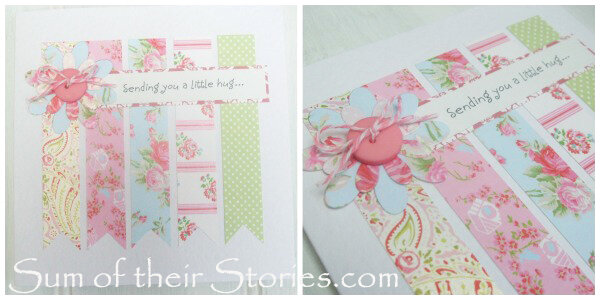
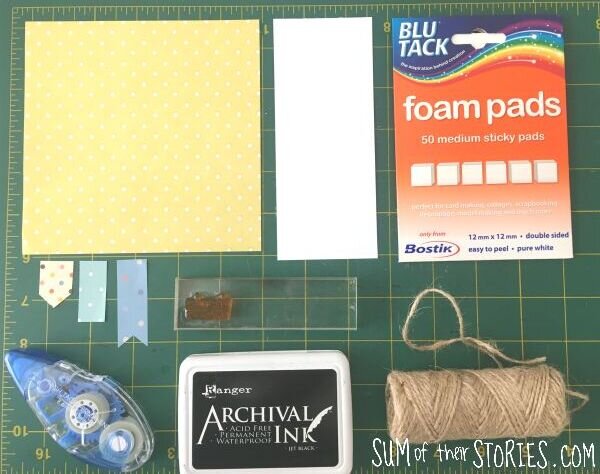
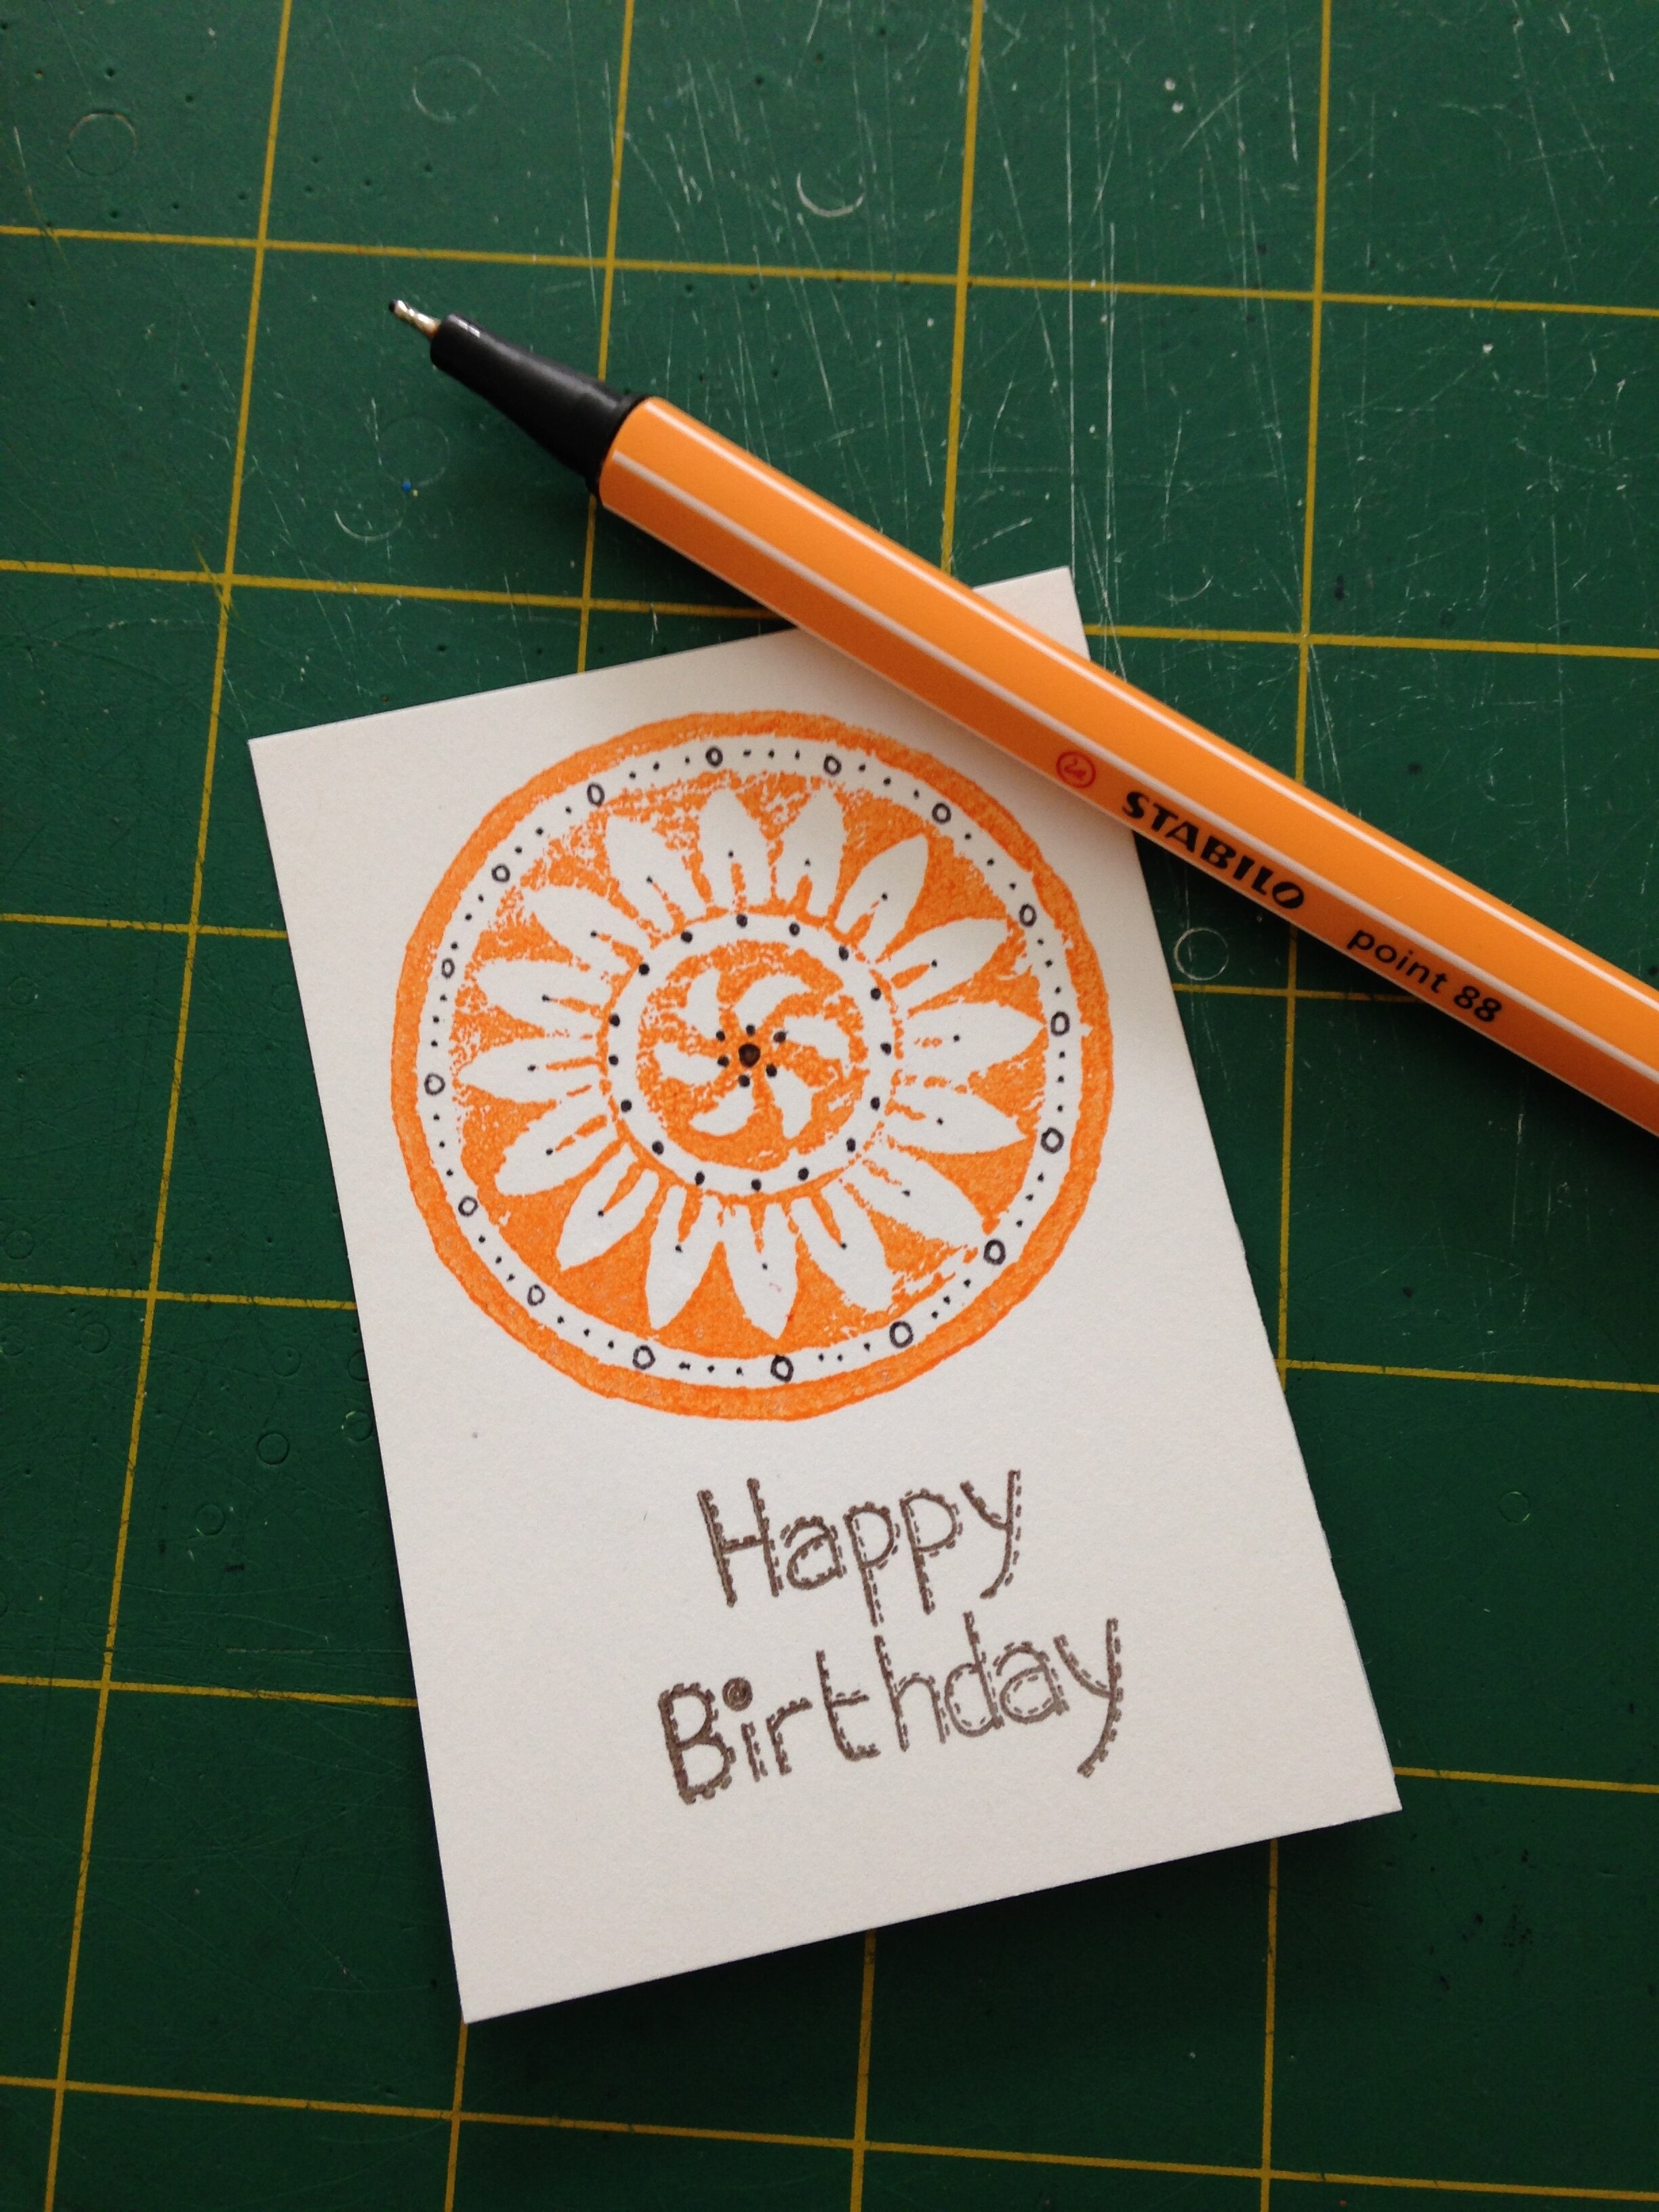
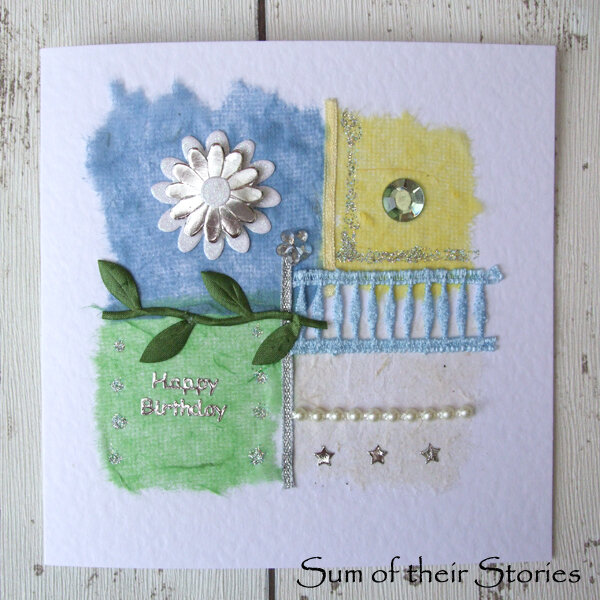
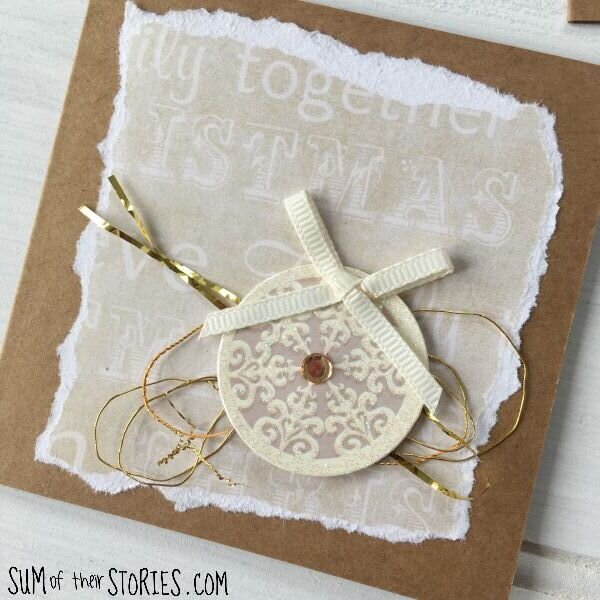
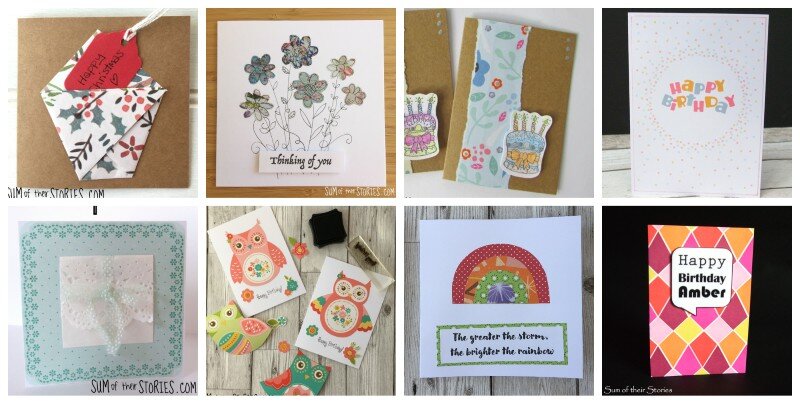
I’ve shared a number of card making tutorials over the years, you can find them all here. Lots of the ideas are perfect for beginners. All the photos in this post are from my card tutorials, if you click any of them you’ll go straight to the tutorial to make them.
Julie
I’ll be sharing these top tips at some of these link ups


