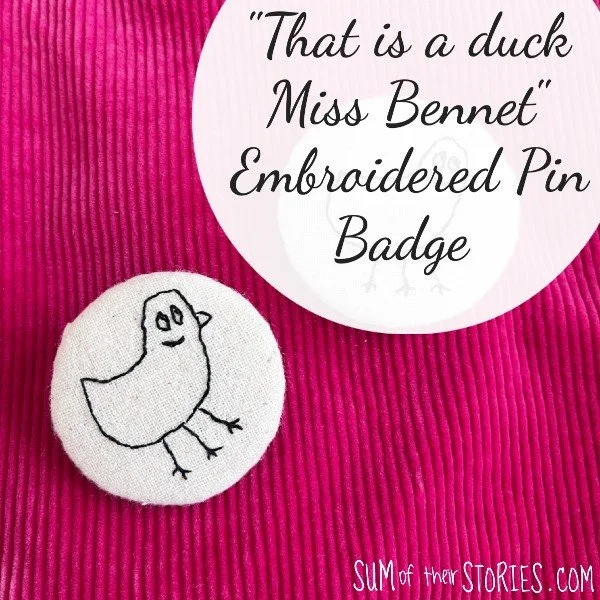
"That is a duck Miss Bennet" Embroidered Pin Badge
/
I’ve always been a big Jane Austen fan, I love all her books and enjoy film and tv adaptations to varying degrees. I have enjoyed some fanfiction spin offs over the years; Lost in Austen back in 2008 was one that my mum and I both especially enjoyed and would talk about together.
Recently I have fallen in love with the tv show The Other Bennet Sister. I found the whole thing absolutely delightful. Delightful is not a word I use often but in relation to this show it feels apt!
There is just so much to love about the show. My favourite bits were, in no particular order:
The dreadful red dress.
Mrs Gardiner.
Mrs Hill.
The conversations and hug with Lizzie.
The conversation with Mr Collins.
Four legs! Cannot Vomit!
The candle blowing out, toe stubbing scene.
And of course, Mr Hayward’s “quite terrible” drawings.
Note for my international friends: I gather than the whole show is not yet available in all parts of the world so you might not have got to the scene with the duck drawing yet. You are in for a treat!
I thought it would be fun to embroider a tiny “duck” just like Mr Hayward’s and at first thought I’d maybe stitch it onto a t-shirt or shirt collar points or perhaps even a bag.
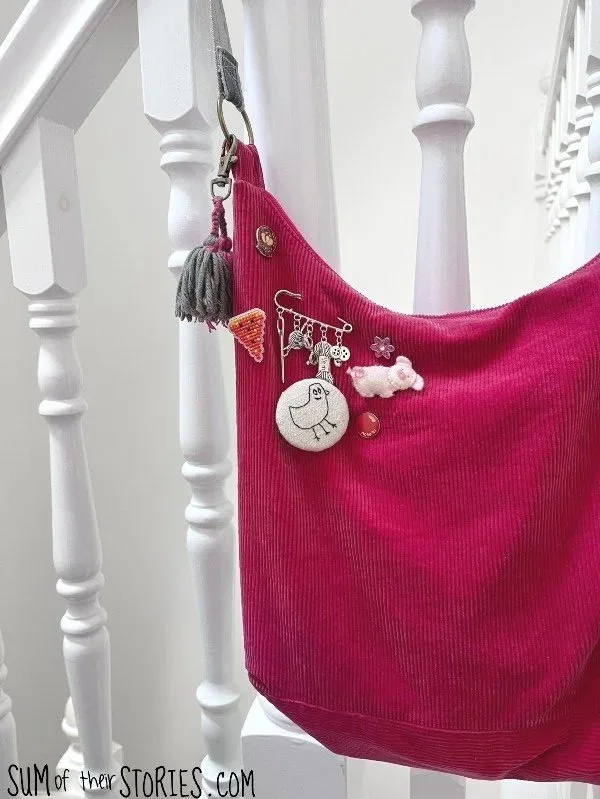
In the end I decided on a badge (or pin as I believe you call them in the US) that way I can demonstrate my fandom in a discreet but fun way and move my embroidered duck to any garment or bag at any time.
To make your own “That is a duck Miss Bennet” badge you will need:
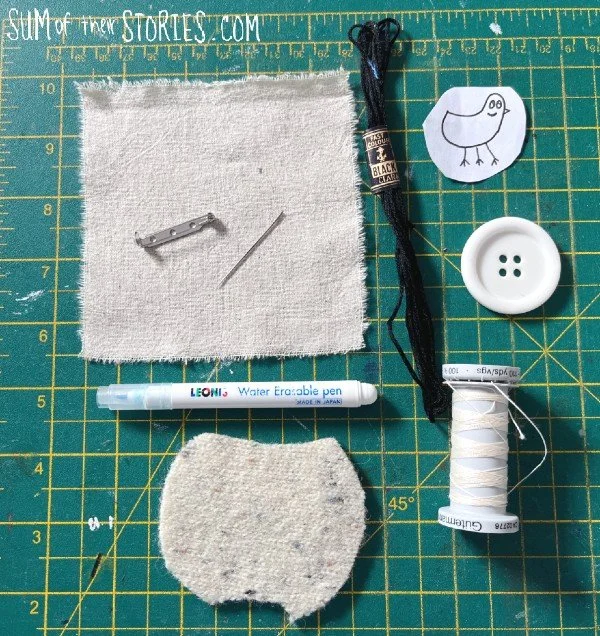
A small piece of plain fabric - mine is 10cm/4” square
Black embroidery thread
A sharp embroidery needle
A water erasable fabric pen
A scrap of felt
Plus either:
An old large badge OR a large button or disk and a sew on badge back
Embroidering the duck design
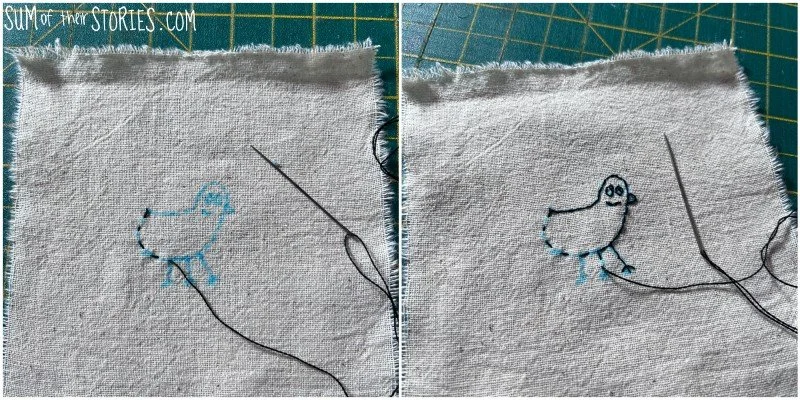
Start by transferring the “duck” design to the centre of your fabric using the window transfer method and a water erasable fabric pen.
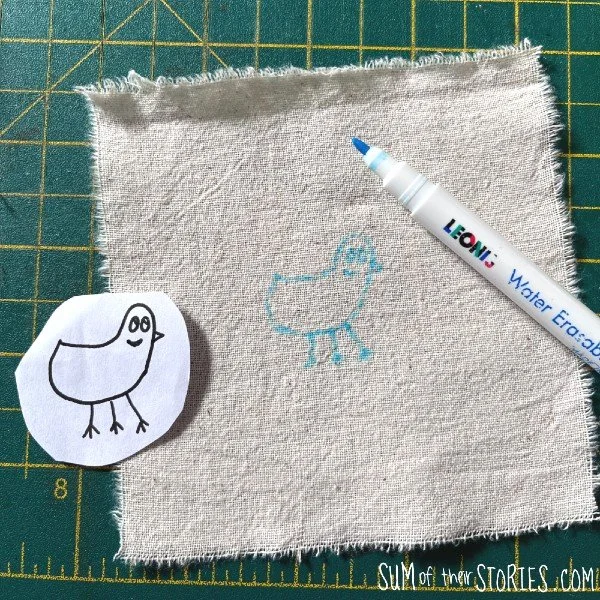
You can either just copy it yourself (thankfully this is a nice easy design!) or you can download and print the one I drew here:
Stitch over the design using a single strand of embroidery thread and a double running stitch. Double running stitch is when you stitch a running stitch all the way round your outline and then go round again filing in the gaps - embroidery doesn’t get any simpler than this! I’ve got more information about basic embroidery stitches here if you are new to embroidery: Simple embroidery stitches for beginners.
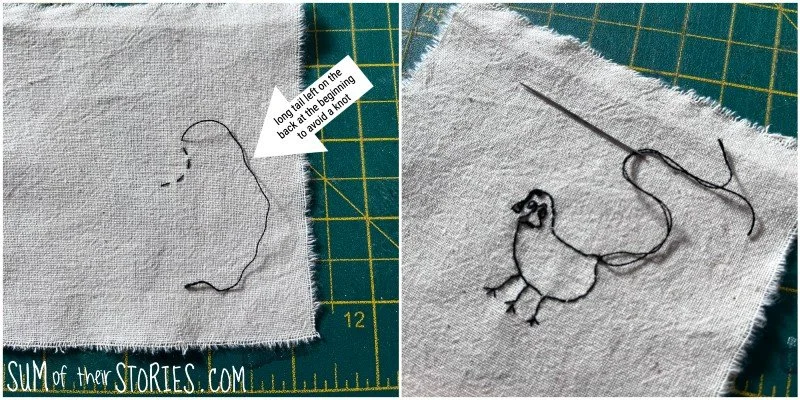
I avoided bulky knots by leaving a long thread at the start and then just weaving it in on the back but to be perfectly honest a knot would probably be just fine on a badge if you find that easier.
When your embroidery is complete remove the erasable pen by spraying with water and press the fabric with a warm iron to smooth and dry it.
Making the badge/pin
You need a firm disk, just under 5cm or 2” in diameter, to create your pin badge. My original plan was to simply cover an existing large old badge and just cover it with the embroidery. Unfortunately I couldn’t find any old badges even though I know I have a stash somewhere.
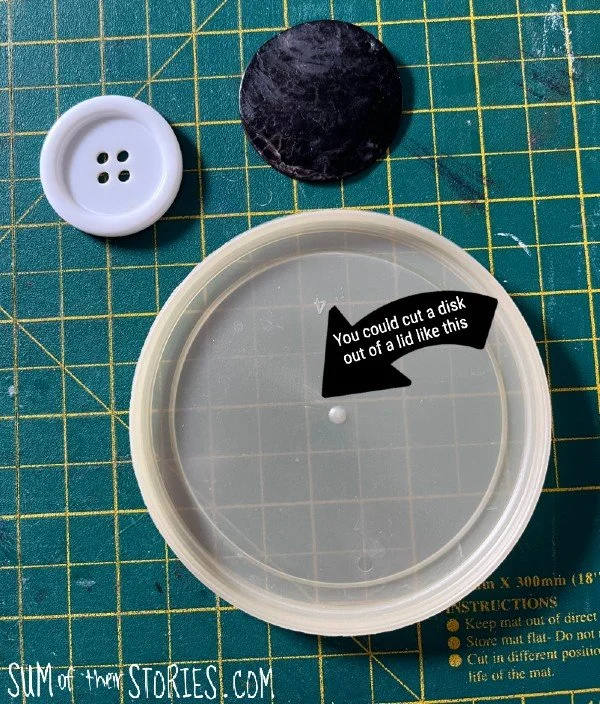
I found a really large button in my stash and also a large flat shell disc that I think was from a piece of rather bold 90s/early 2000s jewellery. Both are just under 2” in diameter so either would work well for making a badge. If you can’t find anything like that then you could cut a circle from a plastic lid like the one in the photo.
Once you’ve decided what you’re using as the firm inside structure of your pin badge then cut a piece of felt the same size. You can see that I used a scrap of old felted sweater because that’s what I had to had but any felt or even a batting or wadding would also work nicely.
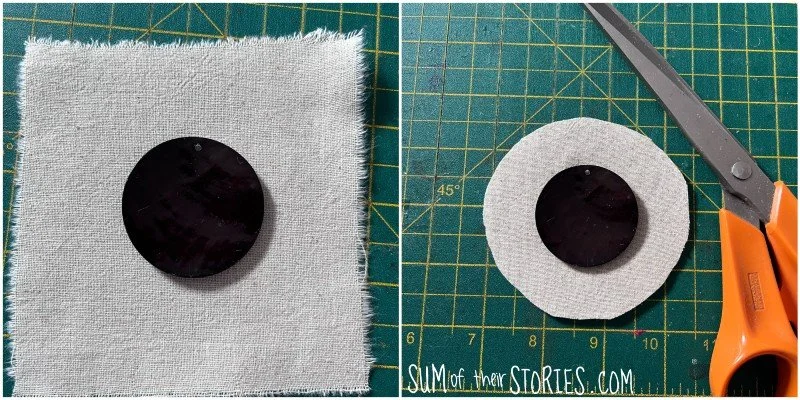
Place the disc onto the embroidery and cut out leaving a decent allowance of fabric all around.
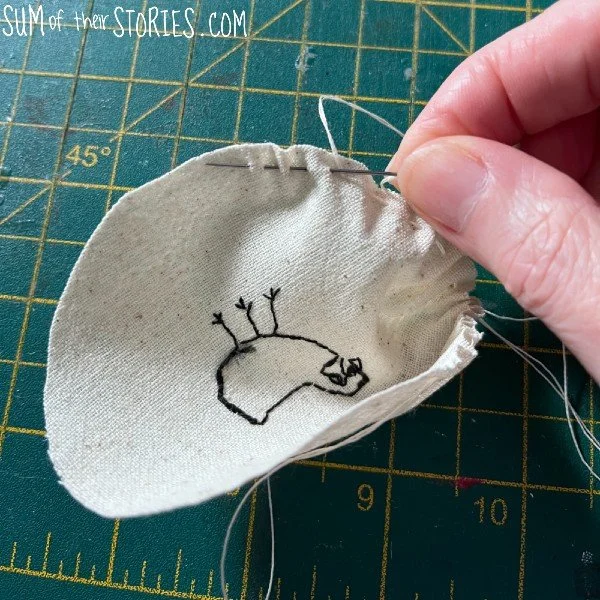
Take a double length of extra strong thread and sew all around the edge with a running stitch. Leave the thread tail loose, just be careful not to pull it all the way through.
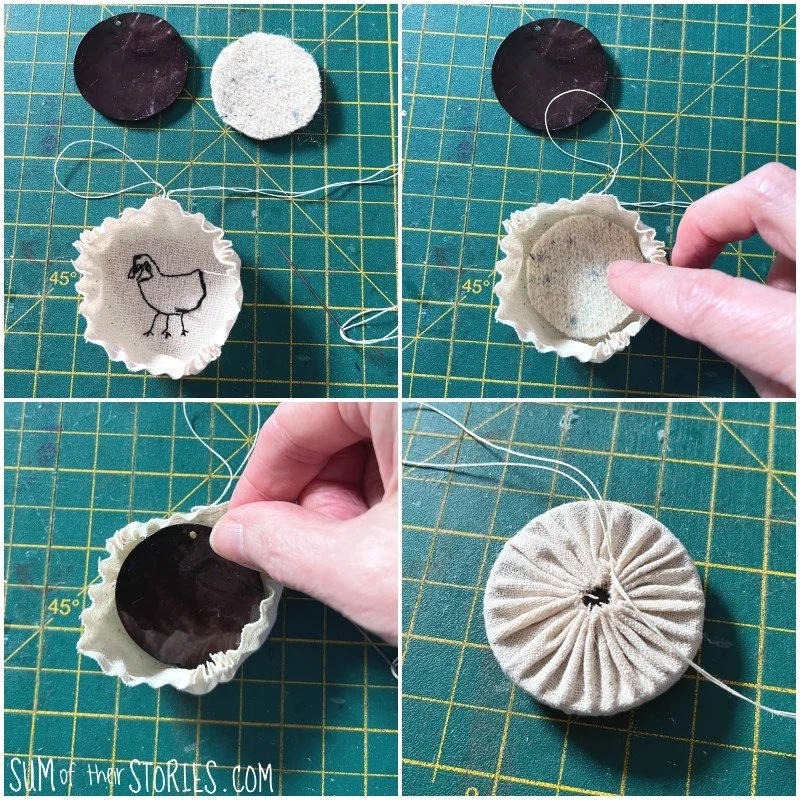
Place the felt/wadding and then your chosen disk (you can see I used the old shell jewellery here in these photos) onto the back of the embroidery and then pull up the strong thread to gather. Tie it as tight as possible.
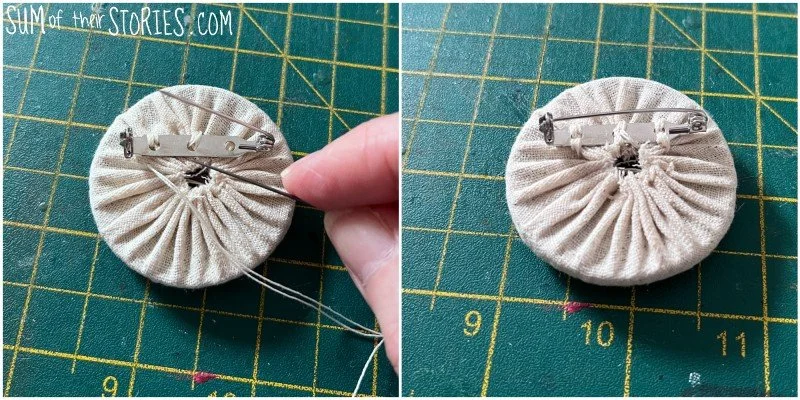
Use the ends of strong thread to stitch your badge pin back in place.
If you want a really neat finish to the back of your badge you could always sew or glue a circle of felt to the back before you sew on the badge pin to cover the gathering. I didn’t bother, I’m working on the assumption that no one is going to see the back of my badge.
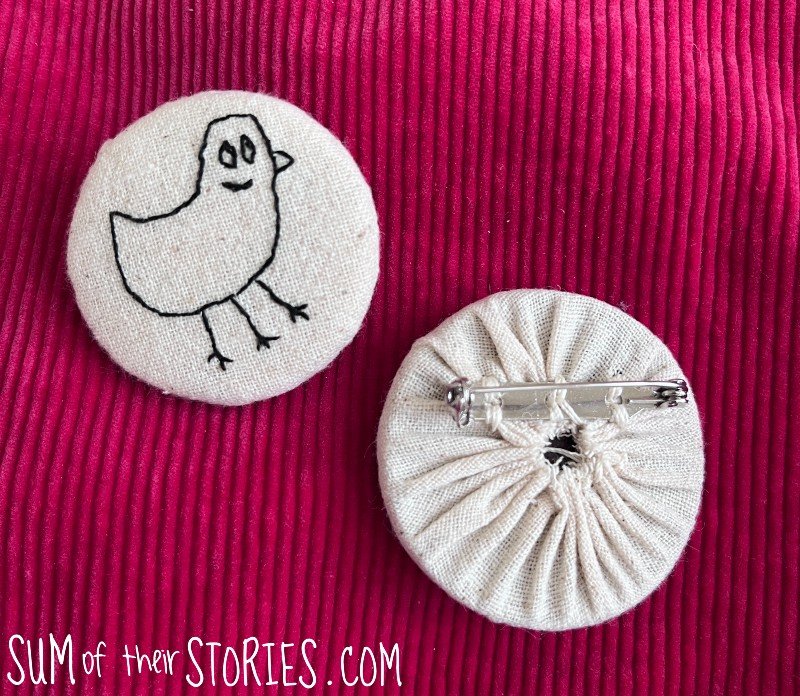
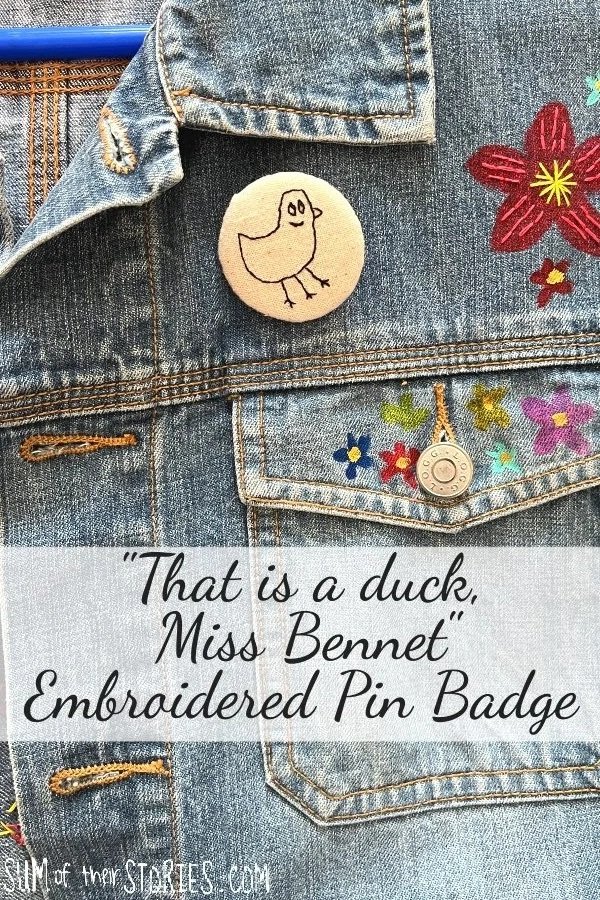
That’s it, your “Mr Hayward’s terrible duck sketch” embroidered badge is complete.
Pop it onto your jacket, bag, lanyard or wherever and enjoy!
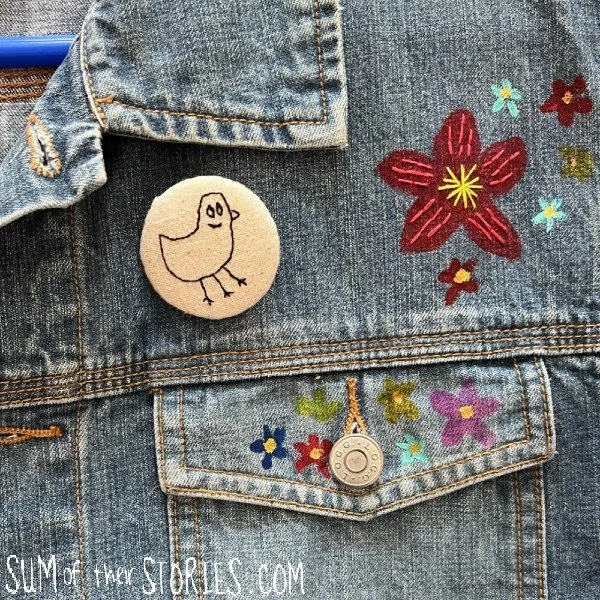
Here’s my “That is a duck Miss Bennet” badge on my fabric paint and embroidered denim jacket.
Of course you can use this easy method to make an embroidered badge with any embroidered design, it doesn’t have to be The Other Bennet Sister inspired. You could even just use some cute printed fabric to make your pin badge.
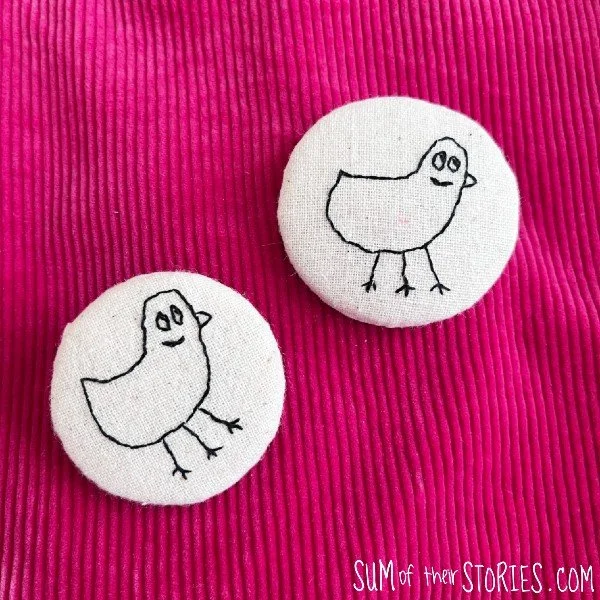
I ended up making 2 duck embroidered badges as you can see. Once I’d sussed out the process the second one only took about 30 minutes to make from start to finish. One will be a gift and one I’m keeping for myself.
Even if you don’t end up embroidering a little funny duck badge, if you like period dramas at all, I would encourage you to watch The Other Bennet Sister if you can. It is a like a warm hug of a show.
Julie
You might also enjoy these other embroidery projects and ideas: