Another Solace DIY Leather Bag Kit Review
/
Solace Leather have been kind enough to give me the chance to try out another of their leather handbag kits.
The kit was gifted to me by Solace Leather for the purpose of this review.
A few months ago the folks at Solace Leather gave me one of their leather handbag kits to review for the first time and I chose a simple roomy brown leather bag. You can read all about how I got on making that here: Solace DIY Leather Bag Kit Review.
I had really enjoyed the process of piecing together the precut leather. It uses a simple sewing technique which is easy for a beginner to learn. So when they approached me again to see if I’d like to review another kit I jumped at the chance.
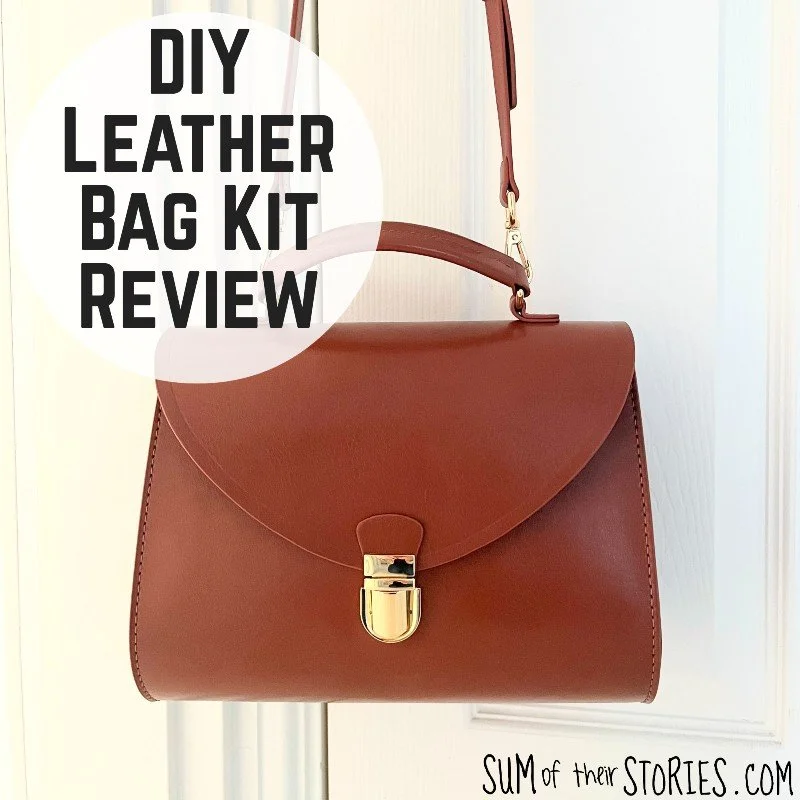
This time I let our daughter choose a bag that she’d like and she picked a Kelly bag dupe - their HB801.
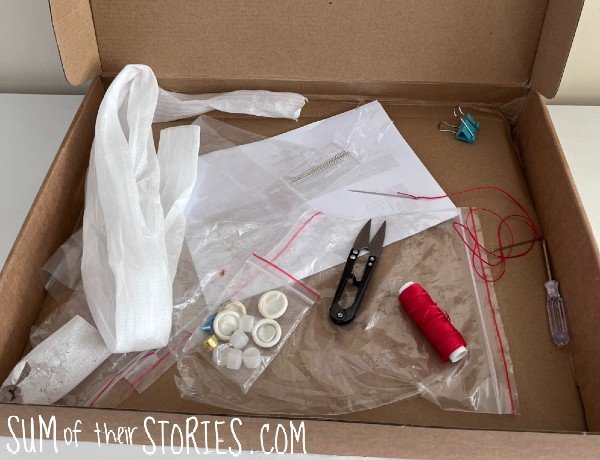
Once again the kit arrived quickly in a well packaged box and contained everything I needed to make my bag except for a lighter which is used to seal the threads after knotting. I don’t actually have a regular lighter but my long thin candle lighter did the job just fine.
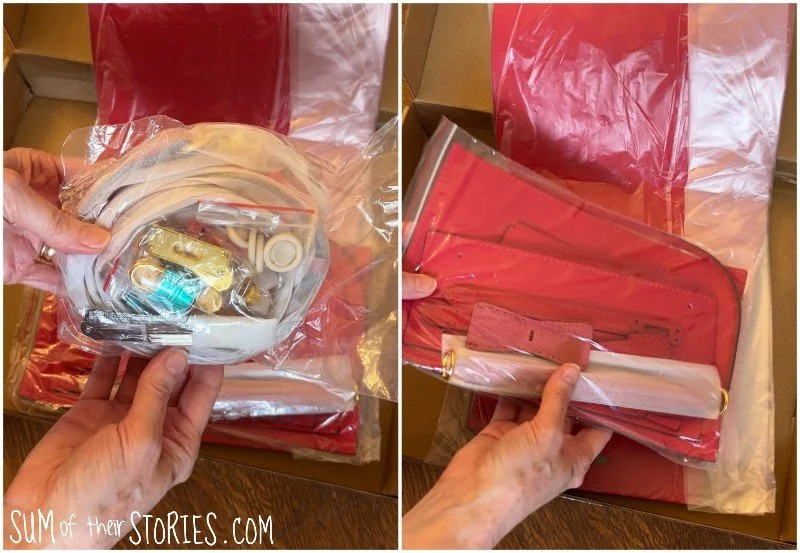
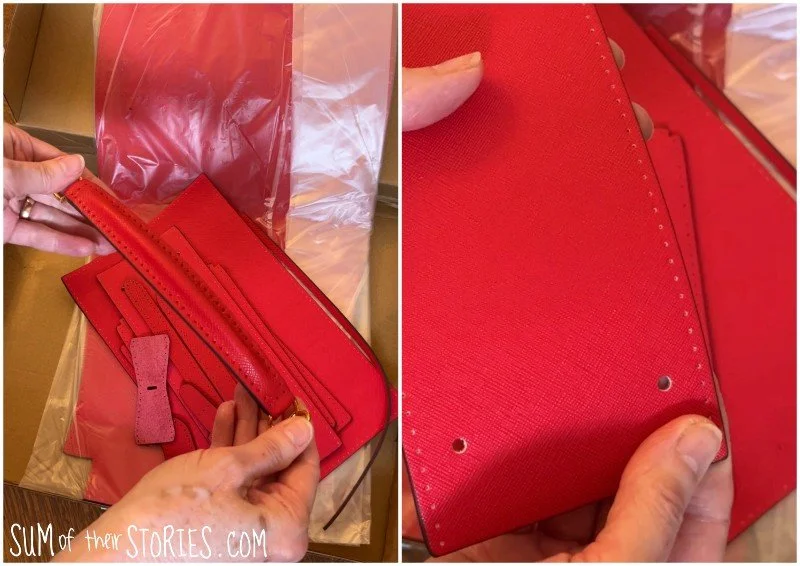
2 bits of the bag are premade, the strap and the handle. You can see here how all the leather is pre cut and all the holes you need for sewing, the hardware and assembly are all there already.
The kit arrives without any written instructions. Instead there is a QR code in the box that takes you to a very comprehensive You Tube Video tutorial. I was very happy following the video tutorial but maybe something to bear in mind if you wanted to give a kit like this as a gift. The recipient would need to be someone happy to follow a You Tube tutorial.
I enjoyed the fact I could watch any slightly tricky bits over and over to make sure I was putting my bag together correctly.
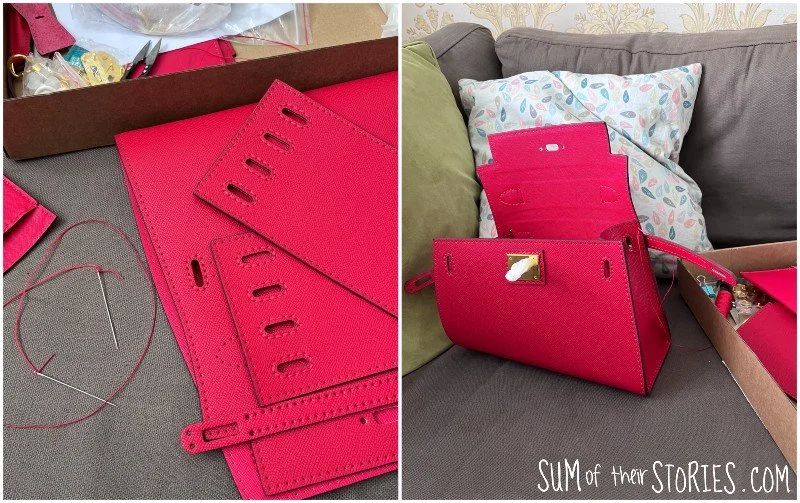
The leather sewing technique uses 2 needles, one at each end of a long length of thread. It is really easy though so it doesn’t take too long to get the hang of it.
This bag was considerably more complex than the last one I made. There are just a lot more elements.
I worked on this bag for a few hours at a time, mostly in the evenings while watching TV. I estimate it probably took about 10 hours in total. On their website Solace Leather suggest this bag will take 4 - 6 hours so either I was really slow this time or they’ve underestimated!
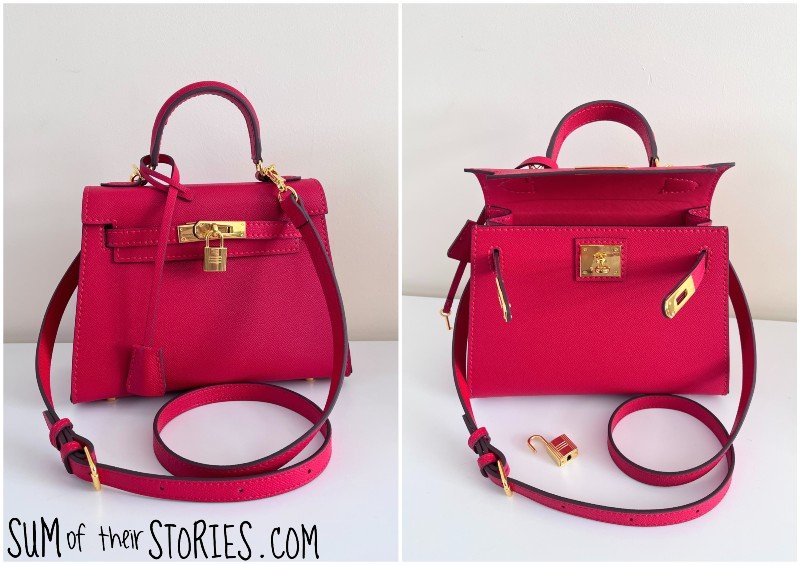
And here it is in all its finished glory!

I’m not gonna lie, this is one good looking bag!
These leather bag kits are not cheap so as you would expect you get some nice finishing details, like these metal feet and the metal hardware.
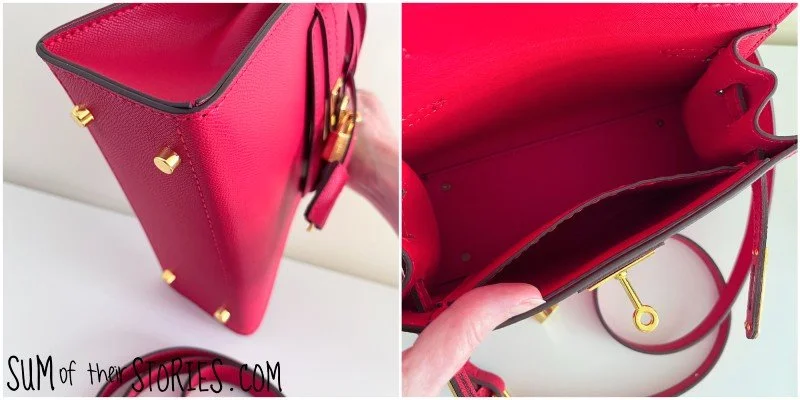
There is a small internal pocket that you sew separately and then sew in at the end. This is the only part of the kit that doesn’t appear to be real leather. I’m no expert but this feels different to the leather of the other pieces of the bag.
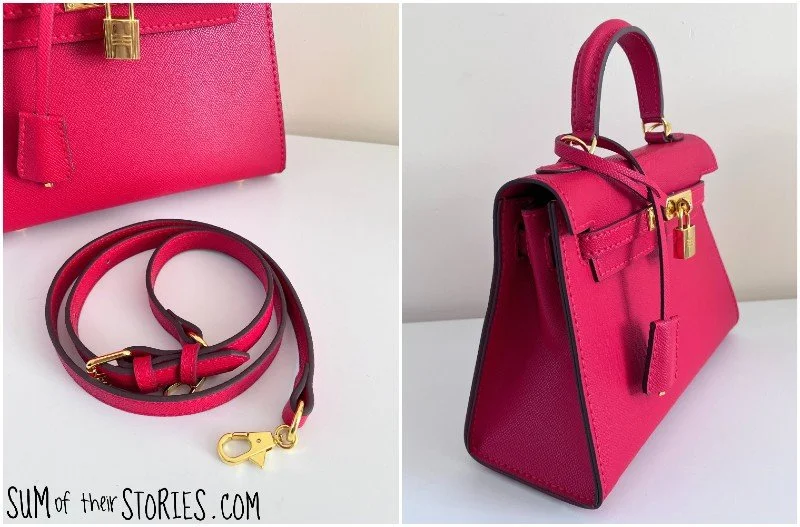
The long adjustable strap is removable so you can use the bag cross body or hold it by the short handle.

Because this is a Kelly Bag dupe it has the little pad lock and key in a fob attached. I’ll be totally honest with you, this looks super cute but also makes this particular bag a right faff to open and close. All I can assume is that the kind of people who own actual Hermes bags do not have to open them very often in a hurry!
That said, you can secure the bag without using the lock, the little “sticky out bit” turns to keep everything closed which is a little more convenient. As I said at the start though, this bag was chosen by our daughter so it’s hers now. I imagine she’ll use it more for special occasions when she only needs to open it now and again rather than for something like a busy shopping trip.
This bag kit was a lot of fun to sew and challenged me a little more than the previous leather bags I’ve made from kits. The video tutorial is clear and easy to follow, the pieces of leather are accurately cut, the holes lined up perfectly. You are provided with ample thread so if you did go wrong and needed to undo a section you’ve got no worries about running out of thread at all. This is what I had left in the box by the time the bag was finished.
I only had 2 minor issues when making this bag. The first was when I was joining the side panels to the main front/back piece. The thread was very long because you are stitching quite a long seam in one go. Once I was about 3/4 of the way through the seam, the thread had started to fray at the ends and my needles came loose. I just rethreaded them in the normal sewing way, rather than the leather needle way and just made sure I held them tightly.
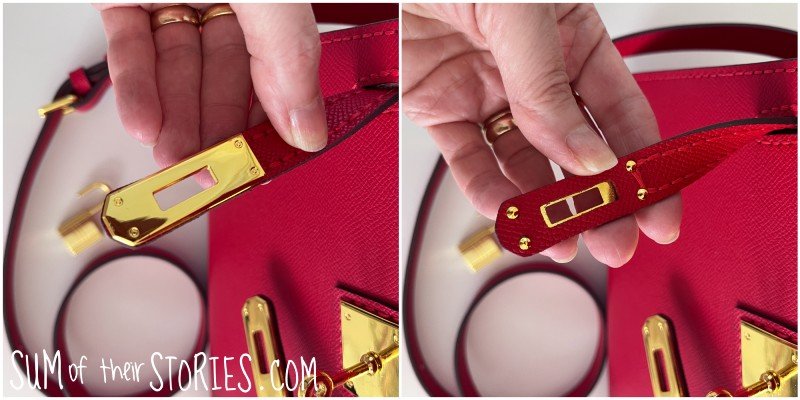
The other issue was right at the very end, attaching these little metal ends. On the video they just magically press into place by hand. Mine did not! I used pliers in the end but covered it with a little of the foam packaging from the box to protect the leather and shiny metal from any scratch marks from my pliers.

As always I will update in a year or 2 to let you know how this bag has stood up to normal wear and tear.
I really enjoyed putting together this handmade bag. Picking something with more details made it a little more complex and time consuming but at no point could the process be described as difficult, plus our daughter is very happy with her new bag so happy days!
Use the code JULIECRAFT10 for 10% off any purchase from Solace Leather.
Julie
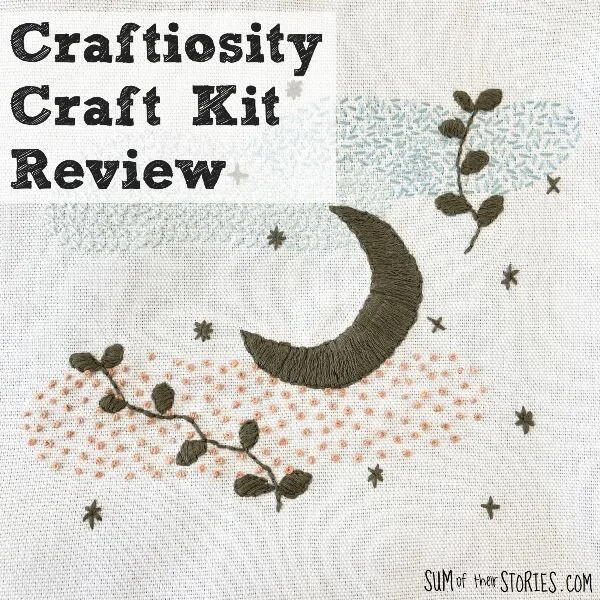
You might also be interested in some of my other kit reviews: