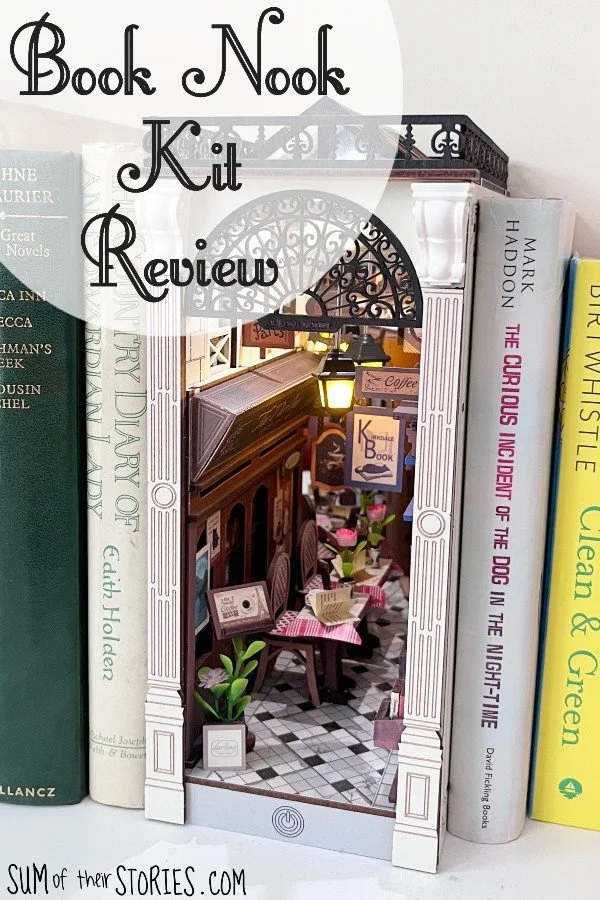
Book Nook Kit Review
/
The lovely folks at Rolife have sent me a kit to make a book nook and it has been the most fun to put together. Let me tell you all about it.
This Book Nook Craft Kit was gifted to me by Rolife in exchange for my honest review.
Rolife Book Nook Kit Review
This is not my first rodeo with a wooden craft kit from Rolife. If you are a regular reader you might remember the wooden flower kits I reviewed last year.

This time I’ve been a little more ambitious and tested a book nook kit. This is a lot more involved than the flowers, there are loads more pieces and the instruction booklet is a lot thicker!
Don’t let that put you off, I can honestly say I had the most fun putting my book nook together.
What is a book nook?
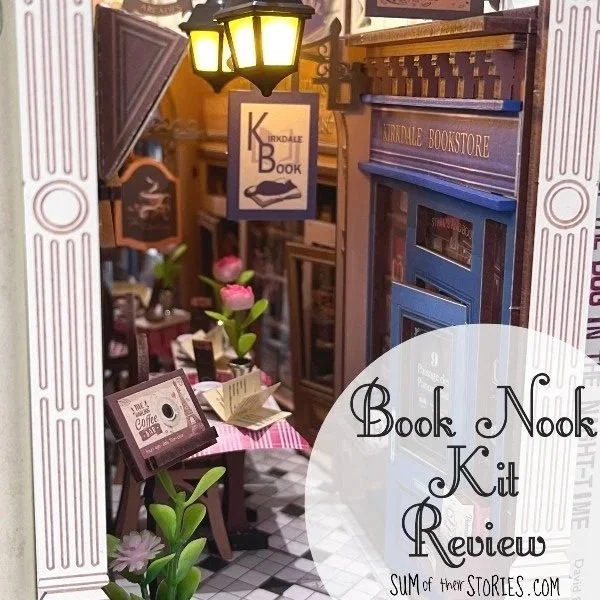
In case you are not familiar, a book nook is a cute ornamental thing that sits on a bookshelf between books. There are many different types and styles but generally they give the impression that you are peeking into a little miniature world that exists in your bookshelf.
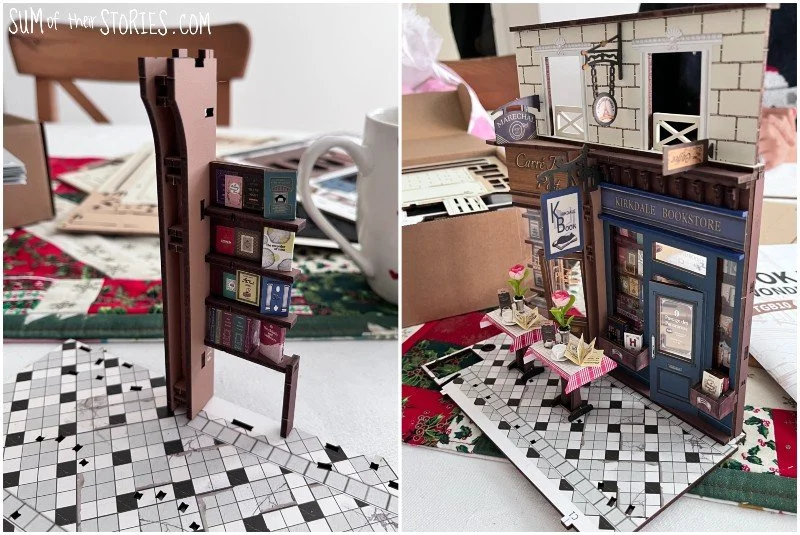
The book nook I chose is Arcade Dating and it looks like a little side street with a variety of shop fronts and some cafe seating.
I am not exaggerating when I say that I think my little book nook is the cutest thing I’ve ever made, everything about it is utterly charming.
Assembling a book nook, a kit review
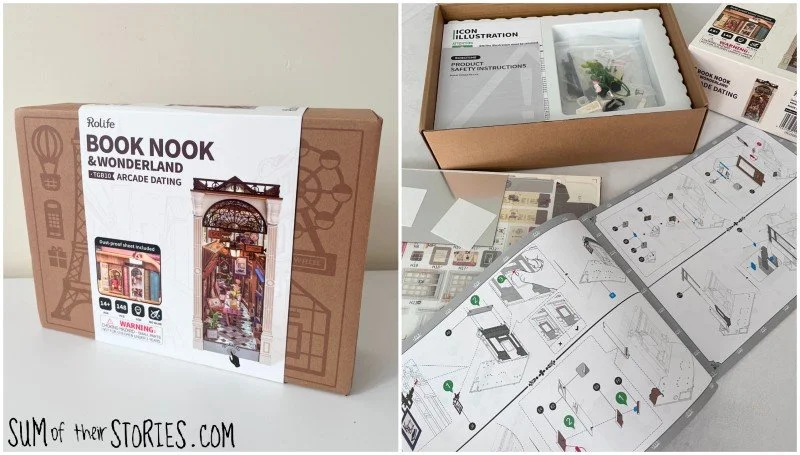
There are A LOT of pieces in this kit so you do need to keep things organised and tidy as you put the kit together.
The different sheets of laser cut wooden pieces are colour coded, and every piece is numbered individually. Each colour of sheet has a different beginning letter so once you get the hang of it it is pretty easy to find the pieces you need.
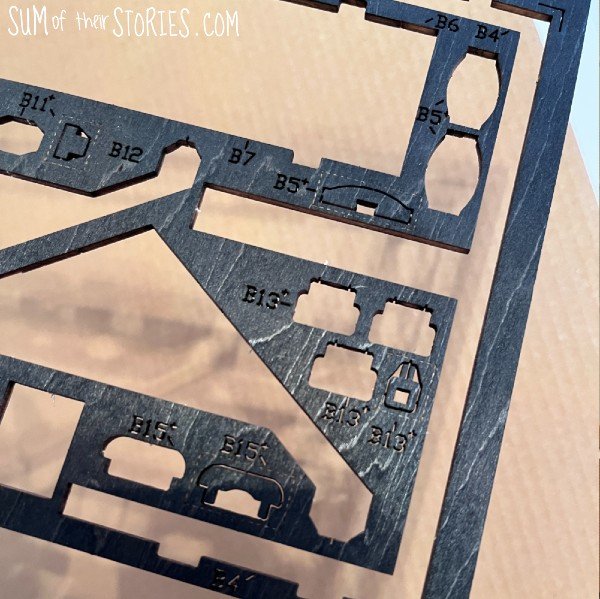
You can see the B in front of all the pieces on the sheet of black wood. Most of the pieces have been used, I took this photo at the end of the book nook building process. You can also see that although you do get a few spares of some of the tiny pieces you only get 1 of most pieces.
The instructions are almost all pictorial, images rather than words, which suits me perfectly as that is the way I work best.
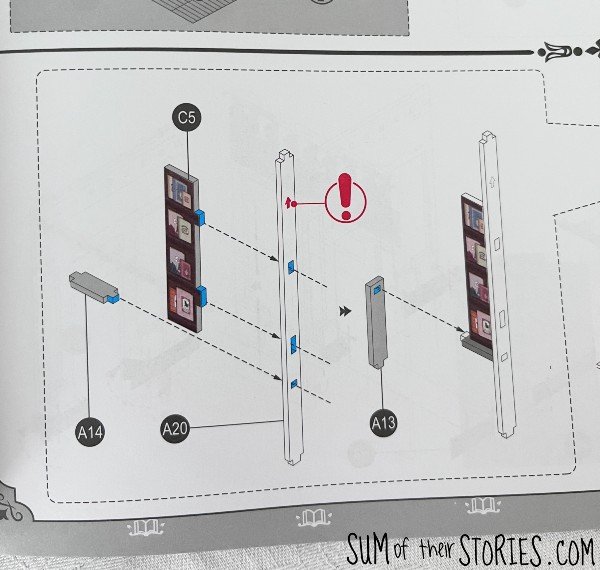
Any moments where you need to pay extra attention to be sure your pieces are going in the right way round, or are in the correct position the instructions have a big red explanation mark which is really helpful.
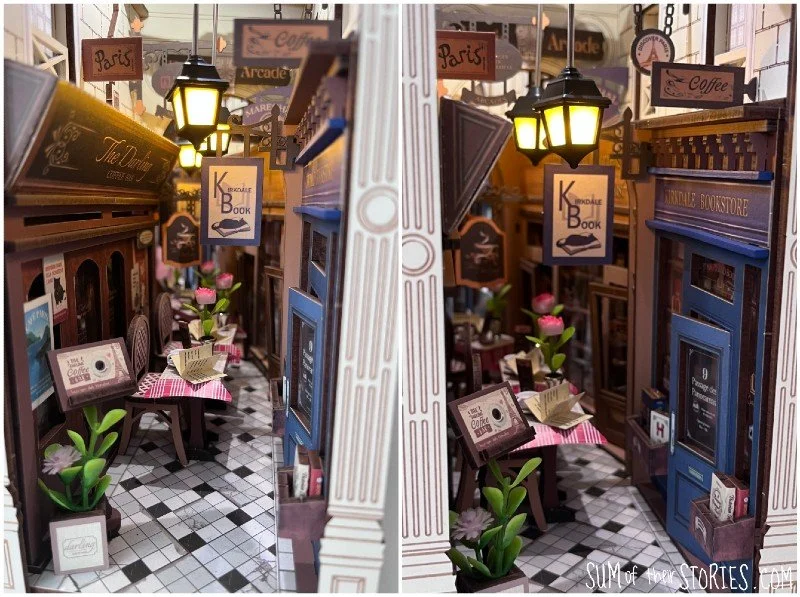
The details in the book nook are extraordinary. The little shop fronts have details in them that, to be honest, only you are going to know are even there. The book shop has little shelves of books that you will construct individually, adding stickers to the wooden pieces before you slot them into place.
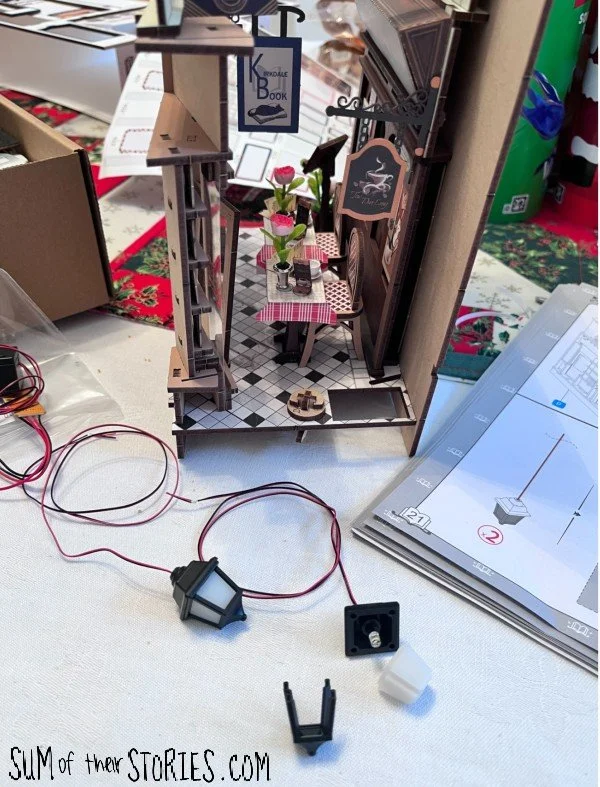
Towards the end there is even some wiring to do so that your book nook can light up. I felt like an electrician, although to be fair it was pretty simple!
Most pieces slot together, you don’t use glue, but a couple of times some little sticky dots are used to hold things more securely.
I’m going to estimate that it probably took me about 10-12 hours to put my book nook together. I did it in 4 sittings, a few hours at a time.
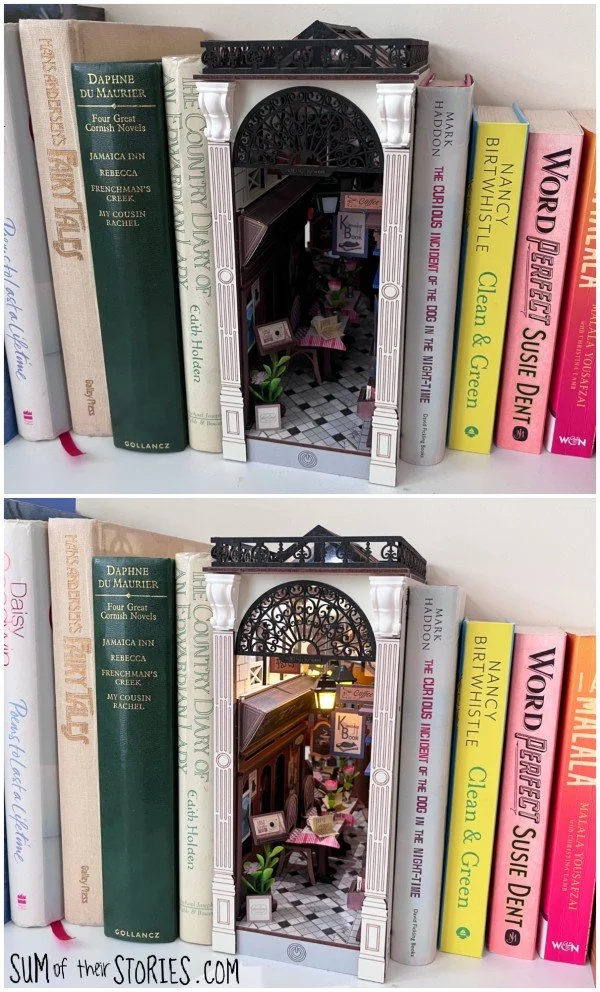
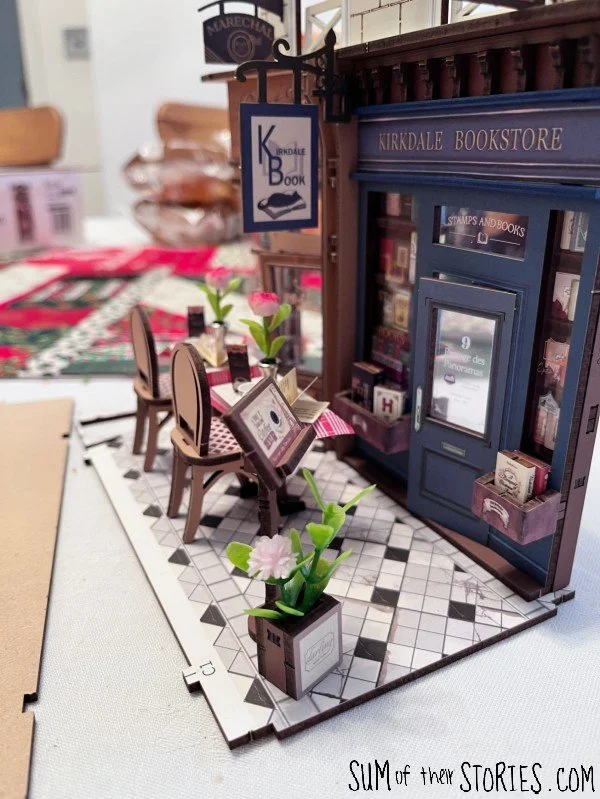
Doesn’t this little street look like the most lovely place to wander into on a sunny day? How nice for miniature you and me to sit and have a cuppa and cake after browsing in the shops.
I can’t pretend that the assembly of my book nook was really quick, easy or simple. I did have to concentrate, and read the instructions carefully. There were a few sections when the instructions seemed extra complex, however once I had identified the correct pieces and looked at them properly it became much more obvious how the bits went together.
The kit suggests for aged 14 and up and that feels about right to me, although a skilled model making 12 year old would probably be absolutely fine.
I found the whole process of assembling my book nook VERY satisfying. You start to see how cute it’s going to be right from the start and each time I knew I needed to stop I found myself completing just “one more section”. It’s really very addictive!
My top tips for constructing your book nook
Keep all the pieces on their sheets until you need them
Keep your workspace tidy so you don’t loose little bits
Read the instructions for a section, identify the pieces and get them ready and then read the instructions again. The instructions are really well done, everything you need to know is there but you do need to read them carefully
Pay particular attention to which way round a piece goes in, sometimes that really matters
You do need to take care when popping the pieces out of the wooden sheets. One of the faux wrought iron balustrade type pieces at the top of my book nook snapped and I had to glue it carefully
The stickers are pretty sticky so position them carefully, once they are on they are on
Be prepared to totally lose yourself in the process, it’s very addictive
ENJOY! Honestly if you liked model making or dolls houses as a child you will LOVE this. It’s a bit like airfix models and 3D wooden puzzles had a love child!
I’ve not tried out any other book nook kit manufacturers so I can’t speak for how this Rolife kit compares but I can say this kit was top quality with complex but clear instructions. Everything needed to make an adorable book nook was provided and I am delighted with how it turned out.
Use code Julie10 for 10% off any products from Rolife.
Julie
You might also like to check out some of my other craft product reviews: