
How to Sew a Simple Flat Pencil Case
/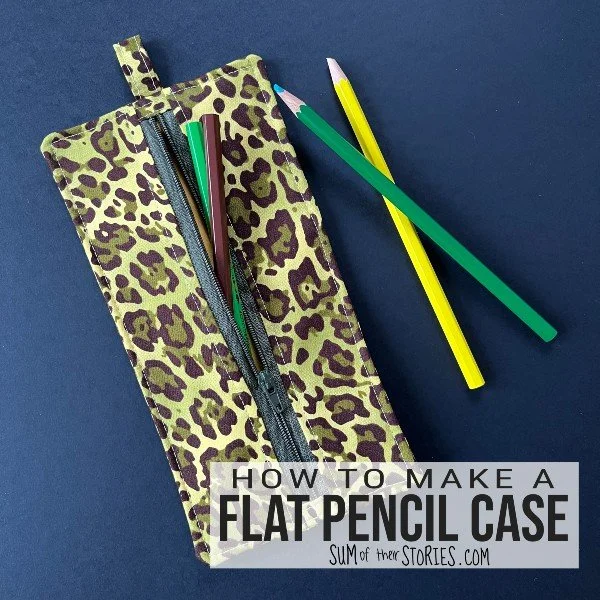
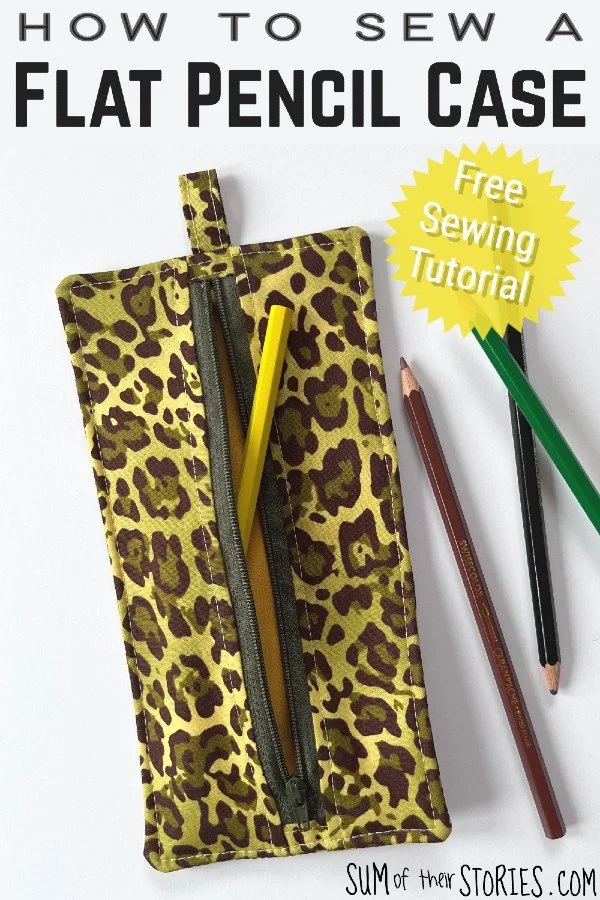
Pencil cases are such a useful thing to sew. They make great gifts for friends and family of all ages.
This simple flat style of pencil case is fairly easy to sew. It has a zip closure so it’s good for a beginner who has made a few basic things and wants to up their skill level a little. It is fully lined so there are no raw edges inside.
This flat style of pencil case doesn’t take up much space so it is good for slipping into a handbag or travel bag.
The loop at the top is optional but it does give you something to grip making it easier to unzip. You can also use the loop to attach the pencil case to a lanyard or keyring - you could attach the pencil case to a bag like a large useful bag charm.
You can size the pencil case up or down to make a different size but the dimensions here make a good sized pencil case for most regular pens and pencils. It’s also a good size for crochet hooks.
Recently I was sent a 20lb fabric scrap box from Fabric Wholesale Direct. I’ll be honest, I was expecting a scrap box to have scraps of fabric, ie pieces smaller than a fat quarter. What I received was a large and heavy box packed with really quite large pieces of fabric, all ends of rolls. Everything is full width and the smallest pieces were around about a metre, with many pieces larger. I filmed an unboxing to show everything that was in the bargain scrap box, you can find that here on Instagram - Unboxing a Fabric Wholesale Direct Scrap Box. Of course the contents of each box will vary but this gives you can idea of the kinds of fabrics you might receive.
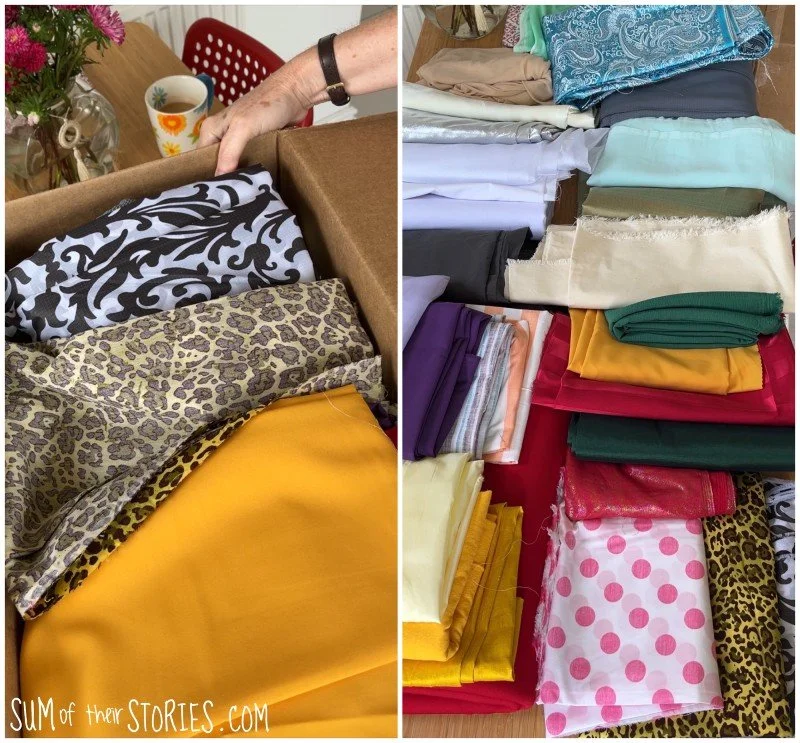
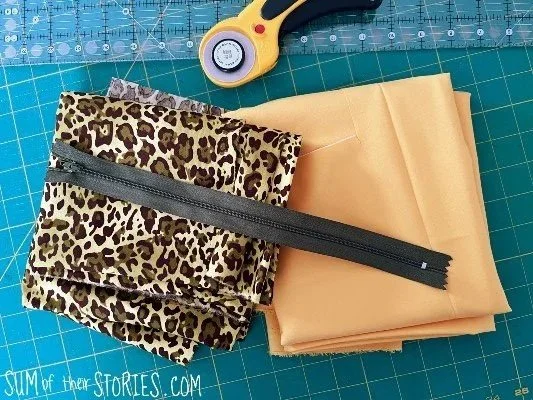
I used 2 pieces of fabric from my scrap box to make a flat pencil case for this tutorial. One is a leopard/cheetah print thick cotton, the other is a slightly lighter weight bright yellow polycotton.
For your pencil case you ideally want medium weight fabrics: a light denim/chambray, twill, canvas, calico, linen, ankara, cotton poplin, quilting cotton etc. A thicker fabric could be difficult to sew, especially at the ends where you’ll have quite a lot of layers. Anything to thin and your pencil case will be too floppy.
If you want to use a thinner fabric, as I did for my lining fabric, you can add an iron on interfacing to add a little more body and stability to the fabric.
Let’s get started.
How to make a flat pencil case
What you need to make a flat pencil case:
Finished pencil case size 8 2/8” x 4 2/8”
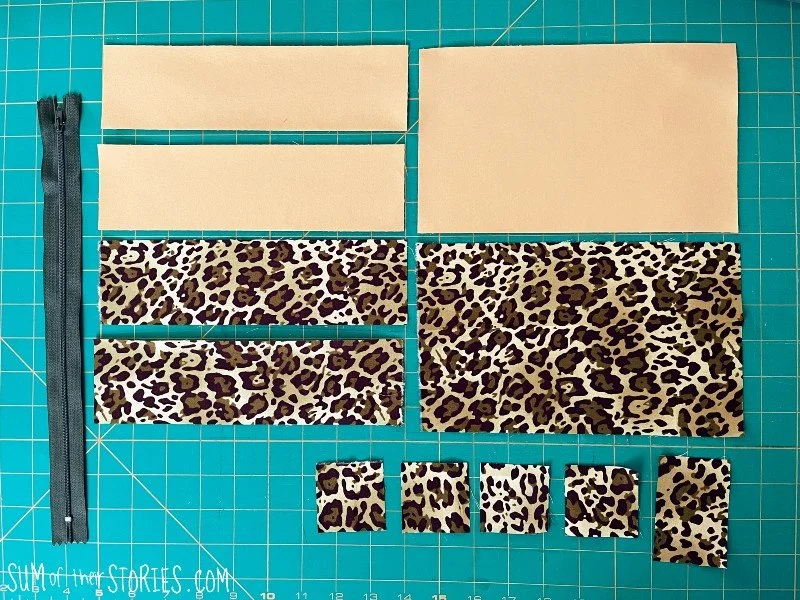
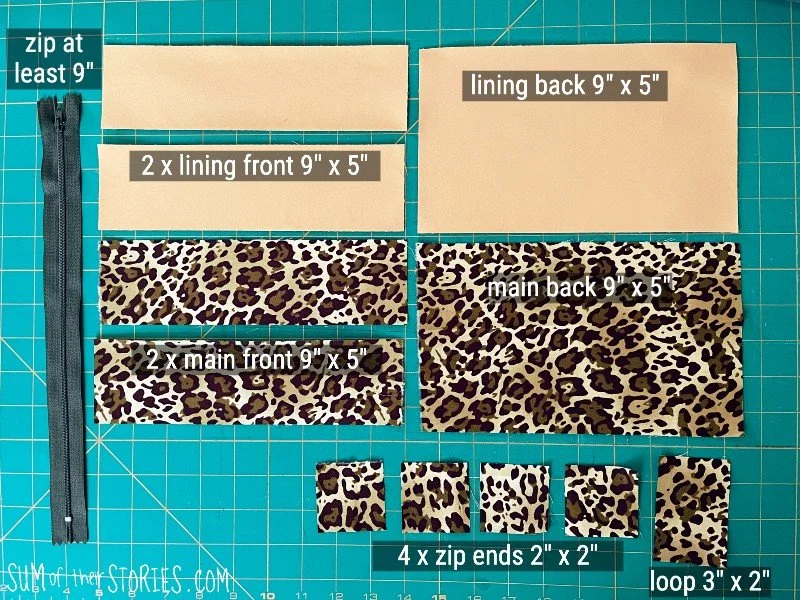
From your main fabric:
1 back piece 9” x 5”
2 front pieces 9” x 2.5”
4 zip end pieces 2” x 2”
1 loop piece 2” x 3”
From your lining fabric:
1 large piece 9” x 5”
2 smaller pieces 9” x 2.5”
I interfaced my lining fabric with a lightweight iron on interfacing to add a little more structure.
1 zip, at least 9”. You want a zip that is longer than the pencil case so you can trim off the metal or bulky plastic end. If you are using the kind of zipper that you buy on a roll and cut to length/add the slider yourself then you only need 8”
Prepare the zip
Start by cutting the end off your zip, you don’t want any metal or bulky plastic end stop getting in the way of your stitching later.
Place 1 of your little square zip end pieces right side up. Lay the zip on top and the place another square zip end piece on top of that, right side down. You’ve made a little zip sandwich.
Sew straight across the end.
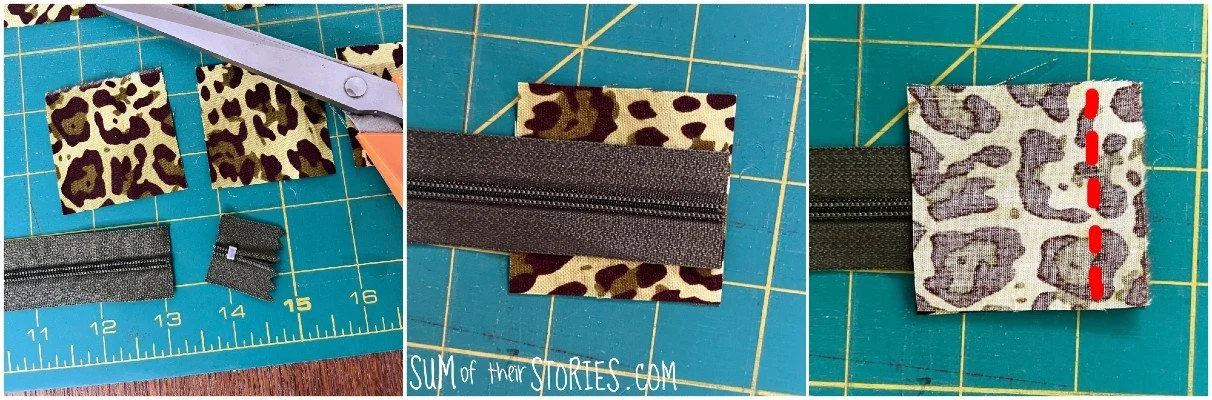
Fold both bits of fabric back and finger press them smooth. Top stitch close to the edge.
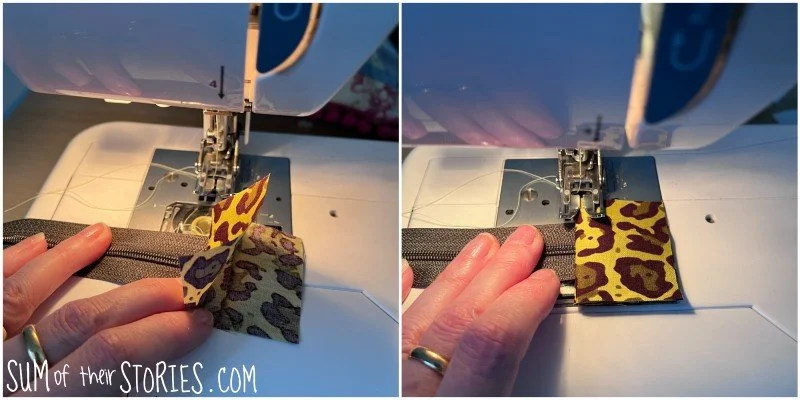
Move the slider toward the middle of your zip.
Measure 8 inches from the seam on your zip and cut off the excess.
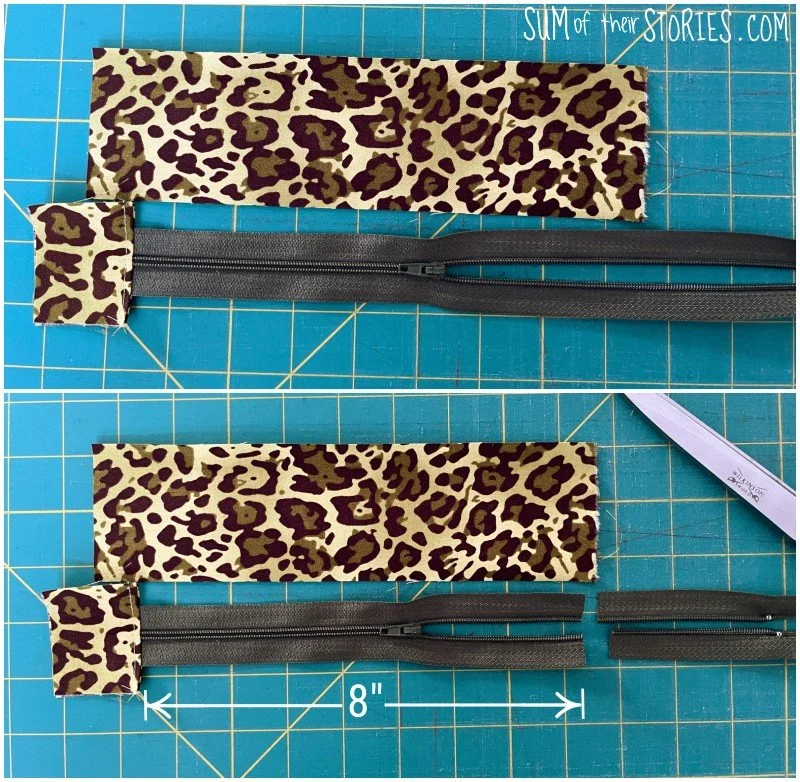
Sew the remaining zip ends onto the open end of the zip in exactly the same way as before. Just make sure the 2 sides of the zip are together when you sew over them, use pins to hold them in place if you need to.
Insert the zip
Lay one of your long rectangular front pieces down right side up and place the zip on top, slider side facing down, so the edges line up. Layer a long rectangular front lining piece on top. Another “zip sandwich”!
Stitch straight along the edge using a zipper foot on your sewing machine so you can stitch close to the zipper teeth. You’ll need to pause when you get to the zipper slider, raise the foot on your sewing machine so you can move the slider out of the way, and then lower the sewing machine foot and carry on stitching the seam.
Fold both fabric layers back to reveal the zip sandwiched between them and finger press then top stitch.
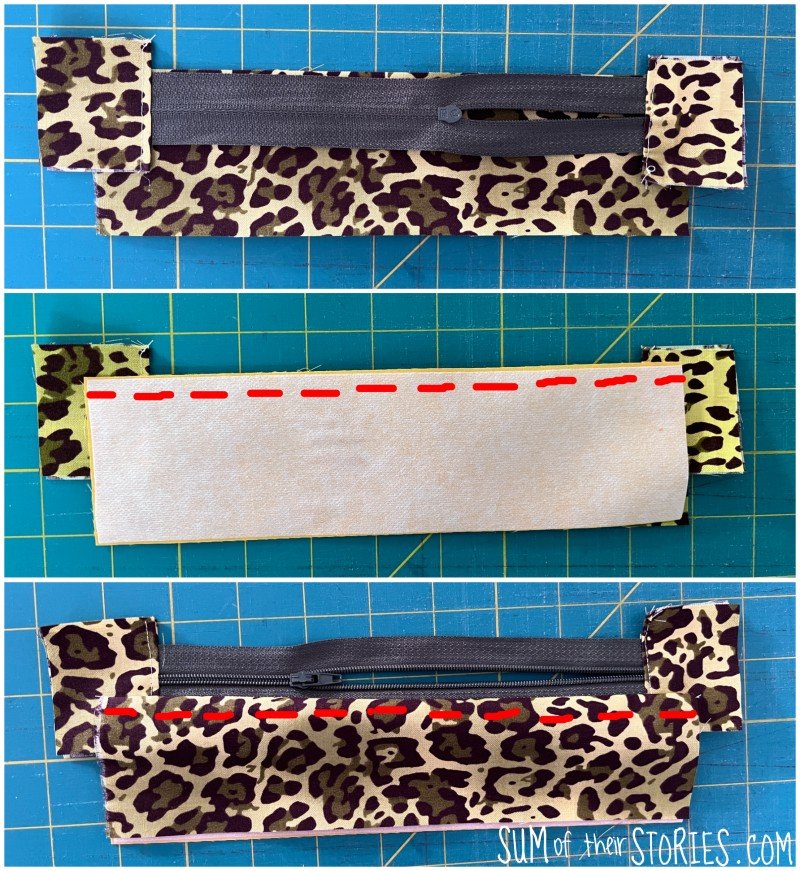
Repeat for the other side of the zipper - Lay the second front panel down, again face up and lay the zipper on top, slider side down as before. Lay the other lining front piece on top as before and stitch along the edge again. Finish by folding the fabric back and top stitching.
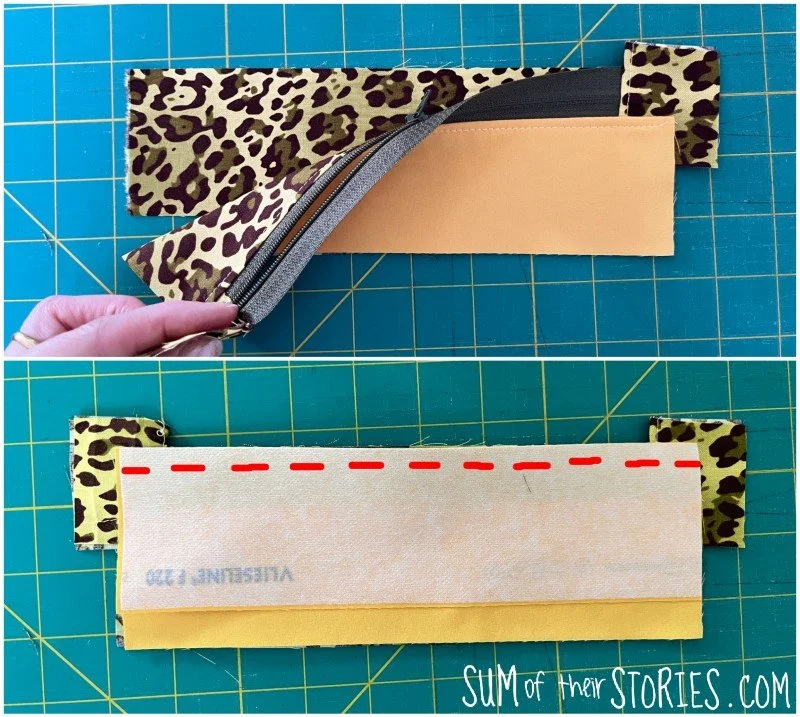
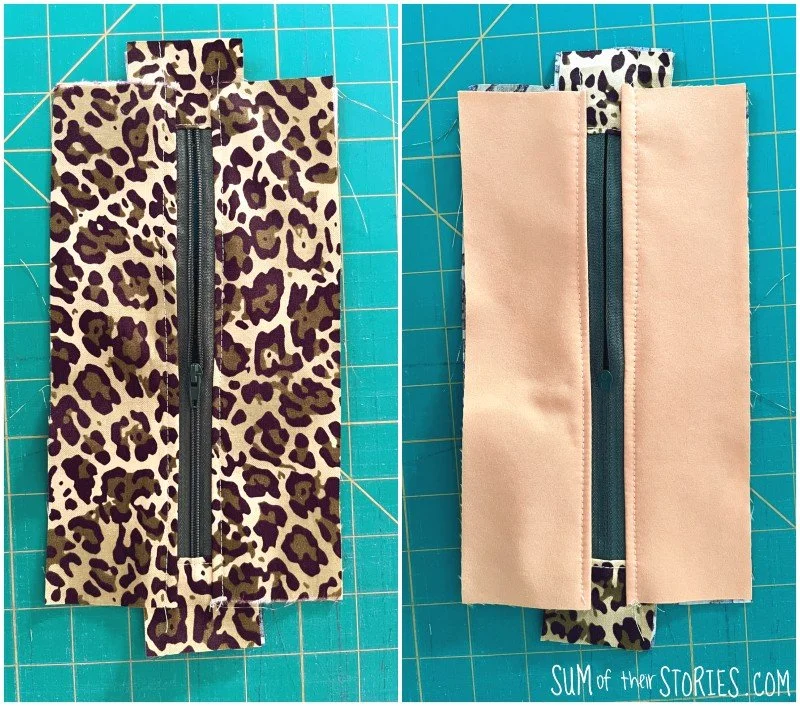
That’s the front of your pencil case done.
Create the loop
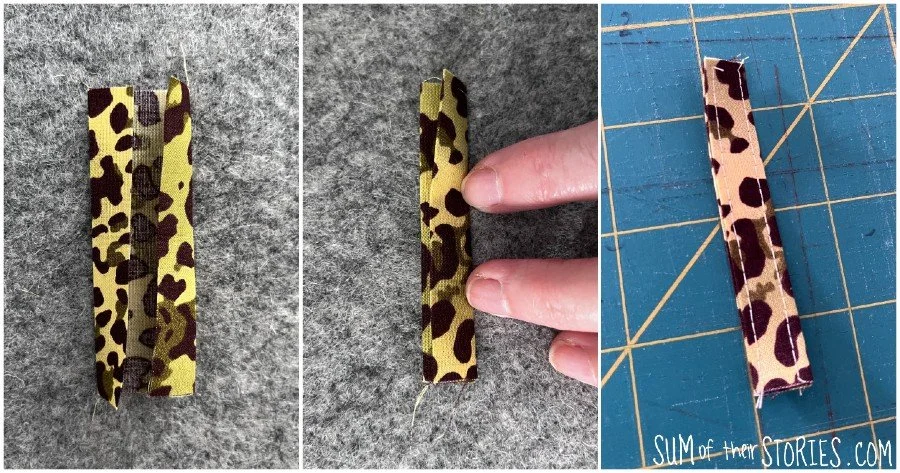
Fold the long edges of the loop piece in to the centre and press. Then fold in half and press again. Stitch down both sides.
Assembling the pencil case
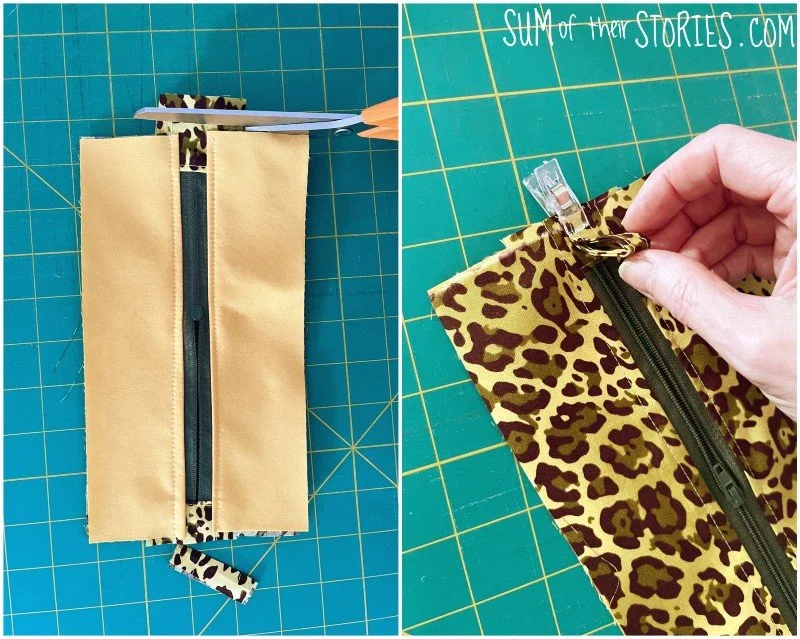
Trim the excess of the zip ends.
Fold the loop in half and pin or clip to the top of the zip centrally, so the loop is facing inwards towards the centre of the zip.
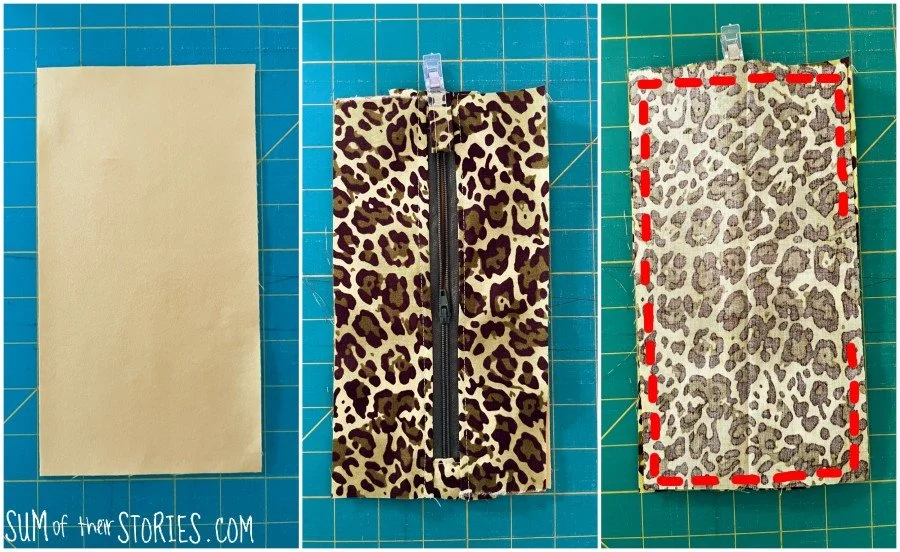
Lay the lining fabric back piece on the table right side up.
Lay the front panel you’ve just made on top, right side up.
Lay the main fabric back piece on top wrong side up and pin or clip to hold everything in place.
Stitch around the outside leaving a 3” gap on one long side.
Clip the corners to remove some of the bulk, make sure you don’t snip through the stitching.
Find the 2 outside fabric layers and turn the pencil out through the gap you left in the stitching.
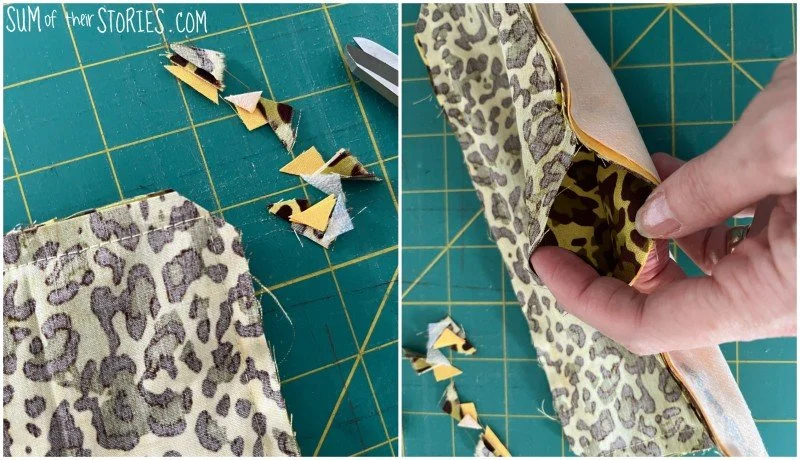
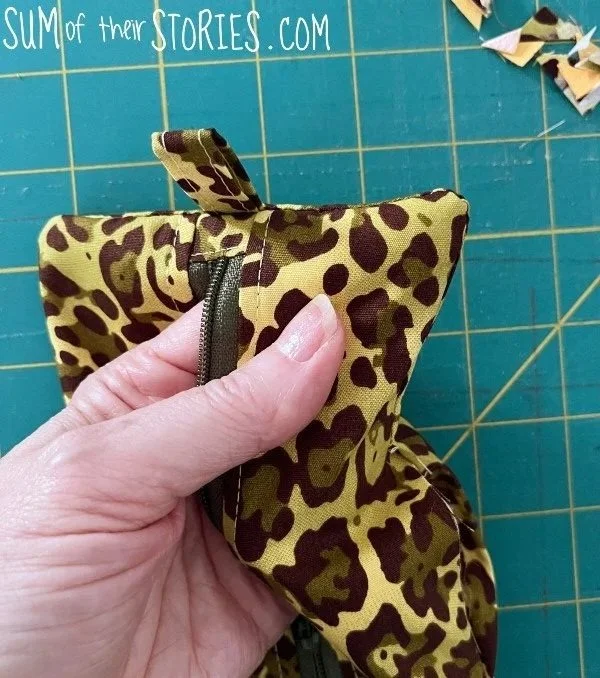
Use your fingers or something pointy like a chop stick to push the corners out neatly. Go gently, you want nice corners but if you jab too hard you might end up going right through and making a hole. Press the pencil case nice and flat with your iron, avoid the zip teeth though, you don’t want to melt them.
Top stitch around the edge, closing the gap as you go.
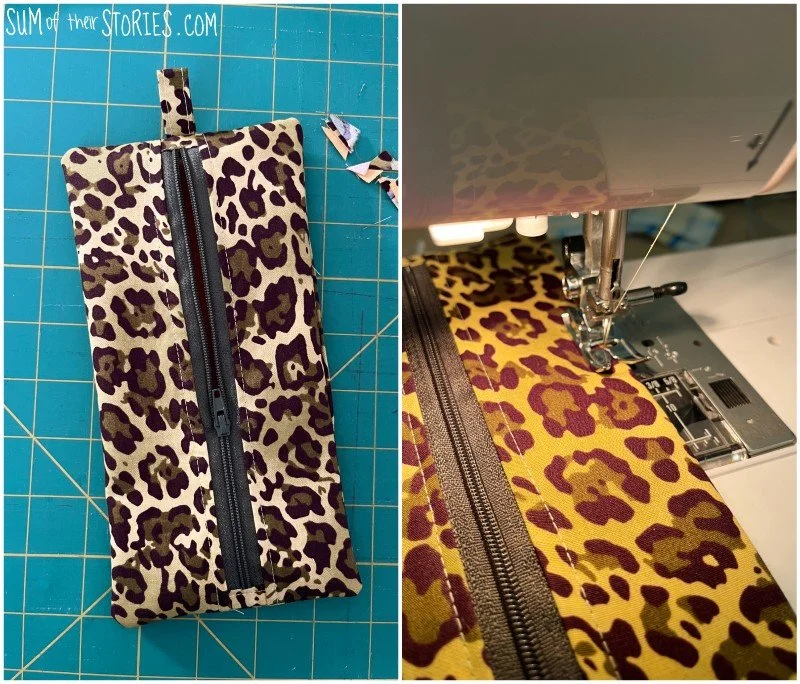
That’s it, your fully lined pencil case is finished.
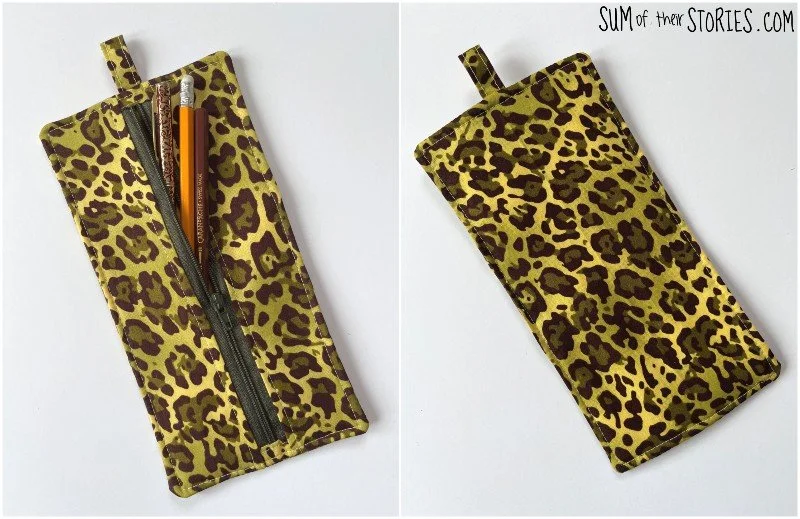
I really love that pop of bright yellow inside.
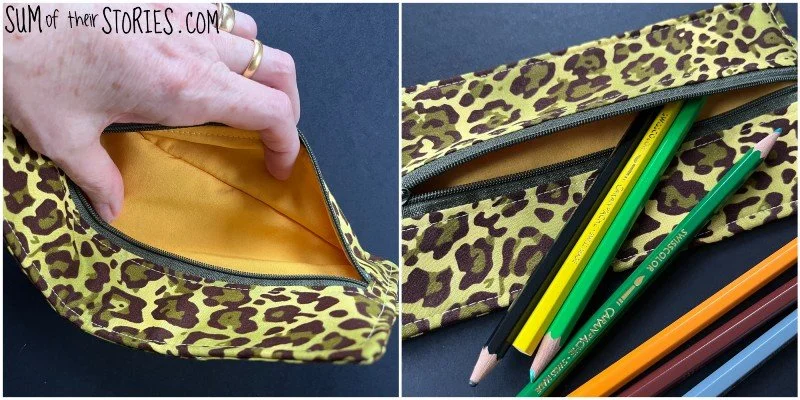
Ways to adapt this flat pencil case tutorial
You could use the same fabric for the outside and lining of your pencil case but it would make it a little bit tricky to see what layer you need when you turn it out through the gap. I’d recommend using a contrast lining at first just so you can see easily how the construction works.
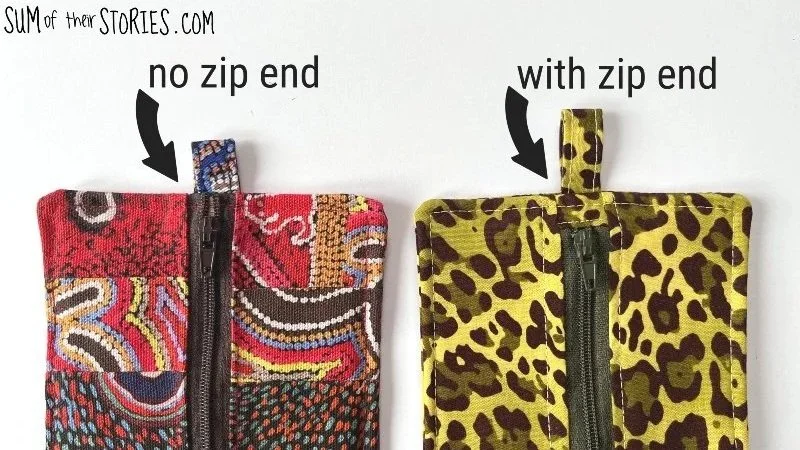
To simplify the process you could miss off the zip ends and have the ends of the zip in the top and bottom seams of the pencil case. That was what I did on my first, prototype flat pencil case. It works but adding the zip ends looks nice and just make the whole thing sit much flatter and neater. I definitely prefer how it looks with the zip ends and think it’s worth the effort.
You could also leave off the loop, it’s not an essential part of your pencil case, but it does make it easier to unzip and I think it’s a nice detail. As I said before, it also means you can attach the pencil case to a keyring to clip inside you bag, or attach it to a lanyard.
If you want to add embellishments, trim, embroidery etc to the front of your pencil case it is easier to do this to the long rectangular front pieces before you start assembling.
This pencil case pattern could be adapted for something like a knitting needle case just by making the pieces much longer.
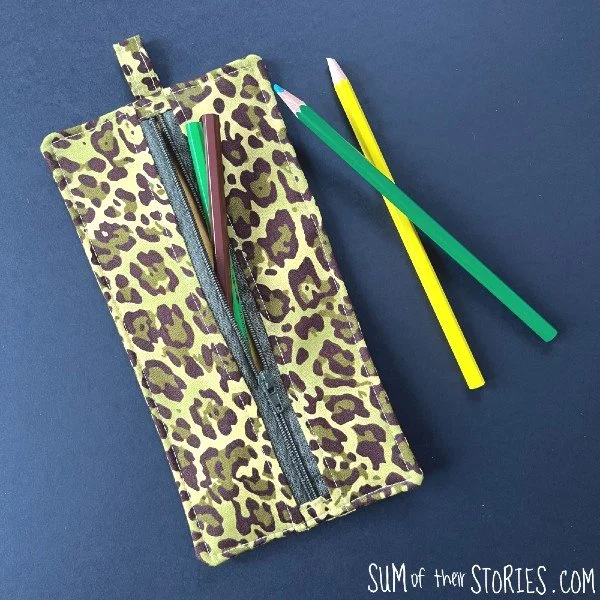
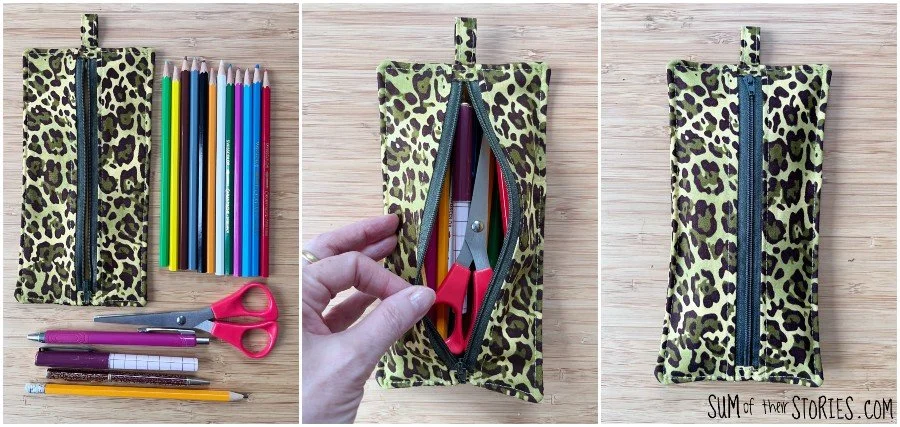
This size of pencil case - just over 8” x 4” - fits quite a lot inside. You can see here that I fitted a set of 12 colouring pencils, 2 pens, a pencil and a small pair of scissors in their easily.
This flat pencil case only uses a small amount of fabric, less than a fat quarter. I plan to make a load more as gifts with more of the lovely fabric I received in my bumper scrap box from Fabric Wholesale Direct. I have more plans for some of the other fabrics from the box so look out for those soon.
I hope you enjoy sewing this simple flat pencil case, if you do make one and use social media do tag me in any shares. I absolutely love seeing what you make.
Julie
I’ll be sharing this sewing tutorial at some of these link ups
You might also enjoy some of my other sewing tutorials:






How to sew a simple flat pencil case, a sewing tutorial